
3 Eyes Drawing Tutorials for Beginners
Eyes drawing can look intimidating, but the right teachers make it click fast. Below you’ll find three curated videos—each with a different approach—so you can practice drawing eyes with confidence and build a routine that actually sticks.
Anime Eyes, Slow and Beginner-Friendly
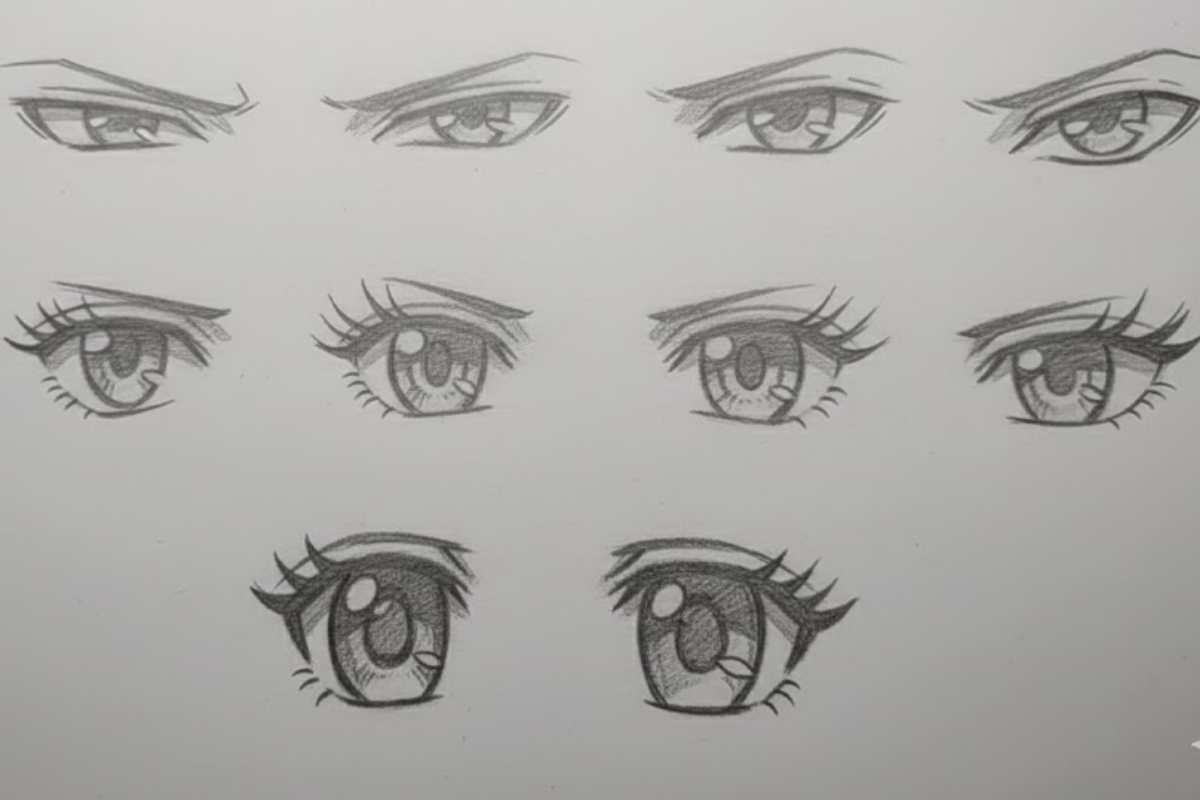
If stylized looks are your goal, this slow, no-timelapse demo is a gem. You’ll see eight variations side by side, which helps you compare shapes, lids, lashes, and highlight placement without rushing.
It’s ideal if you’re starting from scratch and want a clear, steady pace.
What you’ll learn: clean construction lines, simple value grouping for depth, and how tiny highlight tweaks change expression. Try pausing after each phase and copying the shape rhythms before you shade.
Best for: absolute beginners who want a gentle ramp into stylization before tackling realism. It pairs nicely with a sketchbook “grid” page where you repeat one eye type 10–12 times.
Click here to see the tutorial
Eyes From Any Perspective (Draw like a Sir)
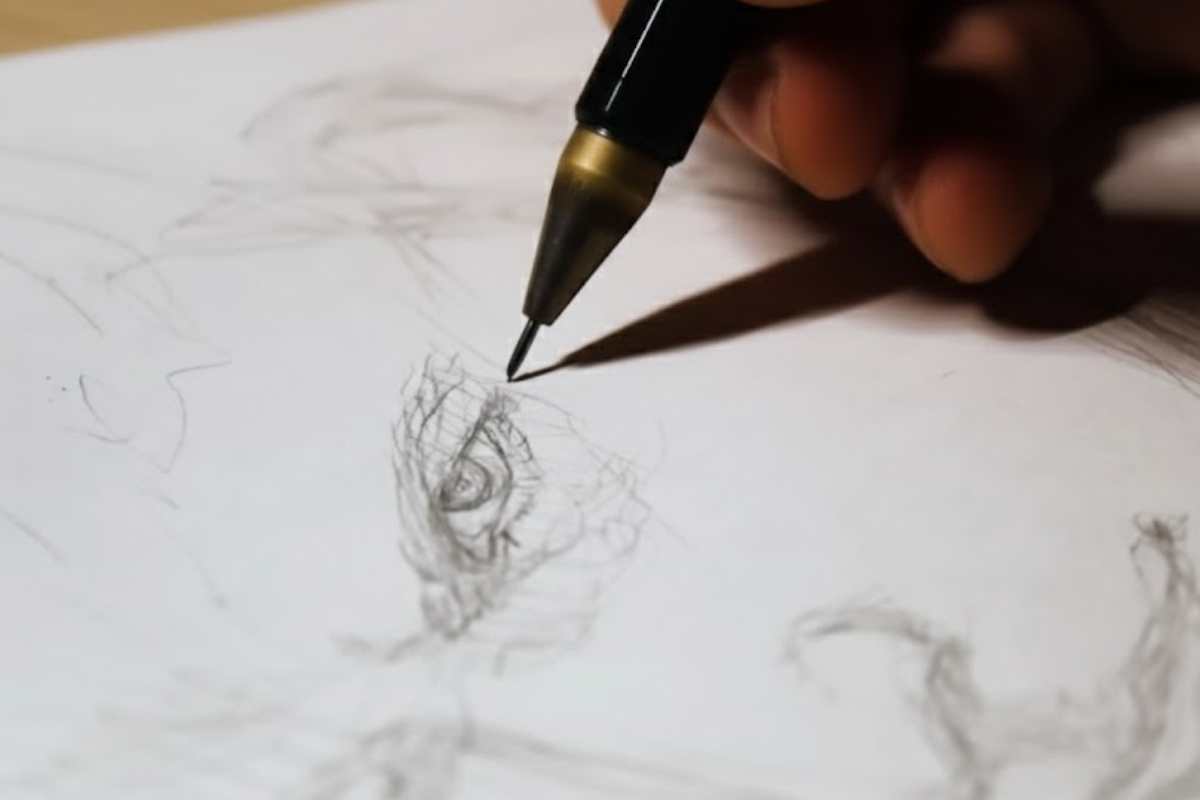
Once you can place features front-on, the next leap is rotating the head. This eyes drawing tutorial shows how to keep proportions believable when tilting or turning the skull.
You’ll map the orbit (eye socket), wrap lids over a sphere, and keep the iris elliptical at angles.
What you’ll learn: a simple “ball + lid” model, upper-lid thickness, cast-shadow logic, and how to nudge the tear-duct and canthus as the head turns. It’s the missing link between a flat front view and dynamic poses.
Practice tip: do five tiny studies per angle (front, 3/4, profile, up-tilt, down-tilt). Label each sketch with the camera angle so your muscle memory ties form to viewpoint—classic eyes tutorial drawing discipline.
Click here to see the tutorial
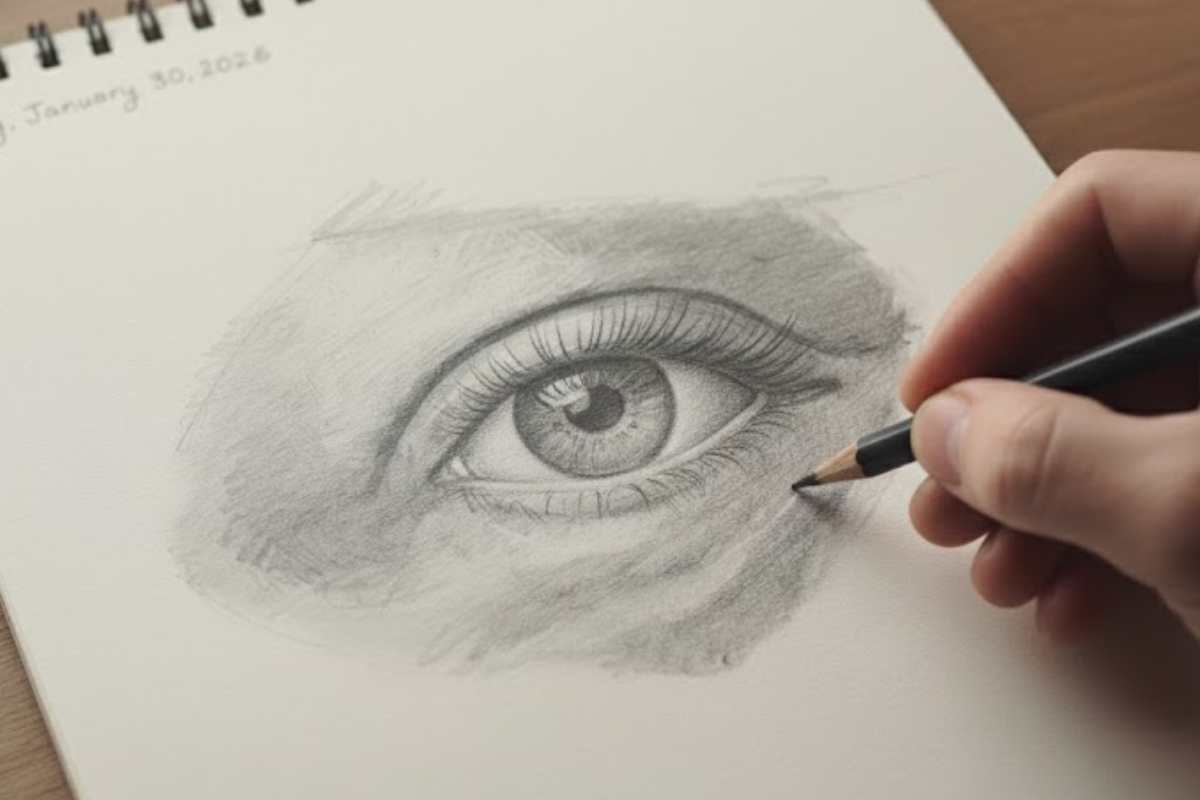
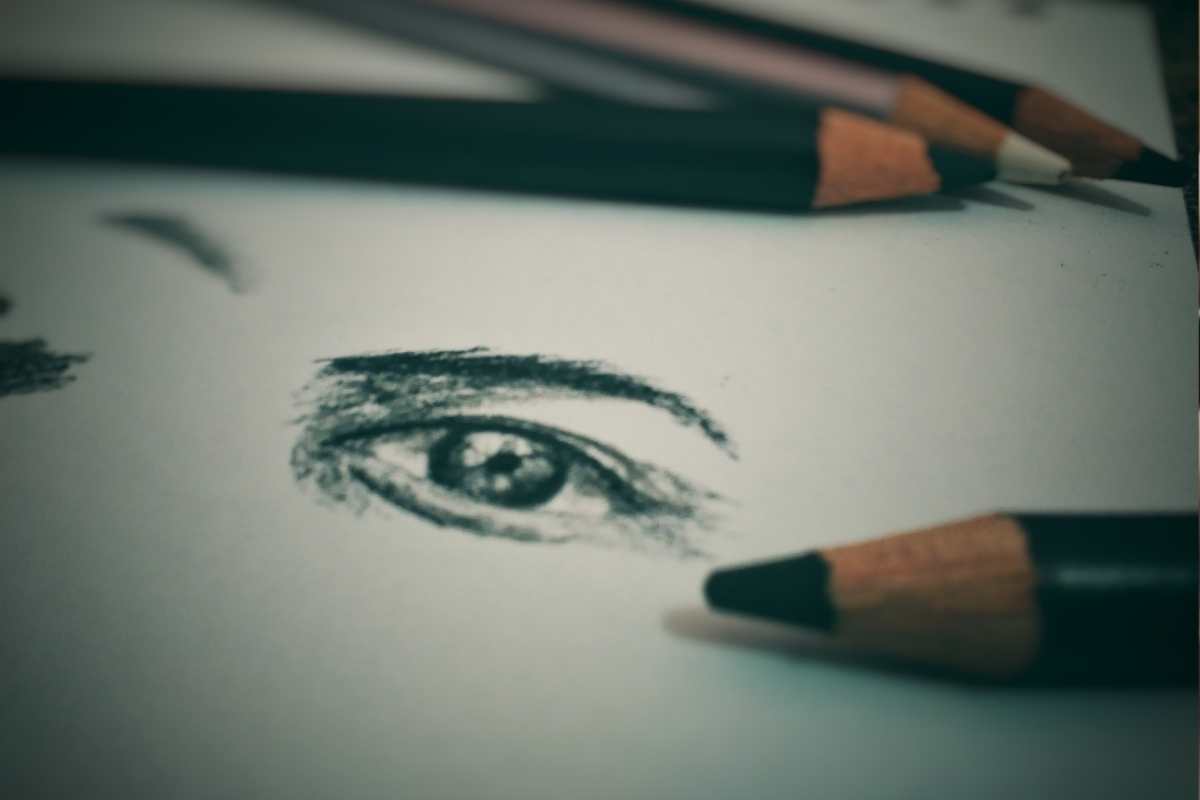
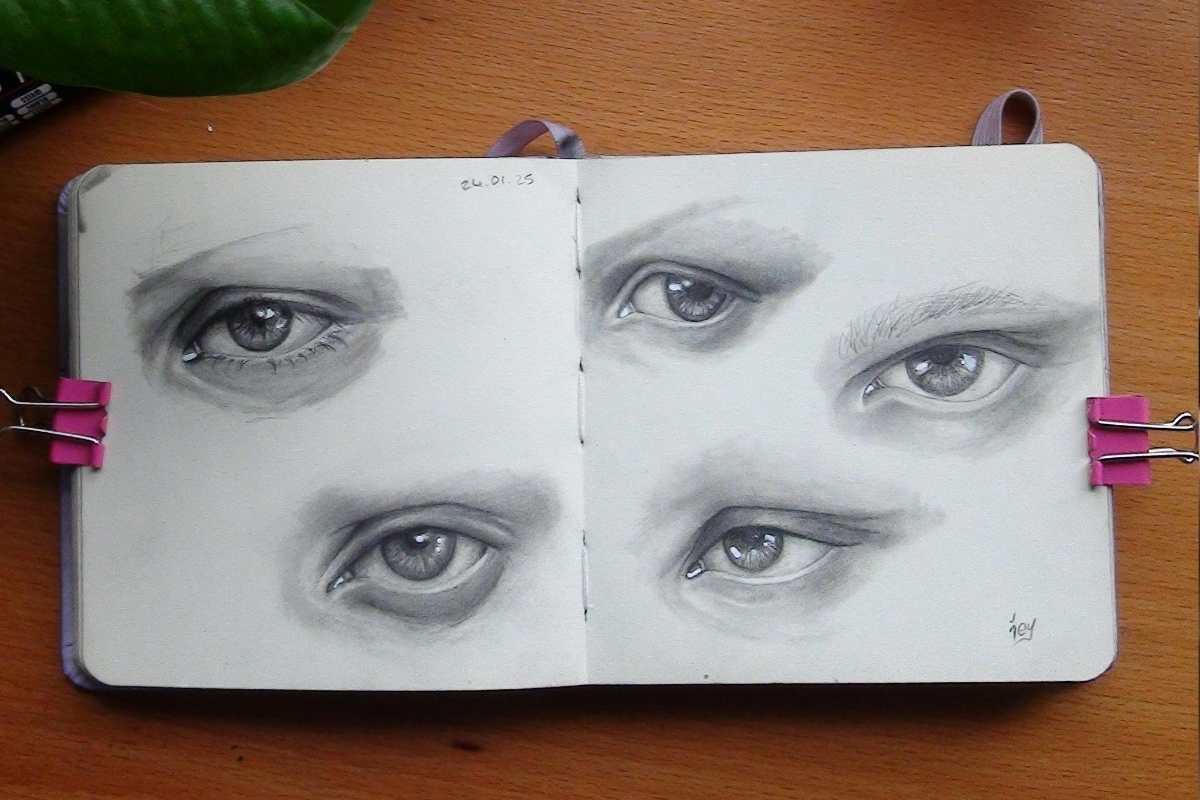
Beginner Realism: Form, Edges, and Shine
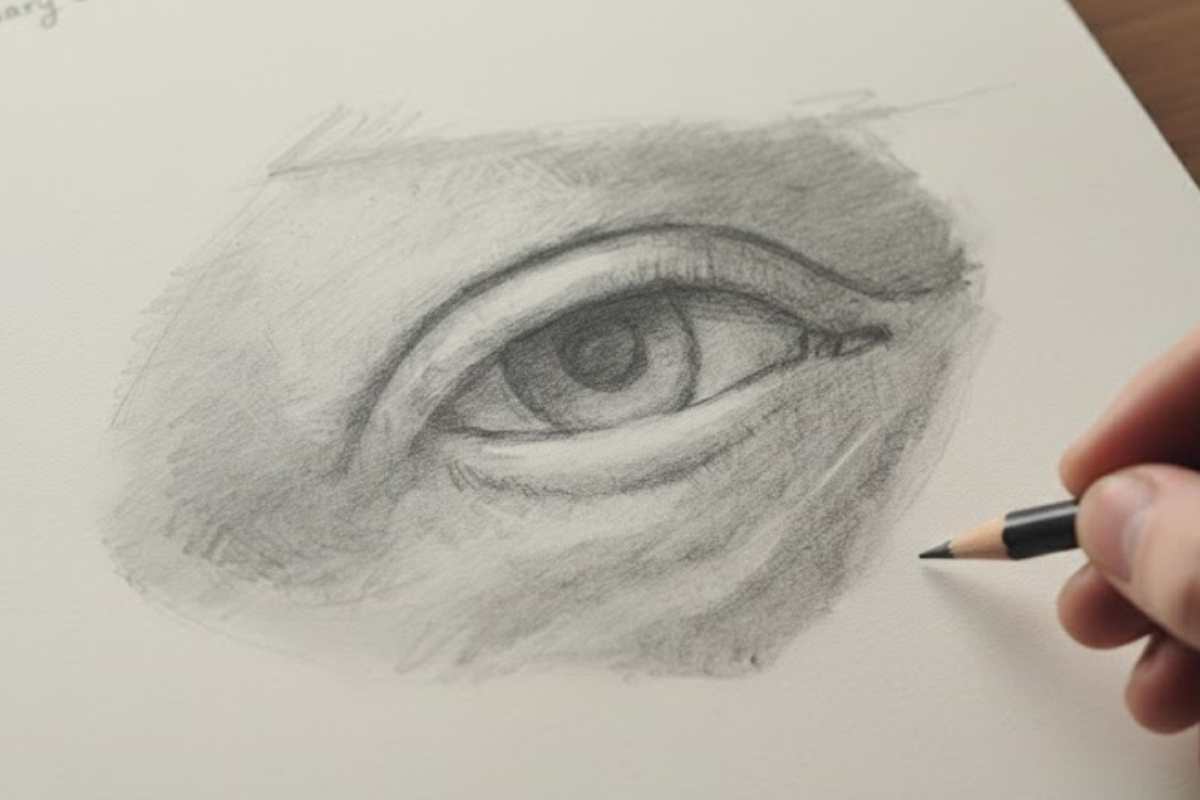
Ready for subtle shading? This pick focuses on readable forms and controlled edges—soft on the sclera’s turn, crisper at the lash line, and a bold specular to sell moisture.
Think “sphere first, details second.” It’s a great bridge from line art to convincing depth.
What you’ll learn: blocking the socket shadow, staging mid-tones before dark accents, and saving the brightest highlights for last so the iris pops. Follow along to build a repeatable checklist for drawing eyes step by step.
Practice tip: keep a neutral paper tilt and test pressure on scrap paper. A small kneaded-eraser lift for the catchlight beats over-erasing.
Click here to see the tutorial
How to Use These Three Together
Start with stylized basics, move to rotation, then layer realism. That sequence keeps your shapes clean, your perspective solid, and your rendering intentional.
If you need drawing ideas eyes for practice, try a weekly rotation: Monday stylized, Wednesday angles, Friday realism studies.
Sprinkle in quick 5-minute gestures of just lids and irises. Over time you’ll build a bank of eye types you can combine on demand—perfect for characters, portraits, or illustration briefs.
Key Takeaways to Lock In
Structure first: socket → eyeball → lids → lashes. Details read better on solid forms.
Edge control: vary softness to separate planes; don’t outline everything.
Highlights tell the story: shape, placement, and value sell wetness and volume.
With these habits, any drawing eyes tutorial becomes more useful—because you’ll know what to look for and how to practice it.
Keep Exploring on Urbaki Art
If this eyes drawing tutorial set helped, browse more portrait tips and sketch challenges on Urbaki Art—save a few references and schedule short daily reps. Consistency wins.
Last update on 2026-02-02 / Affiliate links / Images from Amazon Product Advertising API
Discover More Artistic Inspiration