
Easy Watercolor Bookmarks For Beginners
Ready to paint easy watercolor bookmarks that look polished in minutes? This beginner-friendly video shows two sleek designs and the exact moves to get clean shapes, confident lines, and airy blends.
Whether you’re new to paper crafts or want fast gifts, these watercolor art bookmarks are a relaxing win.
Easy Watercolor Bookmarks: What You’ll Learn
The tutorial breaks down composition, brush control, and color balance using a limited blue-and-black palette.
You’ll see how to layer light washes first, add dynamic ink-like lines, and finish with crisp negative-space details that make each piece feel modern.
It’s ideal if you’re collecting watercolor bookmarks ideas for quick sessions. You can reuse the same steps with different palettes, textures, or metallic accents for a fresh set every time.
Supplies & Paper Tips (Beginner-Friendly)
Use 140 lb (300 gsm) watercolor paper, masking tape to create tidy borders, a round brush, and two to three colors.
Cold press paper gives a soft tooth that helps with control; hot press yields sharper edges if you like graphic lines for bookmarks watercolor projects.
Keep a scrap sheet nearby to test values. Swatching saves time and prevents overworking—essential for watercolor bookmarks diy sessions where you paint multiple pieces at once.
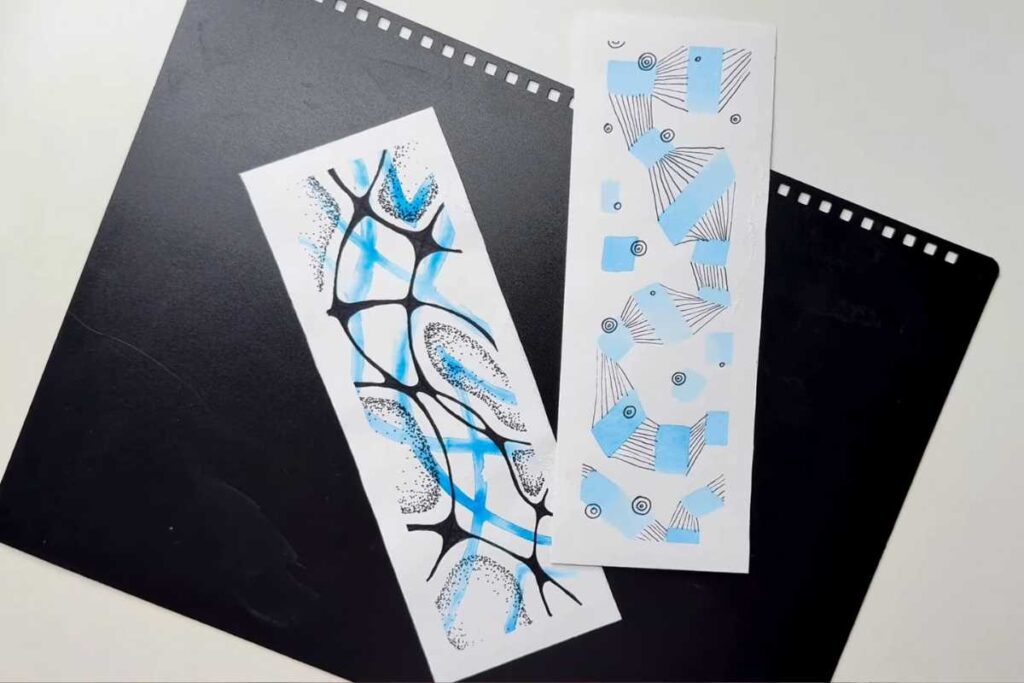
Design 1: Abstract Branches
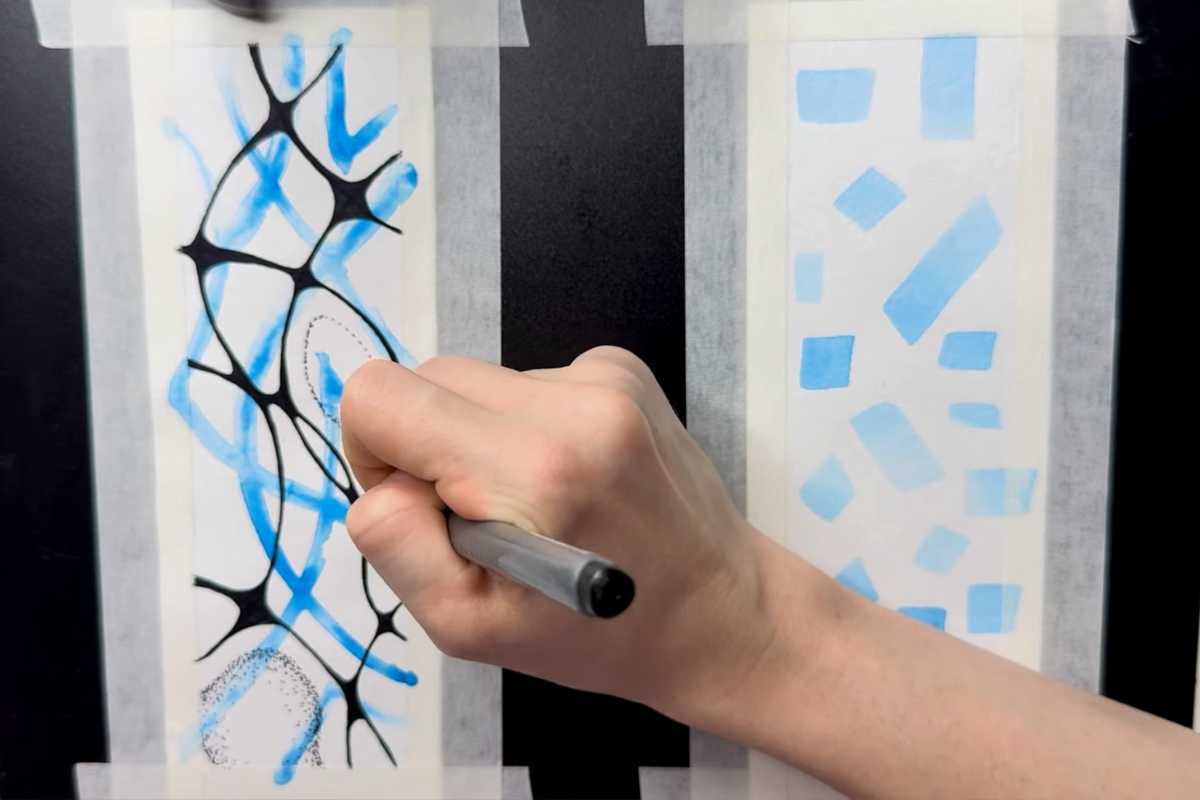
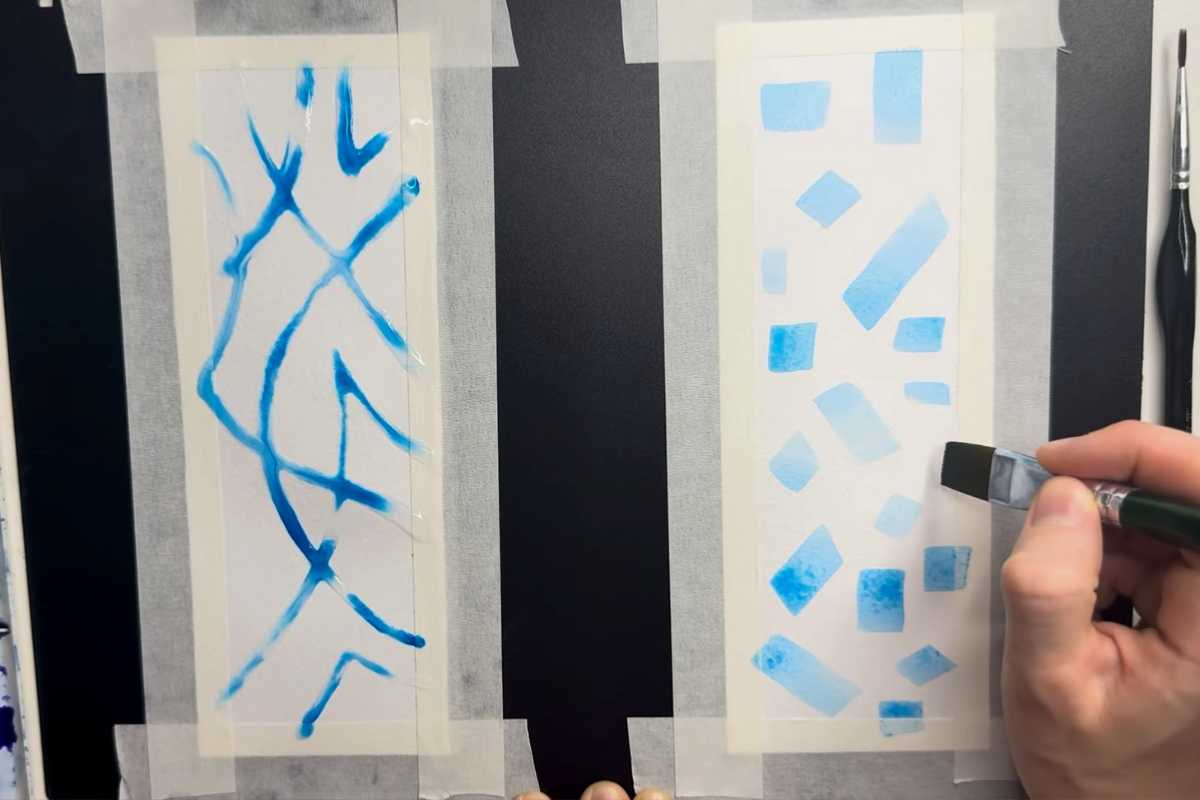
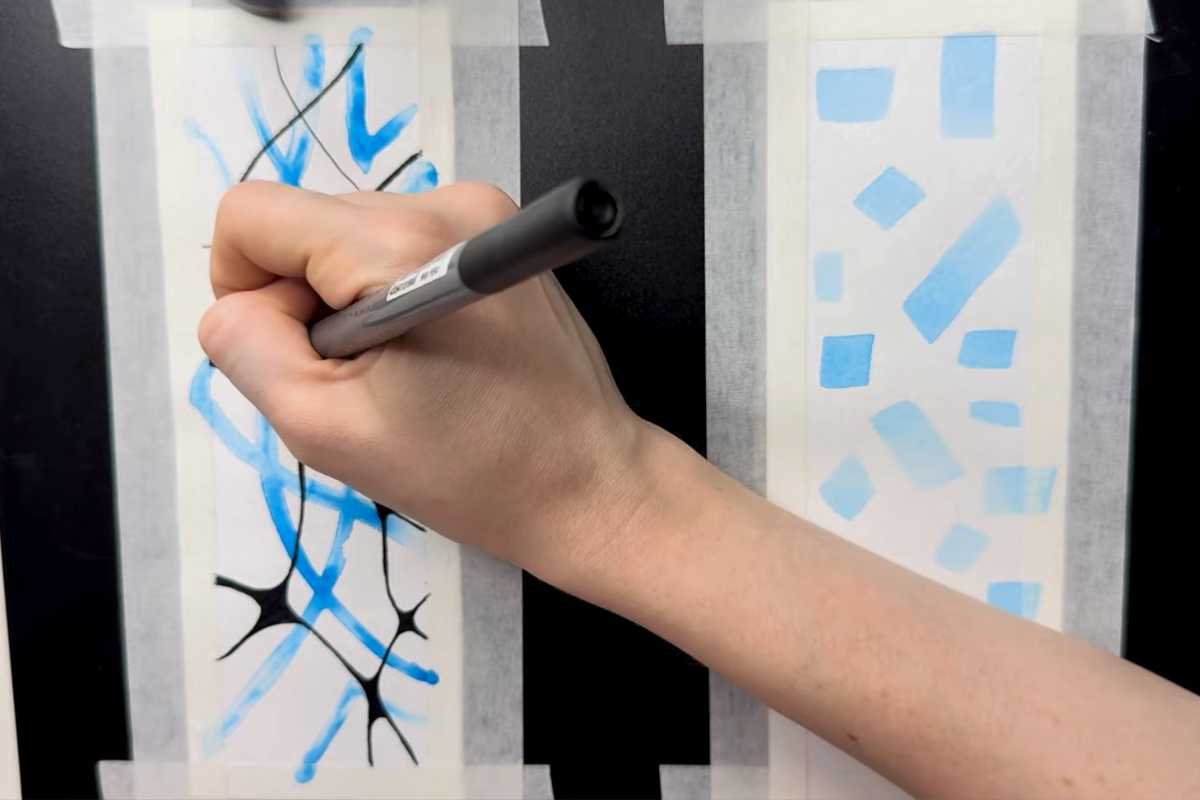
Lay a pale wash, then drop in darker blue while it’s damp to create organic blooms. After drying, use a fine brush to add flowing black lines that resemble branches. The contrast sells the look, and small leaf shapes guide the eye down the bookmark.
This approach fits aesthetic watercolor bookmarks: restrained color, confident marks, and plenty of breathing room. Vary line weight to keep it lively without clutter.
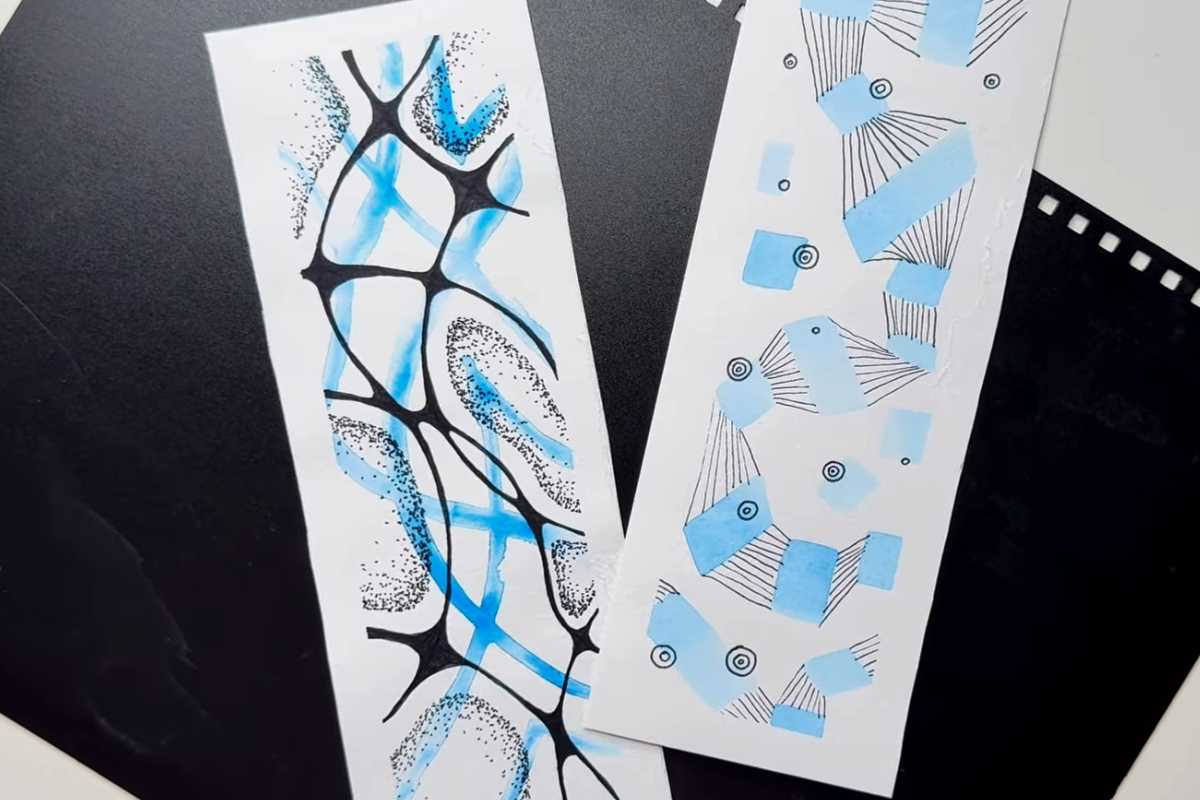
Design 2: Geometric Tiles
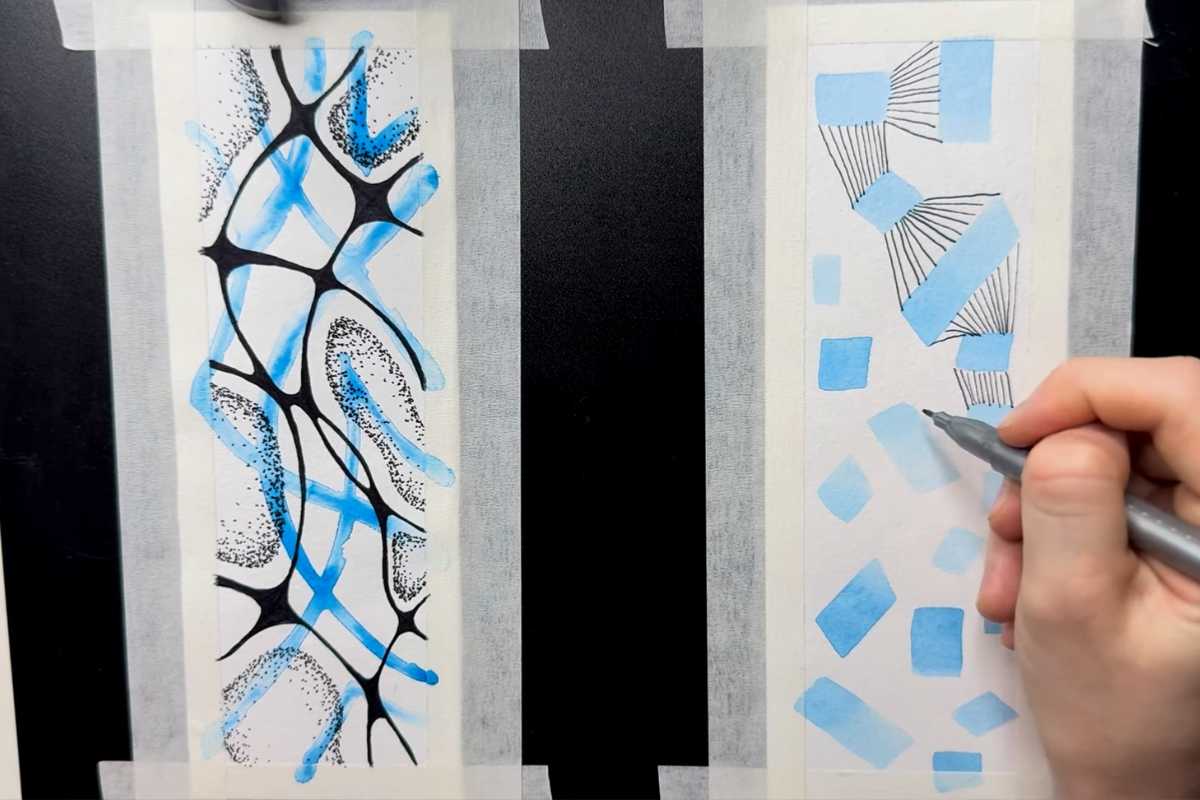
Mask or sketch simple tiles, paint them in alternating values, and leave a few shapes blank to create rhythm. A final pass with delicate outlines ties everything together.
If you’ve been hunting for watercolor bookmarks ideas simple, this pattern is endlessly customizable—swap to warm earth tones, add a gold accent, or round the corners for a softer vibe.
Workflow For Speed & Consistency

Tape several strips at once so all borders match. Work in assembly-line fashion: first washes on every strip, then mid-tones, then details. This “batch” method is perfect for diy bookmarks watercolor gifts or classroom sets.
When you need bookmarks watercolor easy routines, limit your palette to two hues plus black. Cohesive color makes even quick sketches look intentional.
Finishing & Gift Ideas
Let pieces dry flat, peel the tape at a low angle, and add a hole punch with ribbon or twine. A light spray fixative helps protect against smudges. Slip them into a novel or journal for instant cheer.
These also shine as cute watercolor bookmarks ideas for party favors, teacher gifts, or book-club swaps. Label the back with the date and palette names to track your experiments.
Why This Video Works For Beginners
The creator keeps explanations clear and repeatable, focusing on foundations you can use in any set of watercolor bookmarks. You’ll practice edges, timing, and value control without complex drawing.
Credit: all techniques and project flow belong to the original YouTube artist (linked below). Watch their full demo to see timing cues and brush angles in real time—great for watercolor bookmarks diy success.
We thank Art In Motion for the images.
Watch The Tutorial
Follow the step-by-step video to paint both designs and customize your own set of watercolor art bookmarks:

Source: Art In Motion
Last update on 2026-01-14 / Affiliate links / Images from Amazon Product Advertising API
Discover More Artistic Inspiration