
Gouache Winter Botanicals: Paint Mini Pine, Cedar and Berry Cards

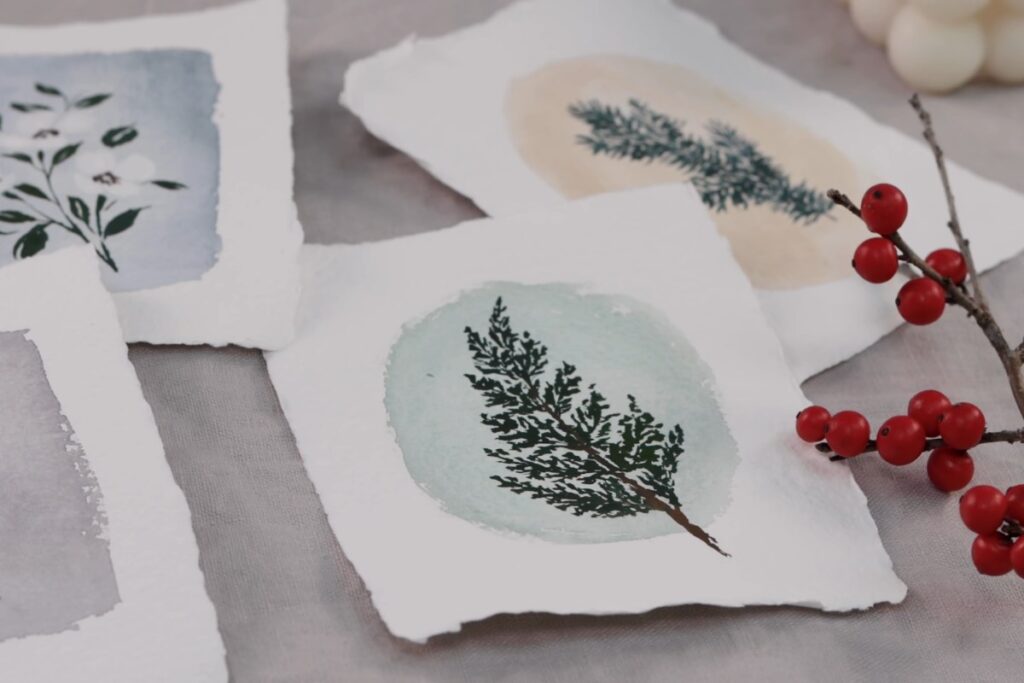
Gouache is a good next step if you already enjoy watercolor. It mixes with water the same way, but it is opaque, so light colors sit on top of dark ones. In this tutorial, Shayda Campbell pairs the two: she paints soft watercolor backgrounds first and then adds small winter botanicals in gouache on top, including red berries, a cedar sprig, white pine, blue spruce and a little white flower.
The tutorial, the method and all the pictures in this post come from Shayda Campbell. You can watch her original video on YouTube or further down this page. Each painting is only a few inches wide, so they work well as handmade holiday cards, gift tags or a winter sketchbook page.
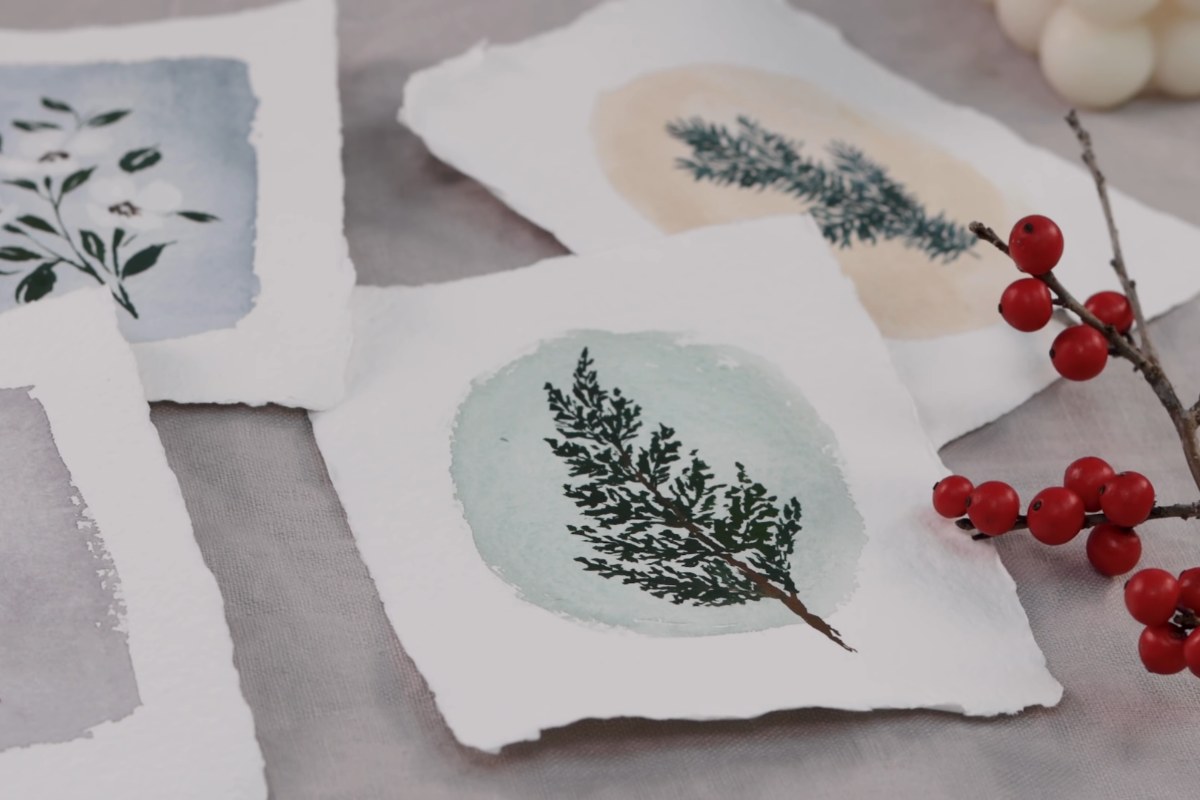
Image: still from Shayda Campbell's video tutorial.
Mini Winter Botanicals at a Glance
- Artist: Shayda Campbell
- Level: Beginner
- Medium: Gouache over watercolor backgrounds
- Subjects: Red berry branch, cedar sprig, white pine, blue spruce and a white flower
- Video length: 12 minutes 39 seconds
What You'll Need
- Gouache in a few basic colors. Shayda uses Winsor & Newton tubes in blue, indigo, red, white, Van Dyke brown and olive green, plus a little magenta and yellow for mixing
- Any watercolor set you already have
- Small pieces of torn handmade paper (any watercolor paper works)
- Round brushes around sizes 3 or 4 and 6 or 8, plus a wash brush for the backgrounds
- A palette, clean water, a paper towel and some tape
- A real branch or a photo to look at while you paint
How to Paint Gouache Winter Botanicals Step by Step
1. Paint the watercolor backgrounds (2:45)
Start with what you know. Shayda mixes a creamy beige from white, water and a hint of brown and lays it on the torn paper, then paints more swatches wet into wet in gray blue, Payne's gray, green and a soft yellow. Because gouache covers well, you can even use dark backgrounds. Let them dry completely.
2. Mix the gouache to the right consistency (3:36)
Gouache comes out of the tube like toothpaste. Add water until it feels soupy or milky; it stays opaque. For the berries, Shayda cools her red with a touch of magenta and mutes it with a little brown. Her evergreen is olive green mixed with indigo.
3. Red berry branch
Tape the paper down so it doesn't curl. Look at how the berries grow and paint them in small clusters, then join the clusters with brown gouache on a clean brush. A slight wiggle of the brush makes the twigs look rough and woody instead of straight.
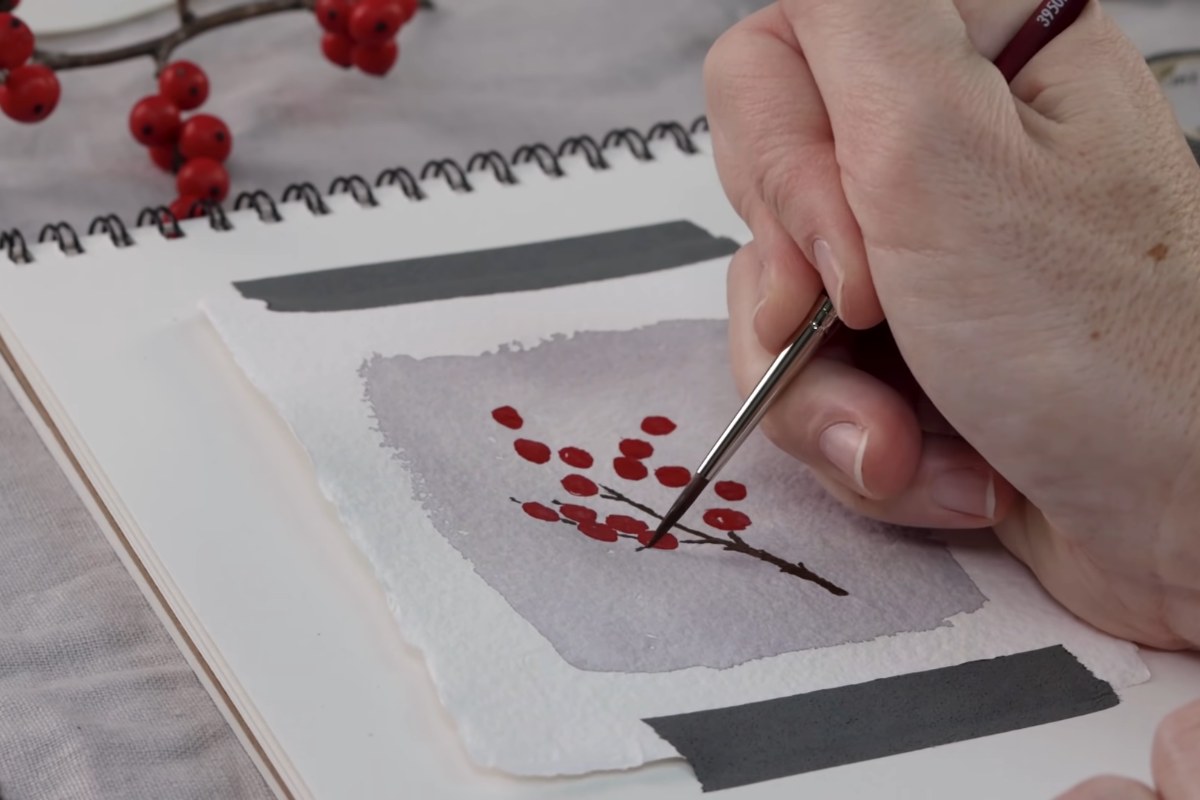
Image: still from Shayda Campbell's video tutorial.
4. Cedar sprig
With a size 3 round brush and plenty of water in the olive and indigo mix, start at the very tip and paint one tiny branch at a time, all attached to a center stem. About two thirds of the way down, switch to brown for the stem and add a few last branches. It should look a little uneven, the way it grows in nature.
5. White pine
Paint a bumpy Y shape in Van Dyke brown, then turn the paper so you can pull the brush toward you. Add long, hair-thin needles in two fan shapes. Light pressure gives broken, dry-brush strokes that make the needles look delicate; a few thicker ones are fine.
6. Blue spruce
Add white to the olive green and indigo for a dusty blue green. Load the belly of the round brush and use only the tip to place short needles along each branch. Without waiting for it to dry, mix in more indigo and olive green and add a few darker needles so the sprig stands out.
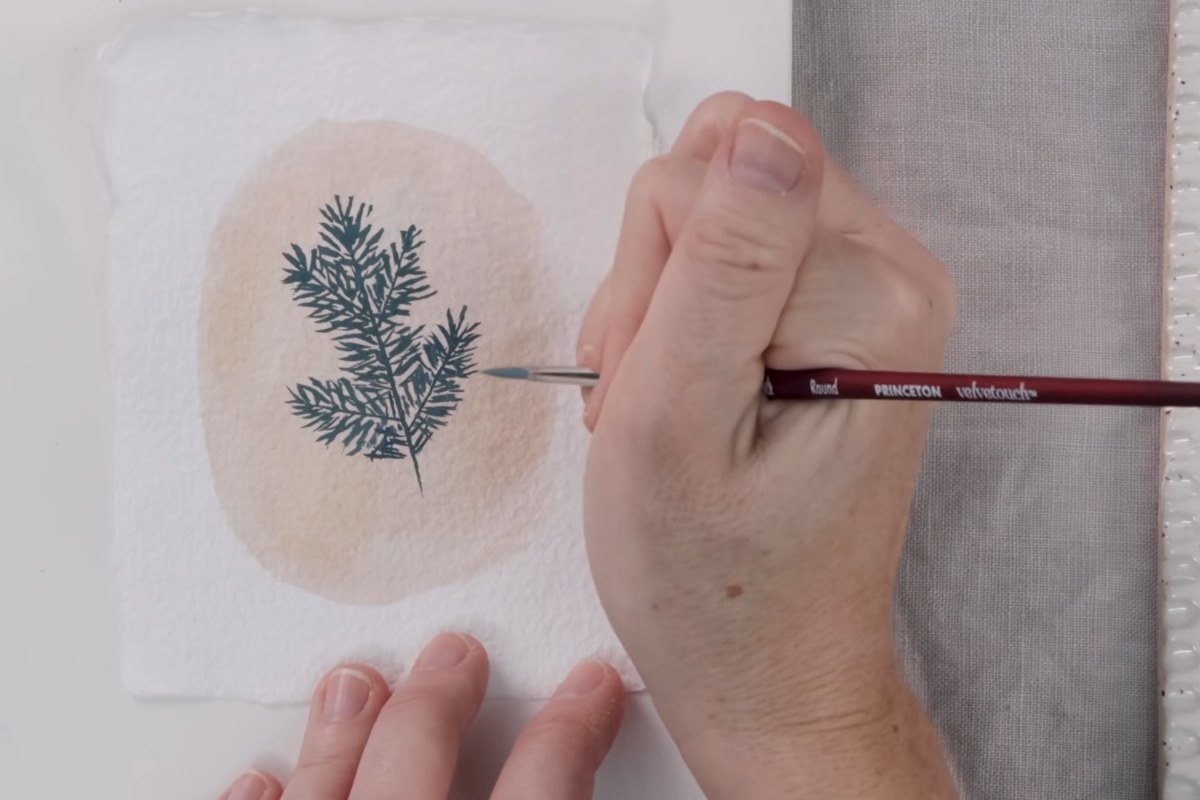
Image: still from Shayda Campbell's video tutorial.
7. A simple winter flower (10:33)
Paint small white petals one at a time; some can be little more than a blob. Use the tip of the brush for thin dark green stems and press the belly down for quick leaf shapes. When the white is dry, dot Van Dyke brown in the centers and add more white if a petal looks faded. To finish, go back to the berries and add small brown dots and stems.
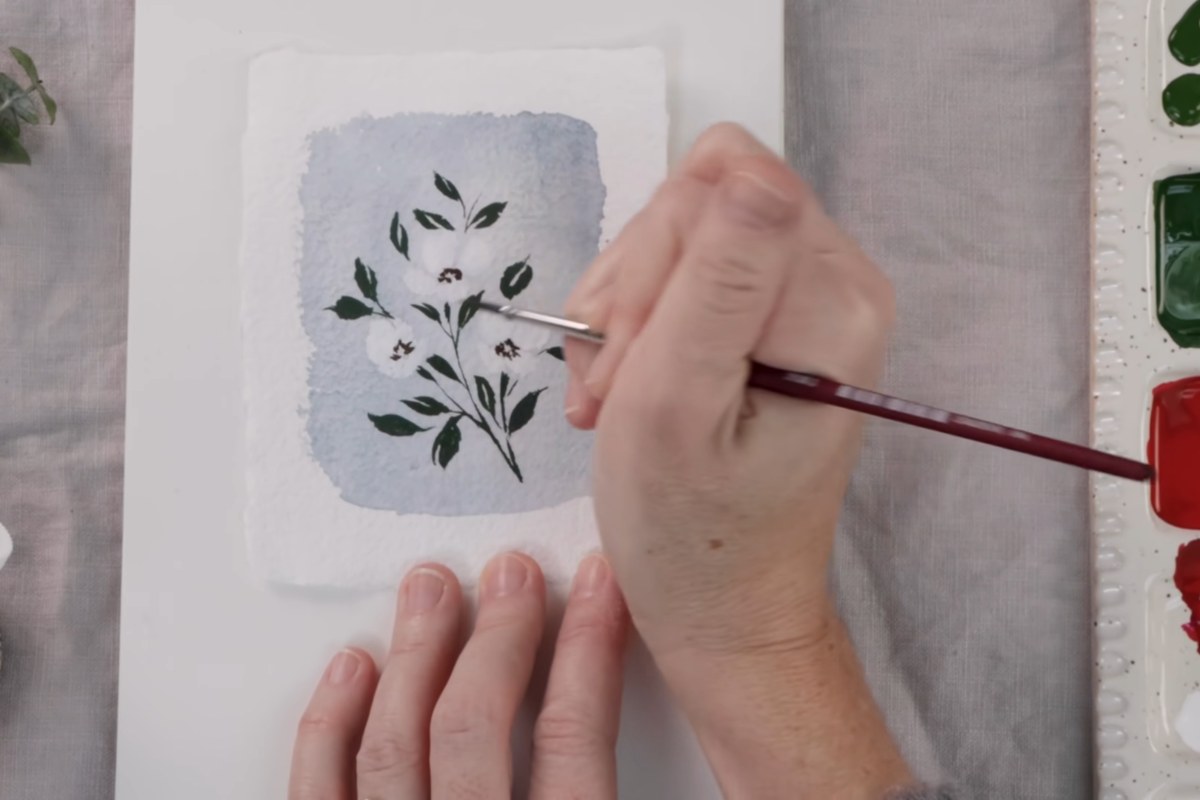
Image: still from Shayda Campbell's video tutorial.
Tips for Better Results
- Buy gouache in the colors you already use most in watercolor. You don't need a big set.
- Never paint with gouache straight from the tube. Thinned paint flows better and still covers well.
- Work from a real sprig or a photo. It helps you see how the branches and needles grow.
- Rotate the paper so you always pull long strokes toward yourself.
Enjoy the Video Tutorial
Paint along with Shayda Campbell from the first background to the last berry:

Source: Shayda Campbell
Frequently Asked Questions
Can I paint gouache on top of watercolor?
Yes. That is the whole idea of this tutorial. Let the watercolor dry first; the opaque gouache sits on top and stays bright even over gray or dark blue.
What can I do with these mini paintings?
Shayda suggests using them as greeting cards. Glue a painting to a folded card, or use the small ones as gift tags for the holidays.
More from Shayda Campbell
Discover More Artistic Inspiration