
How to Draw Poison: Step-by-Step Tutorial

Today we want to share with you a special post:
How to Draw Poison
Welcome to the enchanting world of art, where every stroke of the brush and every line you draw tells a unique story. In this step-by-step tutorial, we'll guide you through the process of drawing poison.
Yes, you read that right – poison can be a stunning subject for your artwork. So, grab your favorite art supplies, and let's embark on this creative journey together!
Materials You'll Need:
Before we dive into the world of poison, make sure you gather these essential materials:
- Paper or Sketchbook: Choose a medium-weight paper or sketchbook with enough space for your drawing.
- Pencils: A range of pencils from 2H (hard) to 6B (soft) for sketching and shading.
- Eraser: A good quality eraser to correct mistakes and fine-tune details.
- Blending Tools: Blending stumps, tissue paper, or your fingertips for smooth transitions.
- Reference Images: Collect reference images of poison or poisonous plants to inspire your drawing.
Step 1: Planning Your Poisonous Creation
Before you start sketching, take a moment to brainstorm and plan your composition. Consider the type of poison you want to depict – is it a venomous snake, a toxic plant, or something more abstract? Visualize how you want to portray its beauty and danger.
Step 2: Outlining the Basics
Begin with a light pencil sketch of the basic shapes and proportions of your poison subject. Pay attention to details like the curvature of leaves, the texture of scales, or the twists of vines. Remember, this is just the foundation, so don't worry about perfection.
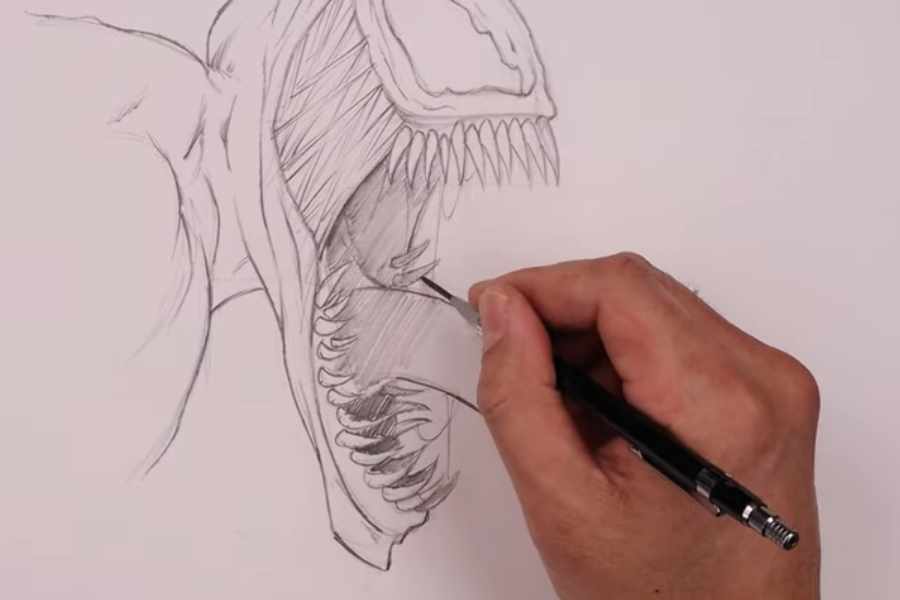
Step 3: Adding Intricate Details
Now, start adding the intricate details that make your poison come to life. Study your reference images closely and replicate the unique features of your subject. Whether it's the patterns on a snake's skin or the veining on a leaf, capture these details with care.
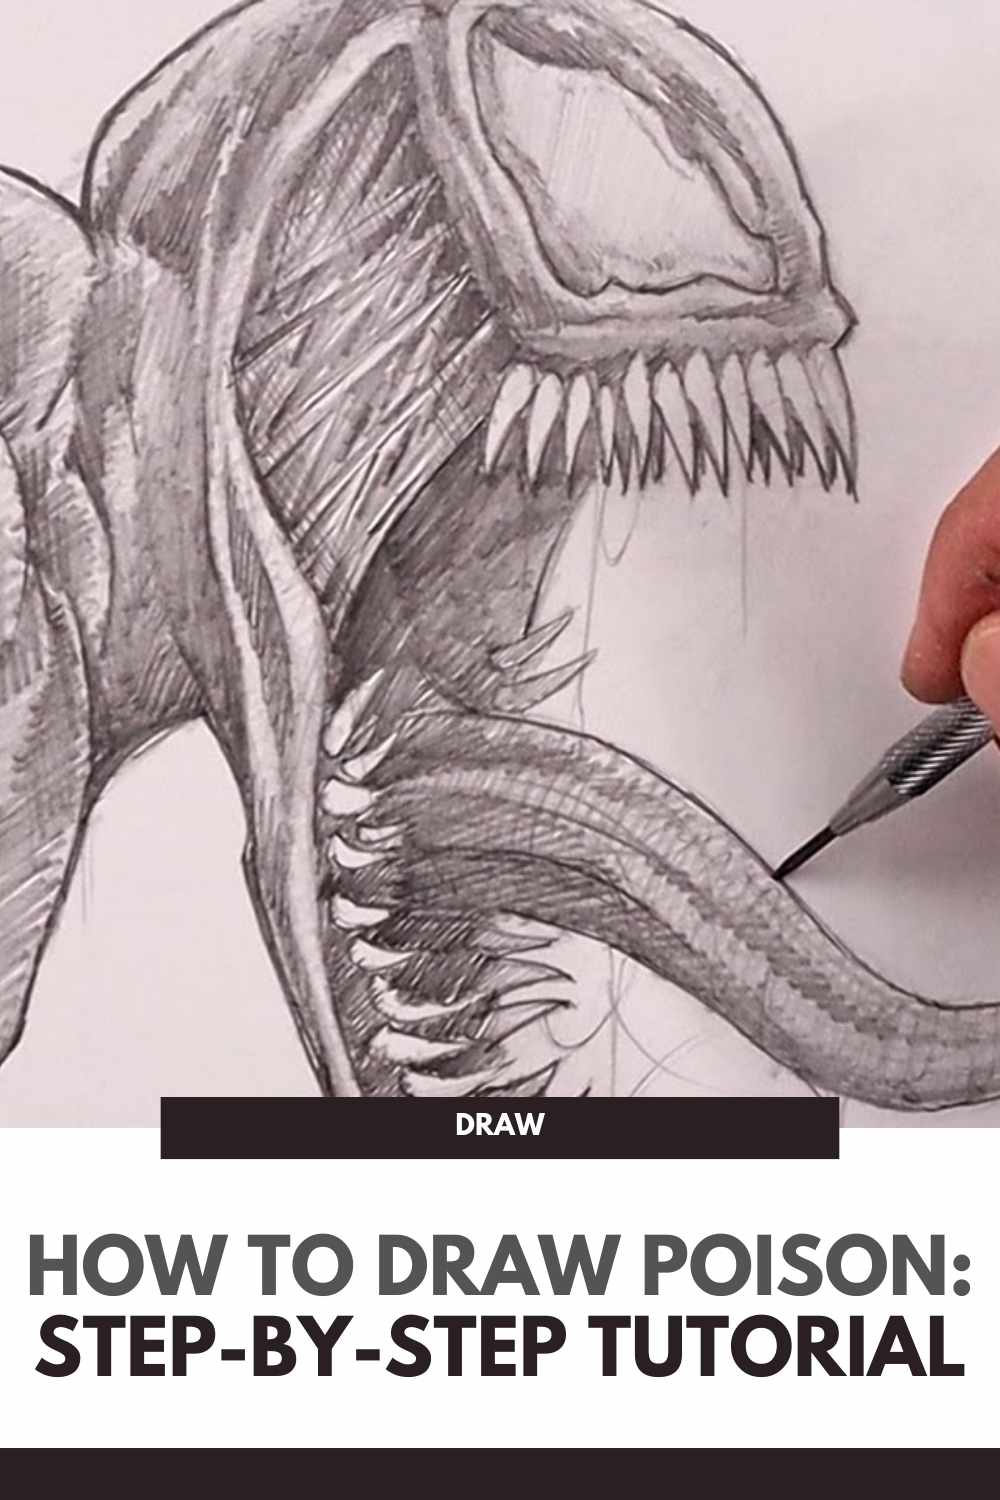
Step 4: Shading and Depth
Shading is where your drawing truly comes alive. Use your range of pencils to create depth and dimension. Darken areas that should appear shadowed, and use lighter strokes for highlights. Pay special attention to the interplay of light and shadow on your subject.
Step 5: Refining Your Poisonous Art
At this stage, step back and evaluate your drawing. Are there any areas that need refinement or additional shading? Use your eraser to make corrections and fine-tune details until you're satisfied with the result.
Congratulations, you've successfully brought the world of poison to life on paper! This tutorial is a testament to the endless possibilities of art, where even the deadliest subjects can be transformed into captivating masterpieces. Remember, art is about self-expression, so don't be afraid to add your unique twist to your poison drawing.
Whether you're a seasoned artist or just starting your creative journey, this tutorial has shown you that with patience and practice, you can draw and bring to life even the most unconventional subjects. So, keep exploring, keep creating, and let your artistic imagination flourish!
We thank Cartooning Club XL for the images.
Enjoy This Video Tutorial About Draw Poison
Source: Cartooning Club XL
Did you find this post useful or inspiring? Save THIS PIN to your Art Board on Pinterest! 😊
Discover More Artistic Inspiration