
Learn to Paint a Serene Sea in Watercolors: Tutorial for Beginners
If you've ever dreamed of painting the sea but didn’t know where to begin, this easy watercolor tutorial will guide you through the process. Whether you’re a beginner or simply want to improve your watercolor skills, this tutorial is perfect for you.
The soft flow of watercolors can beautifully capture the peaceful nature of the ocean, and with a few simple techniques, you’ll create a stunning seascape that looks both professional and calming.
The Magic of Watercolors in Seascapes
Watercolors have a unique ability to evoke the fluid, ever-changing qualities of the sea. The transparent nature of the medium makes it ideal for creating soft, flowing effects, mimicking the waves and the sky’s reflections.
By layering and blending the colors, you can capture the gentle movement of the ocean and the shifting light.
A key feature of watercolor painting is its ability to blend seamlessly, creating the misty atmosphere of the sea, and allowing you to portray the peaceful vibrancy of the water’s surface.
The colors of the ocean range from deep blues to light pastels, making this medium ideal for capturing the calming feeling of being near the water.
Choosing the Right Supplies
Before you begin, having the right supplies is essential. You don’t need to invest in expensive materials—just a few basic tools will do the trick:
Watercolor Paper
Opt for high-quality watercolor paper, as it absorbs the paint effectively, allowing the colors to blend beautifully. Choose a cold-pressed or hot-pressed paper depending on the texture you prefer. Cold-pressed has a bit more texture, while hot-pressed gives a smoother surface.
Watercolor Paints
Watercolors come in a variety of formats—tubes, pans, or liquid. For this seascape, you’ll need blues, pinks, purples, and white. Cobalt blue, ultramarine blue, and phthalo blue are great choices for the sea, while softer hues like lavender or rose can help create the soft, misty sky.
Brushes
Select a round brush for larger washes and a detail brush for finer work, especially for painting the boats or the gentle reflection in the water. Having a variety of brush sizes will help you control the flow of the paint and allow you to adjust the level of detail.
Water
Water is essential for watercolor painting, both for mixing the paint and for adjusting its consistency on the paper. Always have a clean cup of water and a paper towel handy to keep your brushes clean and to control the amount of water in your painting.
Painting a Serene Ocean Scene
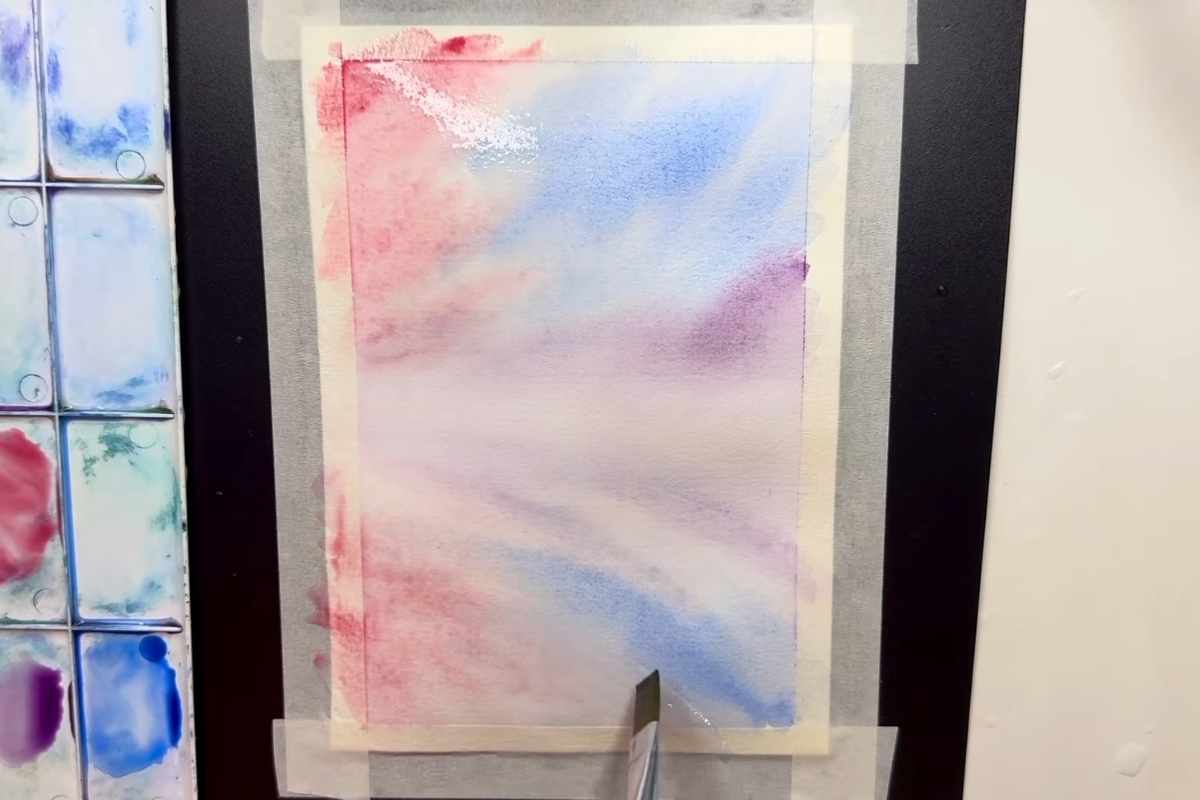
Creating the Background Sky
One of the most beautiful aspects of a sea painting is the sky. Watercolors allow you to achieve soft gradients that perfectly emulate the gentle transition of colors in a sunrise or sunset.
For this painting, you will create a sky with delicate shades of pink and blue that blend together seamlessly.
Start with a light wash of water to wet the paper, and then introduce your chosen colors gradually, allowing the paint to blend naturally. This creates a smooth, dream-like background that is the perfect setting for your seascape.
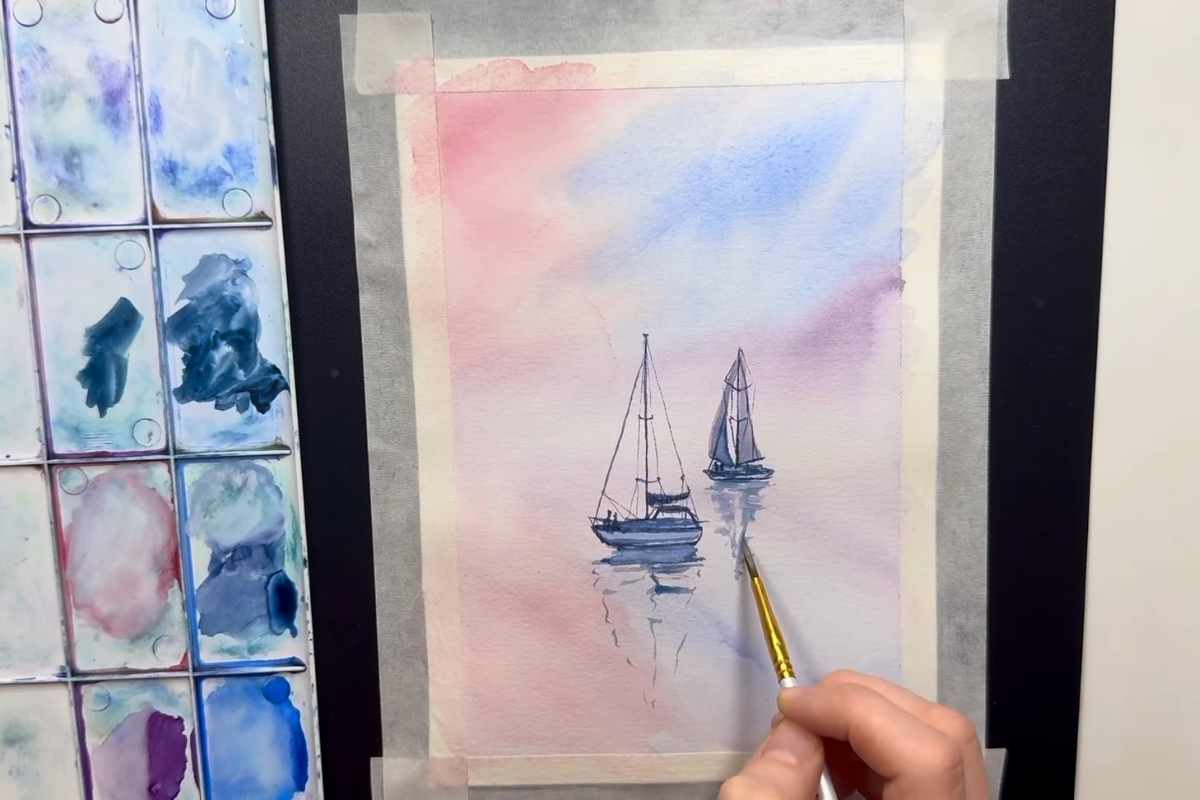
Painting the Sea
Once the sky is done, you can move on to painting the sea. Watercolors allow for beautiful fluidity, making it easy to create ripples and gentle waves. Start with a base layer of blue and gradually darken the hues near the horizon to create the illusion of depth.
The beauty of watercolors lies in the ability to layer the paint. Use light washes for the lighter areas of the water and darker tones to suggest shadows or deeper areas. Pay attention to the reflection of the sky on the water. This will give your painting depth and realism.
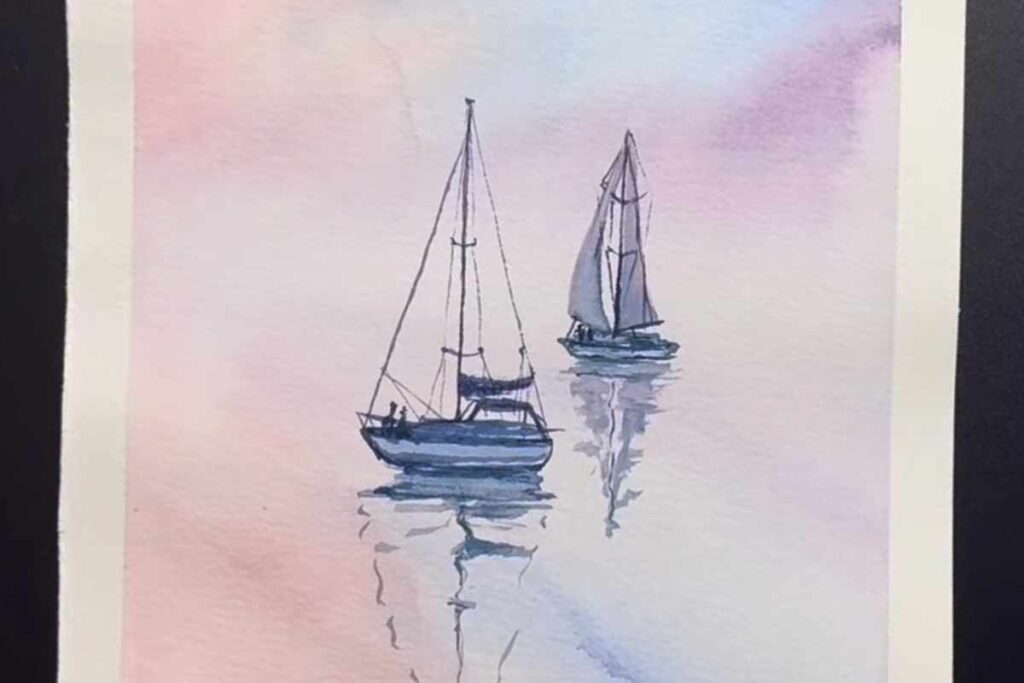
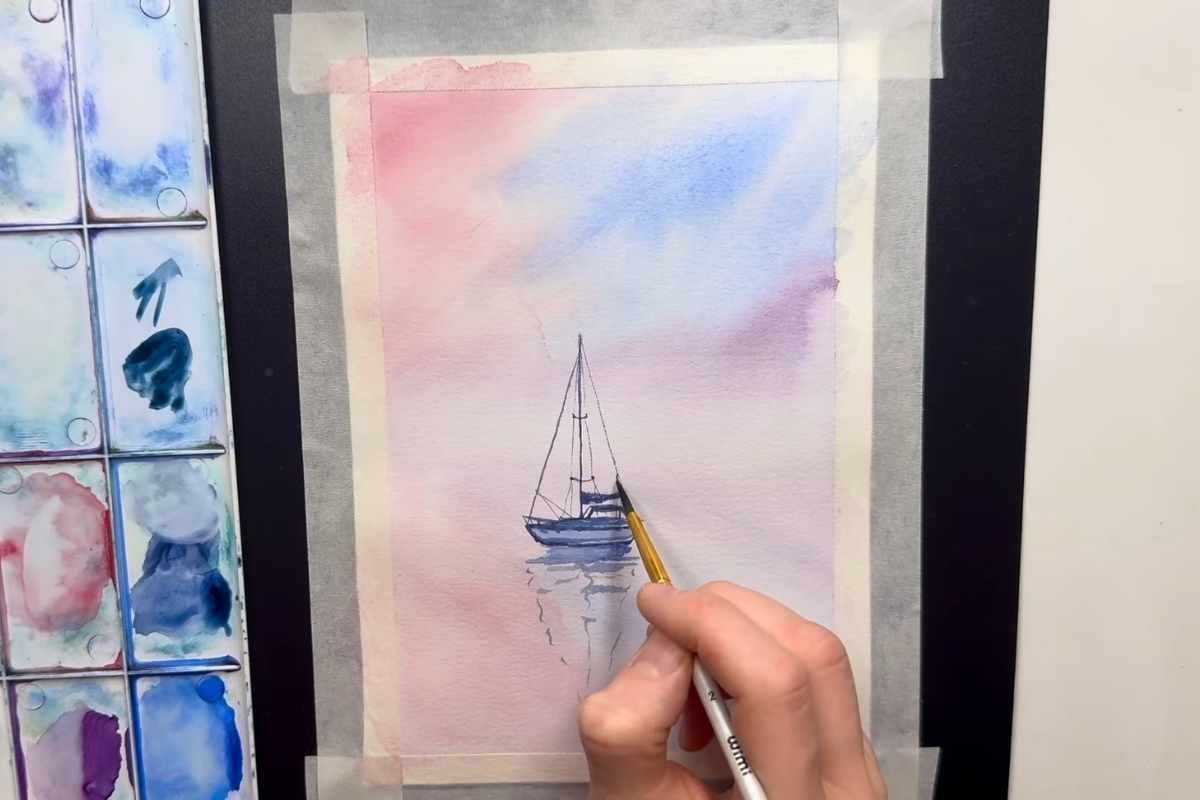
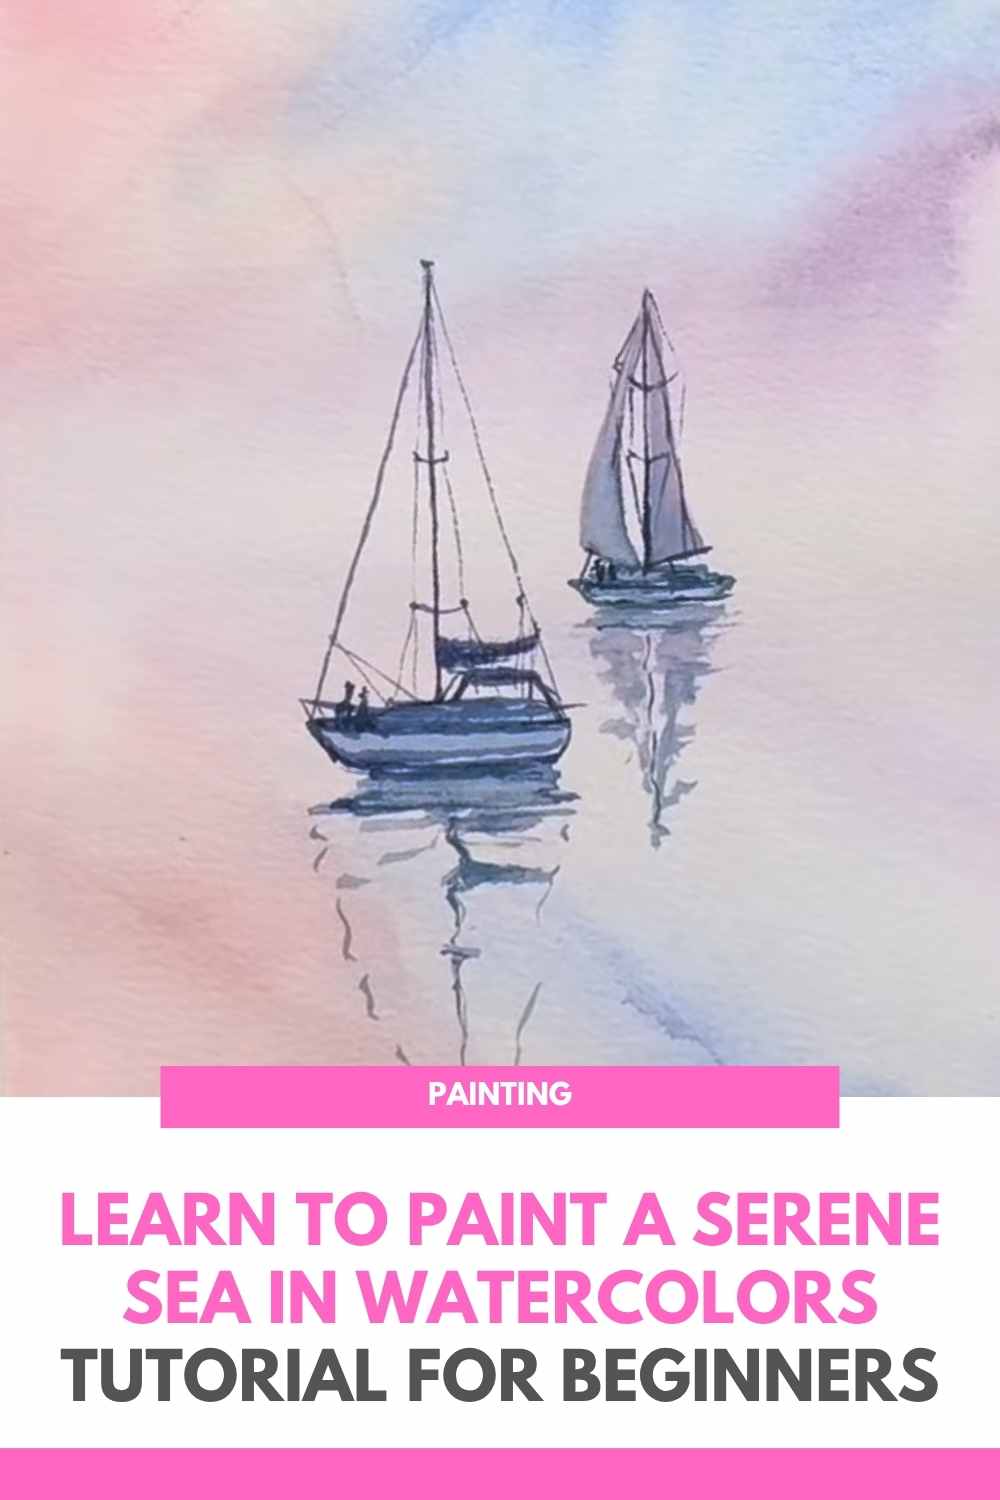
Adding the Boats
The sailboats in the scene provide a lovely contrast to the soft, flowing background. Using a fine detail brush, sketch the outline of the boats and then fill them in with darker tones.
The simplicity of the boats adds a touch of elegance to the scene, allowing the focus to remain on the peaceful atmosphere of the sea.
Once the boats are painted, use soft brush strokes to suggest their reflection in the water. This can be achieved by gently blending the paint downward from the base of the boats, creating a subtle mirroring effect that captures the stillness of the water.
Final Touches to Enhance the Scene
Once the major elements of the painting are complete, you can add the final touches that bring the scene to life. Lightly adjust the sky’s colors or deepen the reflections in the water.
Small details such as soft clouds in the sky or gentle ripples on the water surface can add movement and bring a sense of realism to your painting.
Additionally, you might want to emphasize the darker areas of the water near the boats for added contrast, highlighting the depth of the sea and drawing attention to the boats.
Why You Should Try This Watercolor Tutorial
Creating a seascape with watercolors is a calming and enjoyable experience that anyone can dive into. The simple techniques involved in this tutorial make it perfect for beginners, while the expressive nature of watercolor allows for creativity and personal interpretation.
By following this tutorial, you’ll not only improve your skills but also find joy in the process of capturing the beauty of the ocean.
Whether you're aiming to decorate your home with a stunning piece of art or simply enjoying a relaxing creative process, this easy watercolor tutorial will give you the tools to create a piece of art that transports you to the peaceful shores of the sea.
Grab your brushes, choose your colors, and let the watercolors bring the ocean to life!
We thank Art In Motion for the images.
Enjoy The Video Tutorial

Source: Art In Motion
Did you find this post useful or inspiring? Save THIS PIN to your Art Board on Pinterest! 😊
Last update on 2025-10-18 / Affiliate links / Images from Amazon Product Advertising API
Discover More Artistic Inspiration