
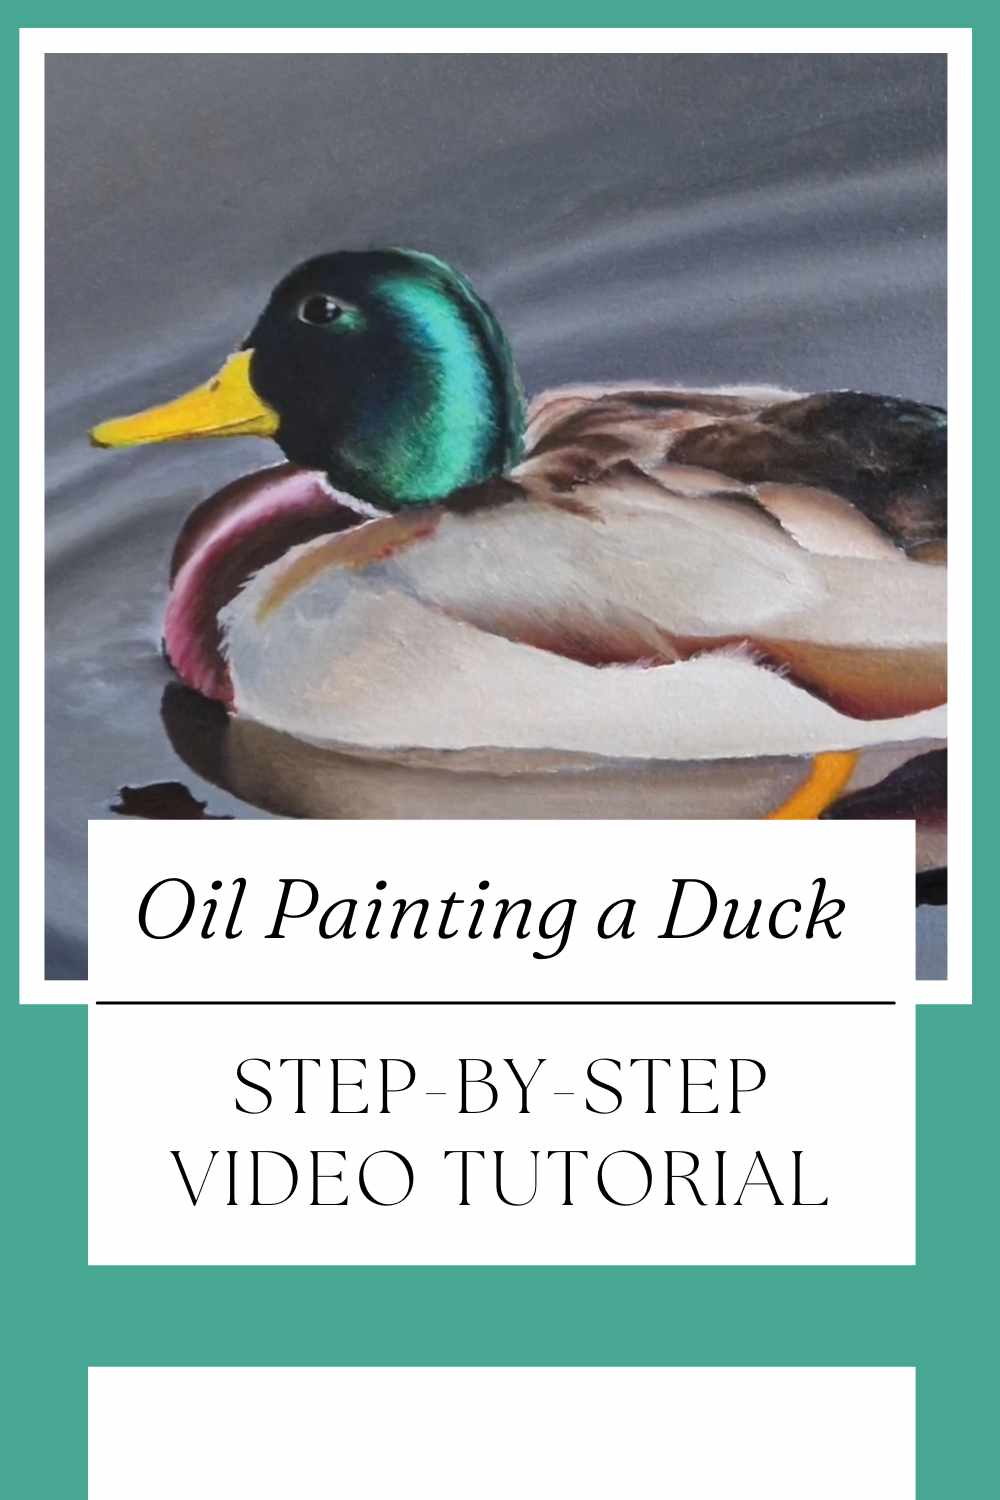
Oil Painting a Duck: Step-by-Step Video Tutorial

Oil painting offers a beautiful, rich medium for artists to bring their subjects to life. The depth, texture, and luminosity achieved through oils make it a favorite for many painters.
In this article, we’ll explore a time-lapse painting of a duck, showing how this fascinating subject is transformed from a blank canvas into a vibrant and realistic artwork.
Whether you’re new to oil painting or an experienced artist, the process is an exciting and rewarding one, and this tutorial provides a captivating glimpse into how it’s done.
Why Oil Paintings Bring Animals to Life
Oil paints have a unique ability to create depth and texture that other mediums often struggle to replicate. The rich, saturated colors and smooth blending available with oils help convey the natural beauty of an animal like a duck, especially when paired with realistic techniques.
This is why oil painting is the medium of choice for many artists when creating detailed wildlife portraits. The slow-drying nature of oils also gives artists the time to perfect their work, making it ideal for capturing the fine details and subtle tonal variations in animal features.
The Beauty of Painting a Duck
A duck is an ideal subject for oil painting due to its intricate feather patterns, vibrant colors, and the reflection in water that adds an extra layer of challenge.
In this time-lapse painting, the artist uses oils to not only capture the duck’s natural beauty but also the serene water reflections, giving the piece an ethereal, almost dreamlike quality.
The unique mix of glossy feathers and water droplets provides an opportunity to showcase the versatility of oil paints.
The soft, reflective quality of water is one of the most challenging yet exciting elements to paint. Oil paints allow for smooth transitions and subtle blending, making them perfect for rendering the glossy surface of the water, as well as the reflective light bouncing off the duck's feathers.
The Time-Lapse Process: A Journey Through Layers
Watching a painting evolve through a time-lapse is an experience in itself. The progression is fascinating, especially when seeing the shapes and details emerge. Oil painting allows for several layers to be built up, each one contributing to the final look.
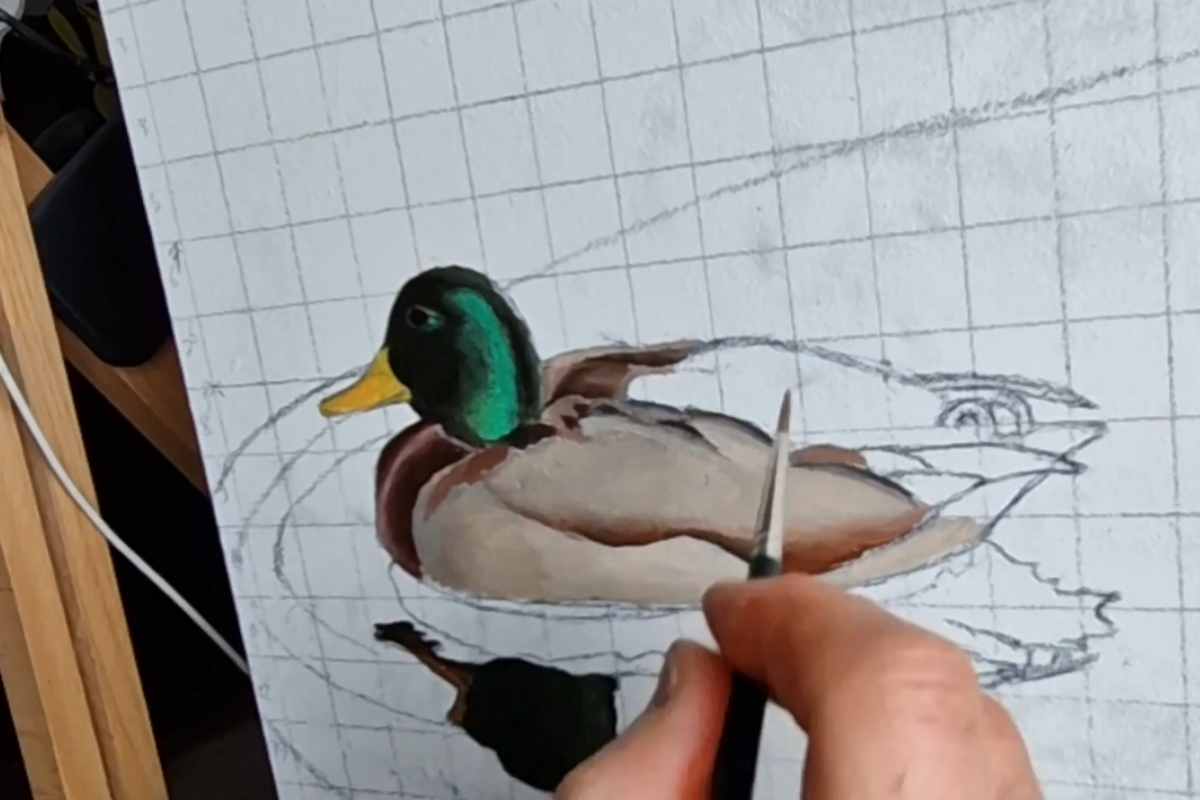
Initial Layer: Establishing the Duck’s Structure
The time-lapse begins with the initial layer, where broad shapes are established. The artist typically starts with a dark underpainting, setting the tone for the rest of the work. This underpainting defines the structure of the duck and helps with the placement of the various elements.
Using large brushes, the artist quickly lays out the general shapes of the head, body, and flippers, leaving space for details to be added later.
At this stage, the focus is on getting the proportions and composition right. The duck begins to take shape, but there is still plenty of room for refinement. The soft, fluid strokes used in this stage set the groundwork for the more detailed painting that follows.
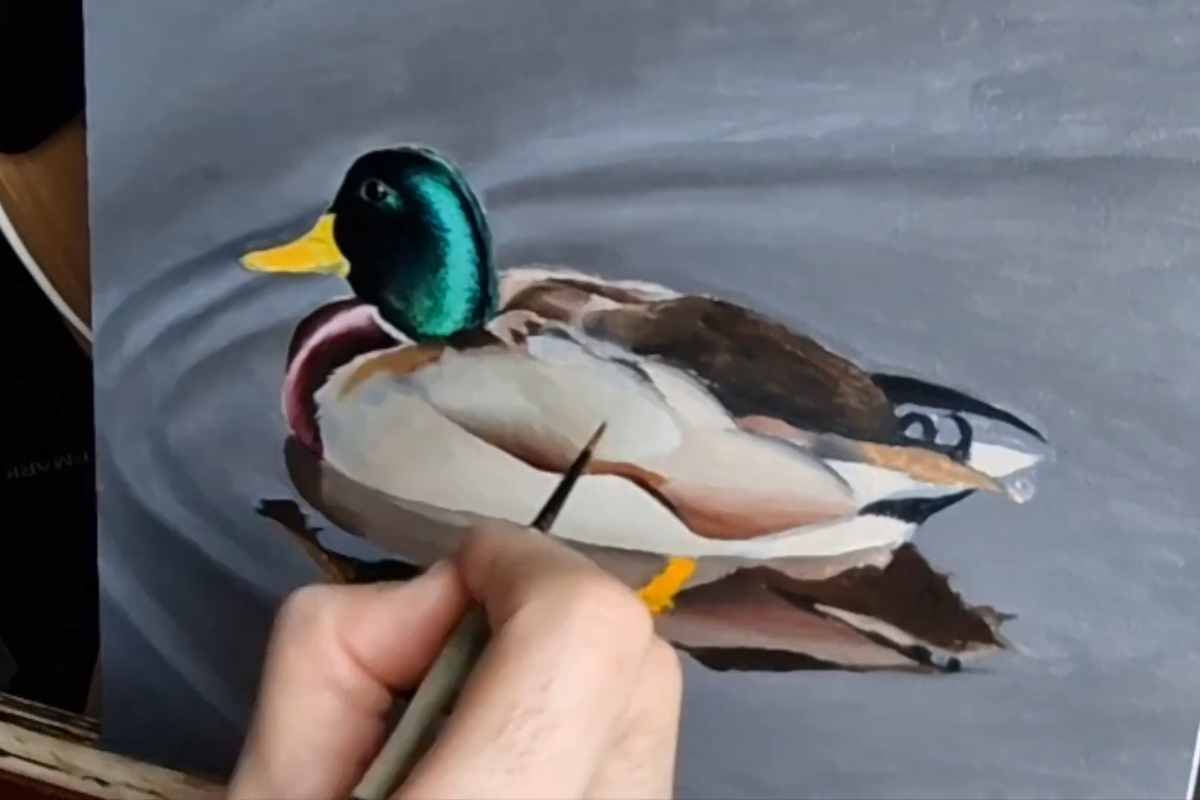
Layering for Detail: Building Depth and Texture
Next, the artist starts to add layered glazes of color to bring depth and texture to the duck. The use of oils in thin layers allows the artist to build up the details gradually. This is the point where the duck begins to feel more real, with feather textures and subtle color shifts in the plumage.
The reflective surface of the water is also given attention during this stage, with careful application of color to mimic the ripples and reflections.
The artist will often use a wet-on-wet technique, blending different tones directly onto the canvas while the paint is still wet. This technique allows for smooth gradients and soft transitions, especially in areas like the duck’s shiny feathers and the water surrounding it.
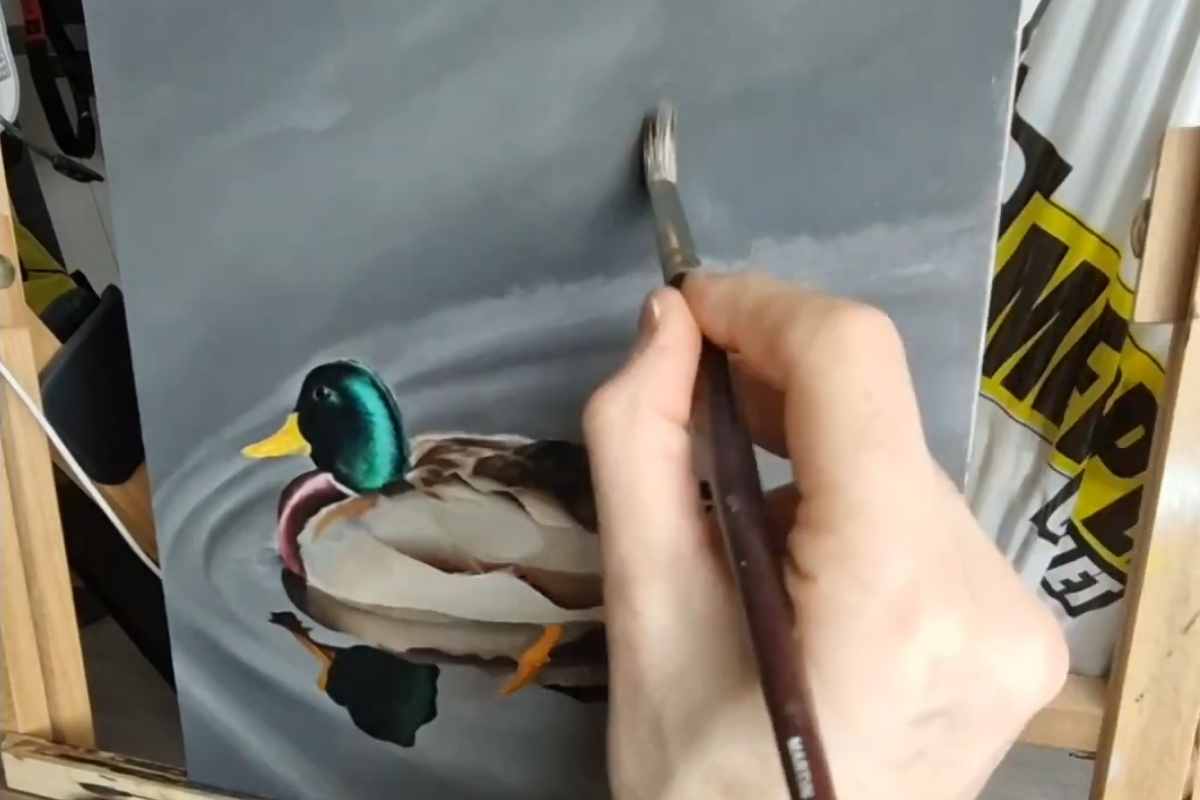
Final Layer: Adding Fine Details and Highlights
In the final stages of the time-lapse, the artist adds fine details that bring the painting to life. This includes the highlights on the feathers, the duck's beak, and the reflective qualities of the water
. These details require a steady hand and a fine-tipped brush to achieve the delicate precision needed. The water's reflections are carefully painted with subtle glazing to create a soft, shimmering effect.
The use of glazes and highlights brings the painting closer to realism, adding depth and making the painting appear three-dimensional. These final touches are essential for capturing the lifelike texture of the duck and its environment.
The Magic of Time-Lapse Painting
Time-lapse painting is an incredible way to showcase the evolution of a painting from start to finish. It allows viewers to witness the transformation of an idea on a blank canvas into a fully realized work of art.
The fast-forwarded process reveals the dedication and intricate work behind each brushstroke, making it clear why oil painting is such a revered medium.
The time-lapse effect condenses hours of work into just a few minutes, offering a glimpse into the artistry and techniques that go into creating such a beautiful piece.
As the layers build, the painting becomes more refined and detailed, highlighting the artist’s ability to capture textures, colors, and light in a way that only oils can achieve.
Conclusion: The Rewarding Experience of Painting a Duck in Oils
Painting a duck in oils is a challenging yet rewarding experience. The time-lapse video offers a fast-paced overview of the artist's process, from the initial broad strokes to the final details that bring the piece to life.
Watching the transformation is not only fascinating but also inspiring for artists looking to explore oil painting techniques.
The combination of layering glazes, adding fine details, and capturing reflections in water creates a stunning effect that demonstrates the versatility of oil paints.
For anyone looking to delve into the world of oil painting or wildlife art, painting a duck is a great subject that allows you to practice texture, color, and reflective techniques while creating a beautiful, realistic masterpiece.
We thank Marcel Ruben for the images.
Enjoy The Video Tutorial

Source: Marcel Ruben
Did you find this post useful or inspiring? Save THIS PIN to your Art Board on Pinterest! 😊
Discover More Artistic Inspiration