
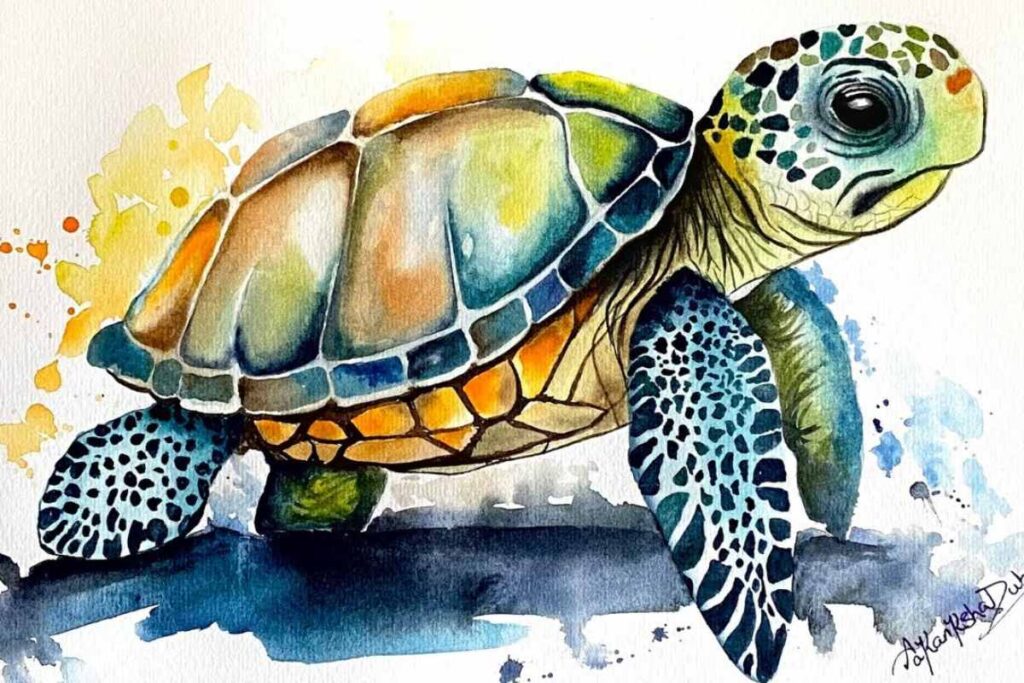
Step-by-Step Watercolor Tutorial: Painting a Beautiful Sea Turtle
Watercolor painting is a beautiful medium that allows artists to create expressive and vibrant pieces. Whether you are new to painting or an experienced artist, painting a sea turtle is an excellent subject to explore.
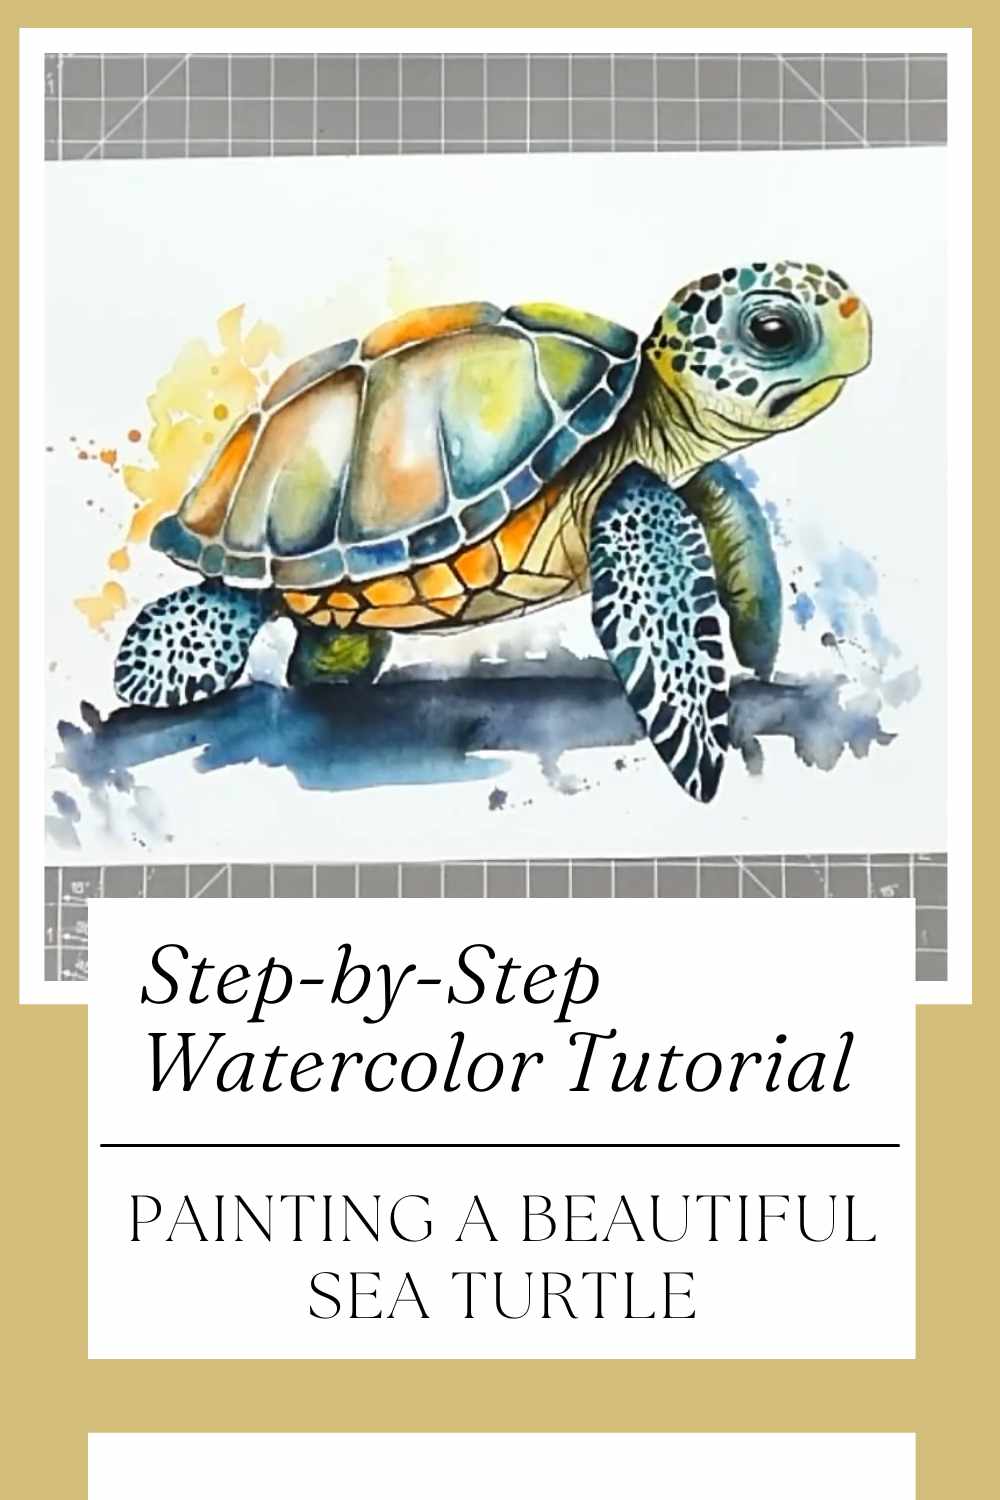
With its unique shapes, vibrant colors, and intricate textures, painting a sea turtle provides an opportunity to experiment with blending hues, layering washes, and creating expressive patterns.
In this tutorial guide, you will learn the essentials of painting a sea turtle using watercolors, from the initial sketching of the outline to the final touches that bring it to life. The step-by-step process is designed to help you create a stunning piece, with a focus on vibrant hues, smooth blends, and realistic details.
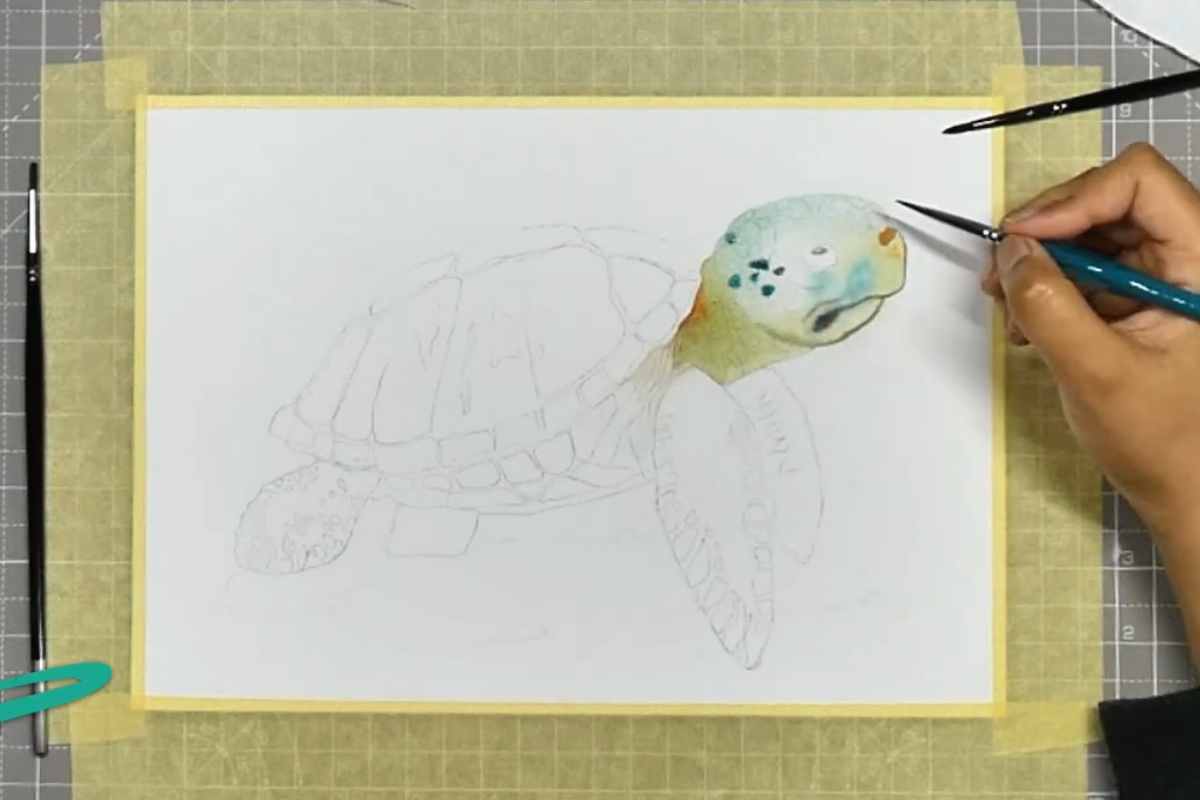
Getting Started: Sketching the Turtle Outline
The first step in any painting is to establish the structure of the subject. For the sea turtle, the sketching phase is critical in setting up the proportions and composition.
While you may be eager to dive straight into painting, taking the time to sketch the turtle's outline carefully will lay a solid foundation for the rest of the work.
Why Sketching is Important
Sketching allows you to map out the placement of the turtle’s key features—its shell, head, flippers, and tail—in the correct proportions.
It also helps you plan the flow of colors and textures throughout the painting. With this foundation, you’ll have a clear guide to follow when applying your watercolor washes.
Use a light hand when sketching, as you’ll want the pencil lines to be barely visible once the paint is applied. This will ensure that the final result is clean and the sketch doesn’t interfere with the vibrant watercolor layers you will add.
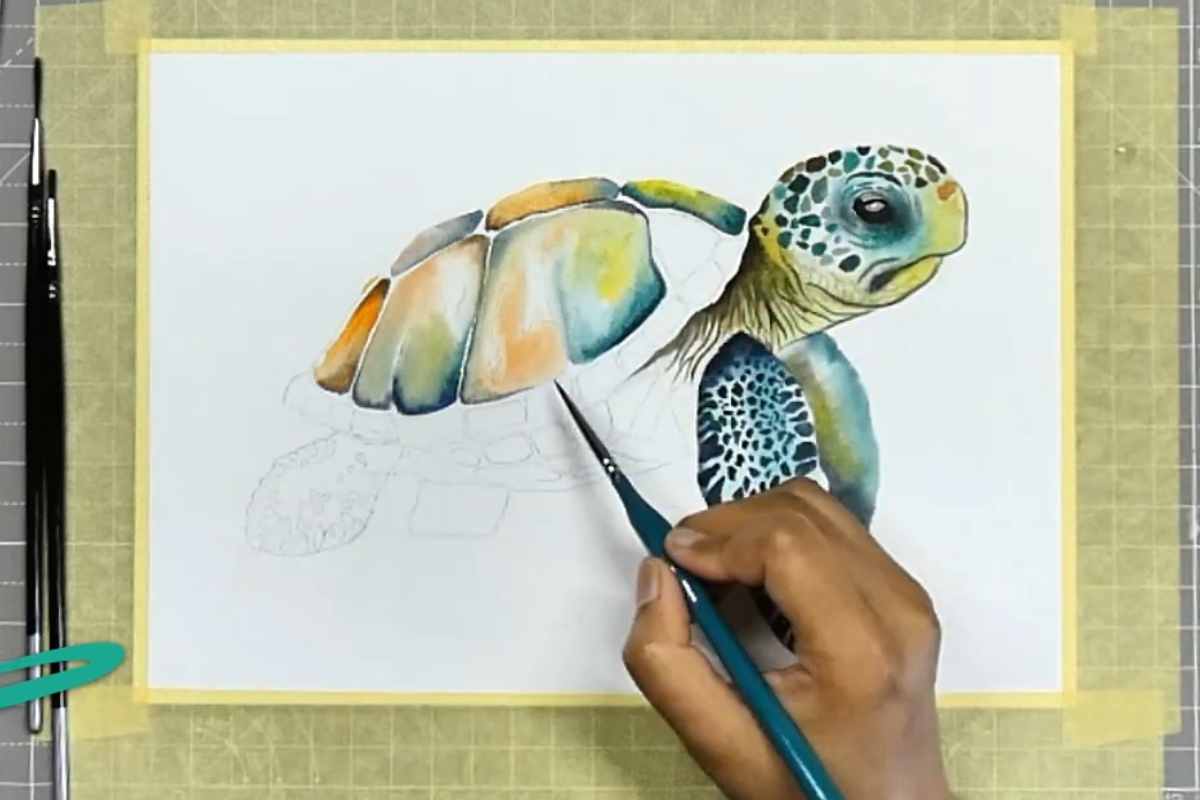
Layering Washes for the Shell and Flippers
Once the outline is complete, it’s time to begin building up the color. The sea turtle's shell and flippers offer a perfect opportunity to explore layering washes—a fundamental technique in watercolor painting.
Creating Smooth Blends for the Shell
Start by applying a light wash of color over the entire shell. Since the turtle's shell has many hues, you can experiment with a mix of yellows, greens, and browns.
The key is to build the color gradually, allowing each layer to dry before adding more. This layering technique gives depth and dimension to the shell, making it appear more realistic.
Painting the Flippers
The flippers of the sea turtle often feature subtle blue and green tones. Begin with a soft wash and build up the shadows and highlights.
As with the shell, layering the color in thin washes will allow you to gradually deepen the tones and create a more dynamic and textured look.
By using this method of layering, you can achieve the smooth blends that are characteristic of watercolors, enhancing the fluidity and softness of the turtle’s body.
Creating Dynamic Splatter Effects
One of the most exciting parts of painting with watercolors is the ability to experiment with splatter effects. The sea turtle’s skin has a unique texture that can be highlighted using dynamic splatters to create interesting patterns and give it a more organic feel.
How to Add Splatters for Texture
Using a small brush, flick paint onto the areas of the turtle where you want to create texture, such as the skin and flippers.
You can use a slightly darker or contrasting color to create depth and visual interest. This technique mimics the natural patterns found on a turtle’s skin, such as spots or mottled areas.
Be mindful not to overdo the splatter, as a little goes a long way. The goal is to add texture and make the turtle's skin appear more organic and realistic.
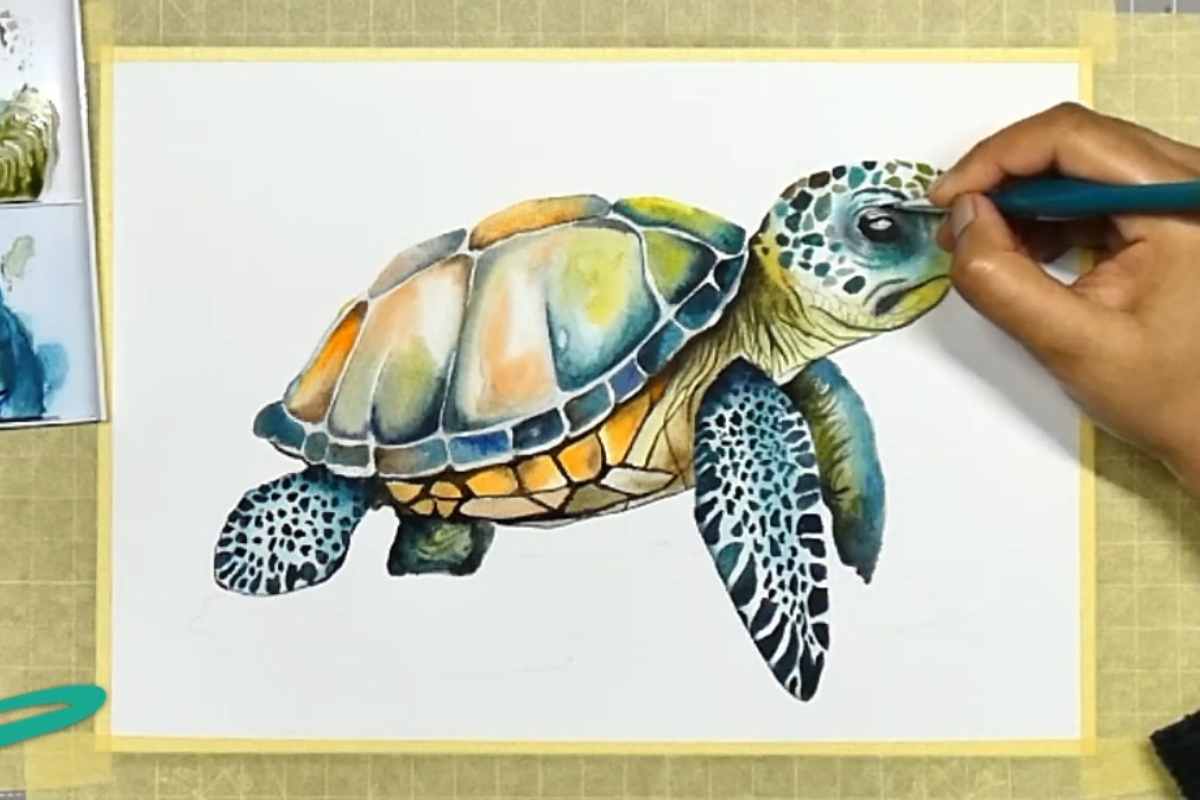
Adding Fine Details for a Realistic Finish
Once the washes and splatters are dry, the next step is to add fine details that will bring the turtle to life. Details such as the turtle’s eyes, scales, and patterns on the shell are crucial for a realistic finish.
Defining the Features
Use a fine-tipped brush to add small strokes of darker color to areas such as the eyes, the edges of the shell, and along the flippers.
The turtle’s eyes should be defined with deep, expressive black or dark brown, which will contrast beautifully with the lighter tones of the skin.
Finishing the Shell Patterns
The shell of the turtle is one of its most prominent features, so it deserves attention to detail. The intricate hexagonal patterns on the shell can be painted with a slightly darker shade, creating depth and contrast.
Add these patterns by carefully painting small sections of the shell, leaving enough space to maintain the natural texture of the turtle’s body.
By carefully adding these fine details, you’ll transform your painting into a true representation of the sea turtle, capturing its beauty and natural patterns.
The Relaxing and Enjoyable Process
Painting a sea turtle with watercolors is a relaxing and enjoyable process that allows you to experiment with various techniques.
The gentle blending of colors, combined with the creation of dynamic textures and patterns, makes this an ideal project for both beginners and experienced artists.
Why Watercolors Are Perfect for This Project
Watercolors are perfect for painting a sea turtle because they allow for a soft, fluid effect that mimics the natural movement of water and the turtle's smooth, rounded shape.
The transparent nature of watercolors also creates a light, airy feel, making the turtle appear as if it is gliding through the ocean.
Conclusion
This watercolor sea turtle painting tutorial is an excellent way to explore the beauty of watercolors while creating a stunning, vibrant piece of art. With detailed instructions for sketching, layering washes, and adding textures and fine details, you’ll learn how to bring this beautiful sea creature to life.
The relaxing process of creating the turtle, combined with the use of vibrant hues and dynamic techniques, ensures a fun and fulfilling painting experience.
Whether you're a beginner or a seasoned artist, this tutorial will help you develop your skills and create a stunning watercolor painting of a sea turtle that you can proudly display or give as a gift. Happy painting!
We thank Canvas Whispererr for the images.
Enjoy The Video Tutorial

Source: Canvas Whispererr
Did you find this post useful or inspiring? Save THIS PIN to your Art Board on Pinterest! 😊
Last update on 2025-12-25 / Affiliate links / Images from Amazon Product Advertising API
Discover More Artistic Inspiration