
The Ultimate Guide to Sculpting a Realistic Foot

Today we want to share with you a special post:
How to Sculpt a Foot: A Step-by-Step Guide
Sculpting a foot can be a challenging task for artists, but with a little patience and practice, anyone can master the technique.
Whether you're a beginner or a seasoned sculptor, this step-by-step guide will help you create a realistic and detailed foot sculpture.
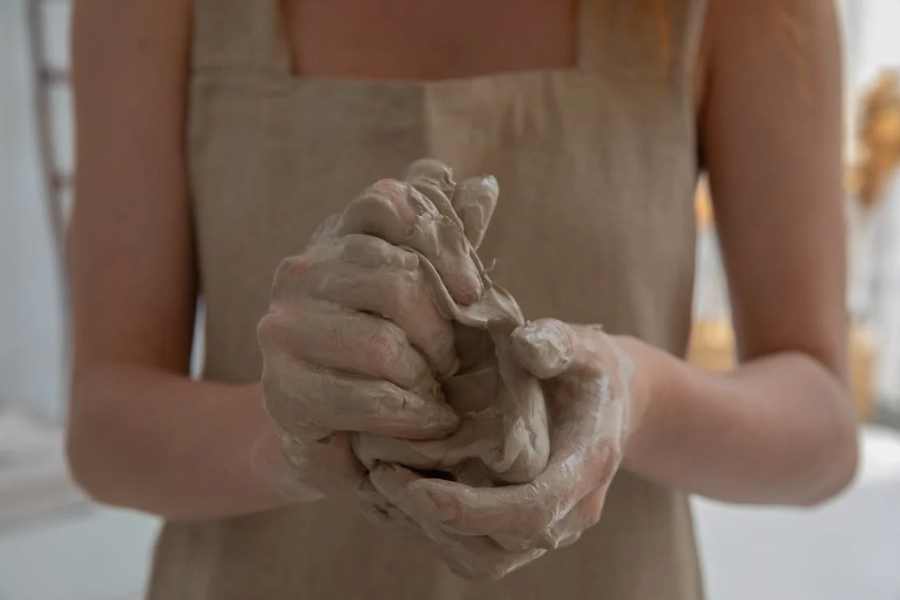
Step 1: Choose Your Material
The first step in sculpting a foot is to choose the right material. Clay is a popular choice for sculpting because it's easy to work with and can be molded into any shape. However, you can also use other materials such as plaster, wax, or stone.
Step 2: Study the Anatomy
Before you start sculpting, it's important to have a good understanding of the anatomy of a foot. Study the bones, muscles, and tendons and how they interact with each other.
You can use anatomy books, online resources, or even real-life specimens to help you understand the structure of a foot.
Step 3: Create a Rough Sketch
Once you have a good understanding of the anatomy, create a rough sketch of your foot sculpture. This will help you plan the proportions and placement of each element, making it easier to create a realistic and detailed foot.
Step 4: Start Molding
Start molding your foot using your chosen material. Begin by shaping the general form of the foot, then add details such as toes, arch, and ankle. Use tools such as sculpting knives, wire loops, and sandpaper to shape and smooth the surface.
Step 5: Add Textures and Shadows
To make your foot sculpture look more realistic, add textures and shadows to simulate the skin and muscle structure. Use a soft brush to create subtle skin textures, and shading techniques to create depth and dimension.
Step 6: Final Touches
Once you're satisfied with your foot sculpture, make any final adjustments to the details and proportions. You can also add additional elements such as footwear or accessories to make your foot sculpture even more unique.
Step 7: Display Your Work
Finally, display your foot sculpture with pride. You can place it on a pedestal, or hang it on a wall for everyone to admire.
Step 8: Practice, Practice, Practice
Like with any skill, practice is key when it comes to sculpting a foot. The more you practice, the better you'll become at capturing the details and anatomy of a foot.
Try sculpting different types of feet, such as a high-heeled shoe or a barefoot, to challenge yourself and expand your skills.
Step 9: Get Feedback
Finally, don't be afraid to ask for feedback from other artists and sculptors. They can offer valuable insights and suggestions for improving your work.
Joining a local art community or taking a sculpting class can also provide opportunities for constructive criticism and growth.
Sculpting a foot can be a challenging and rewarding experience for artists of all levels. By following these steps and practicing regularly, you'll soon be able to create beautiful and realistic foot sculptures that capture the anatomy and beauty of the human foot.
So grab your sculpting materials and get started on your next masterpiece!
Did you find this post useful or inspiring? Save THIS PIN to your Art Board on Pinterest! 😊

Discover More Artistic Inspiration