
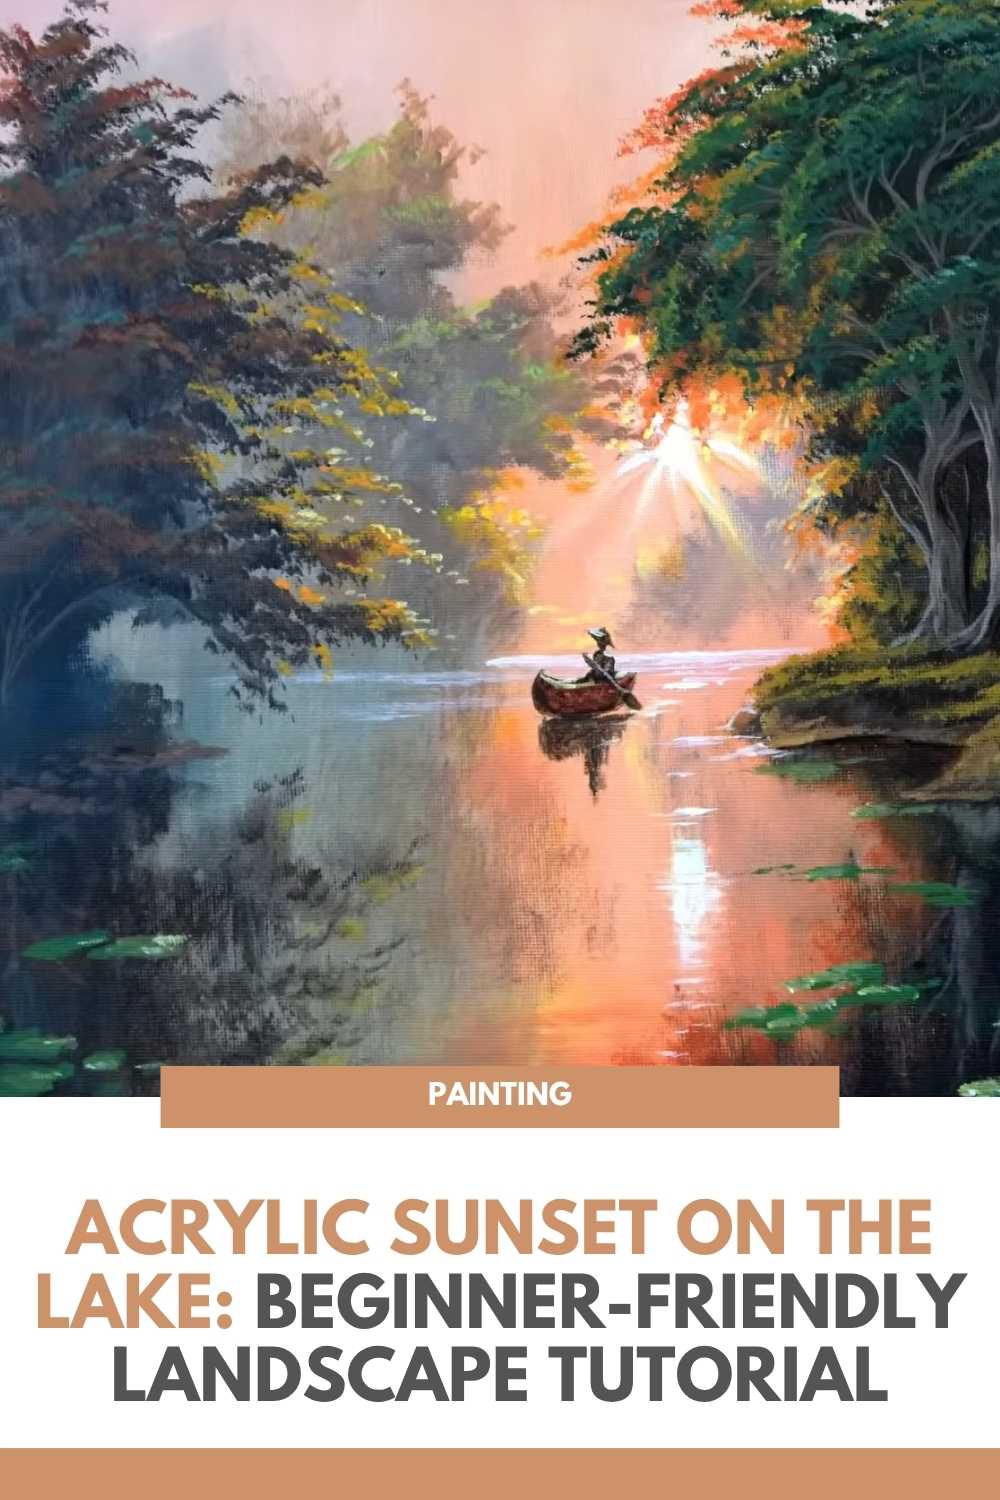
Acrylic Sunset on the Lake: Beginner-Friendly Landscape Tutorial
Learn to paint a sunset landscape with this acrylic painting tutorial inspired by a tranquil lakeside scene.
In the accompanying video by Art of John Magne Lisondra, you’ll see the entire process—from the initial sketch to the final highlights—explained with clarity and care.
Here, we’ll focus on creative choices, technique insight, and practical tips to help you get the most from the lesson, without repeating the step-by-step already demonstrated in the video.
Why This Project Works
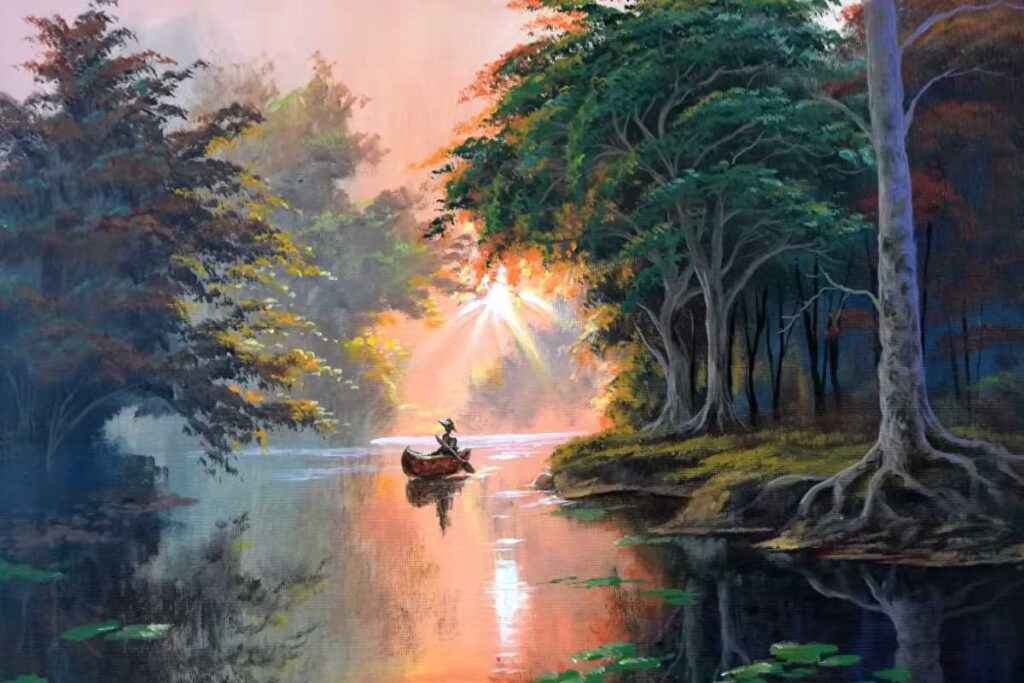
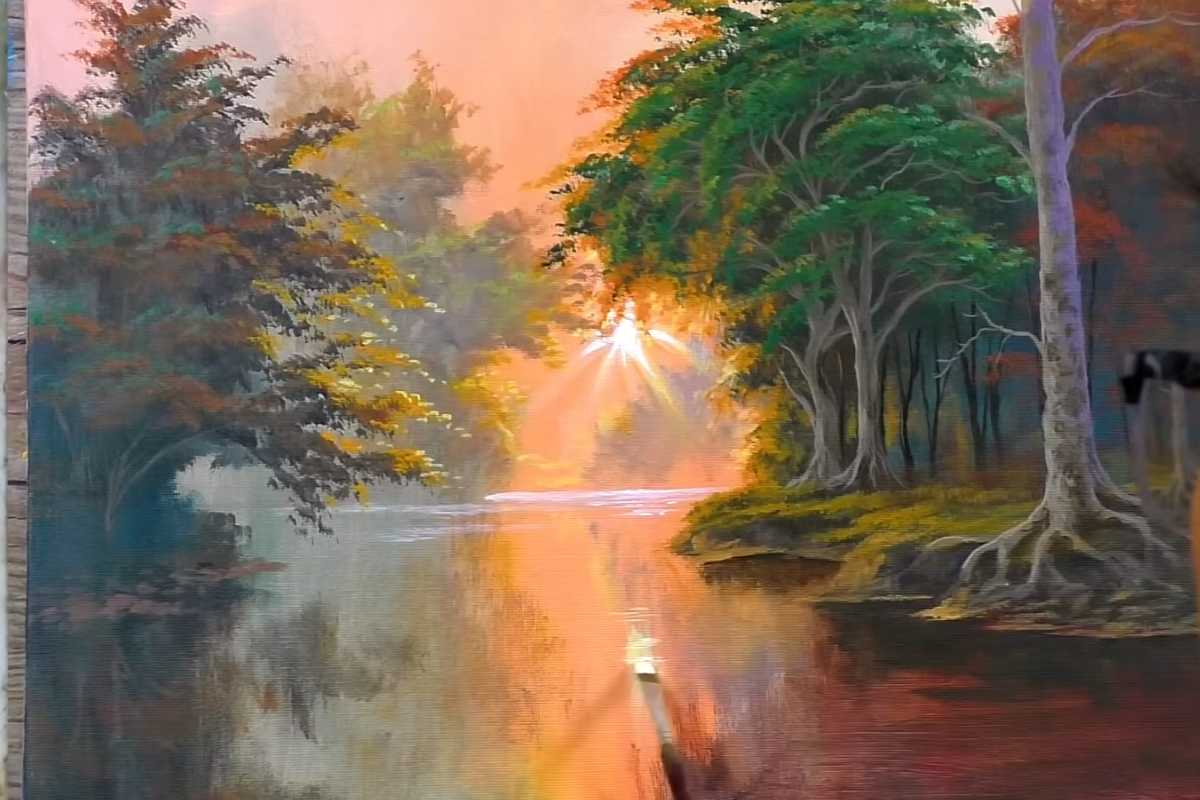
A lake at sunset offers the perfect balance of structure and softness: a clear horizon, reflective water, and warm skies that blend into cool foreground tones.
Working with a limited color palette strengthens your eye for values and keeps the composition harmonious.
This project is beginner-friendly yet satisfying for experienced painters who want to refine brush control and color harmony.
Materials and Setup
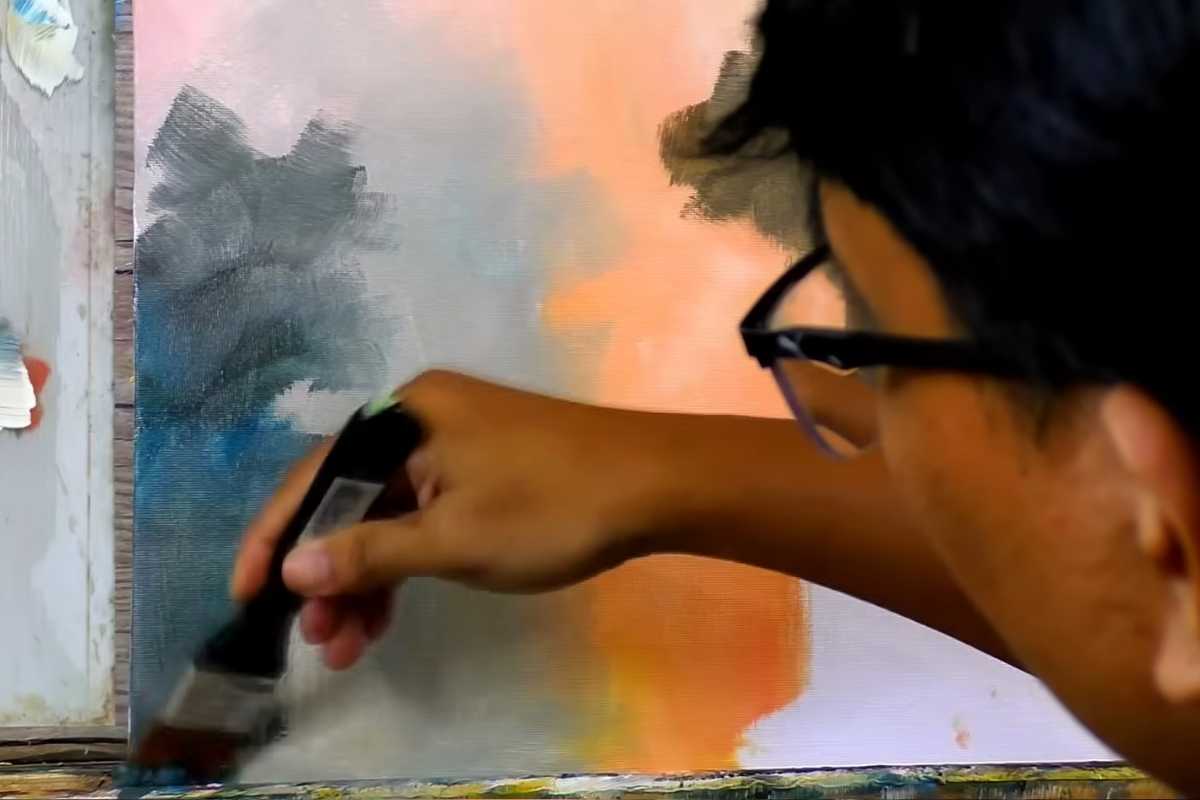
Canvas and Brushes
Choose a medium canvas (8×10" to 11×14") that gives room for a strong horizon line and foreground interest.
Pair a large flat brush for broad sky and water passages with a medium filbert for trees and shoreline forms. A small round or liner brush adds delicate highlights and final details.
Paint Colors
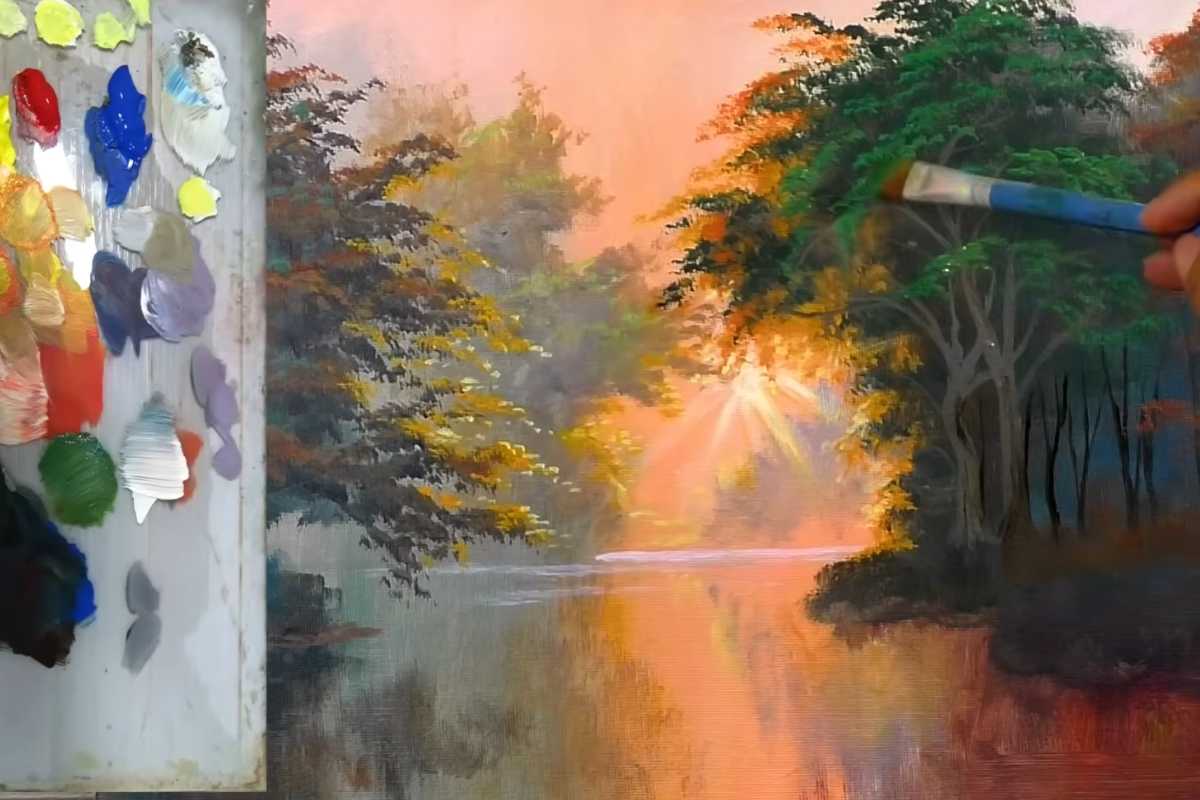
A concise palette works beautifully: warm yellows and oranges for the glow, alizarin or a similar red for depth, ultramarine or phthalo blue for cool contrast, and titanium white for tints and reflections.
This limited palette helps you mix confidently while keeping the mood cohesive.
Building the Scene
Composition Essentials
A strong composition is the backbone of a compelling sunset landscape. Place the horizon slightly above or below center to avoid a split canvas.
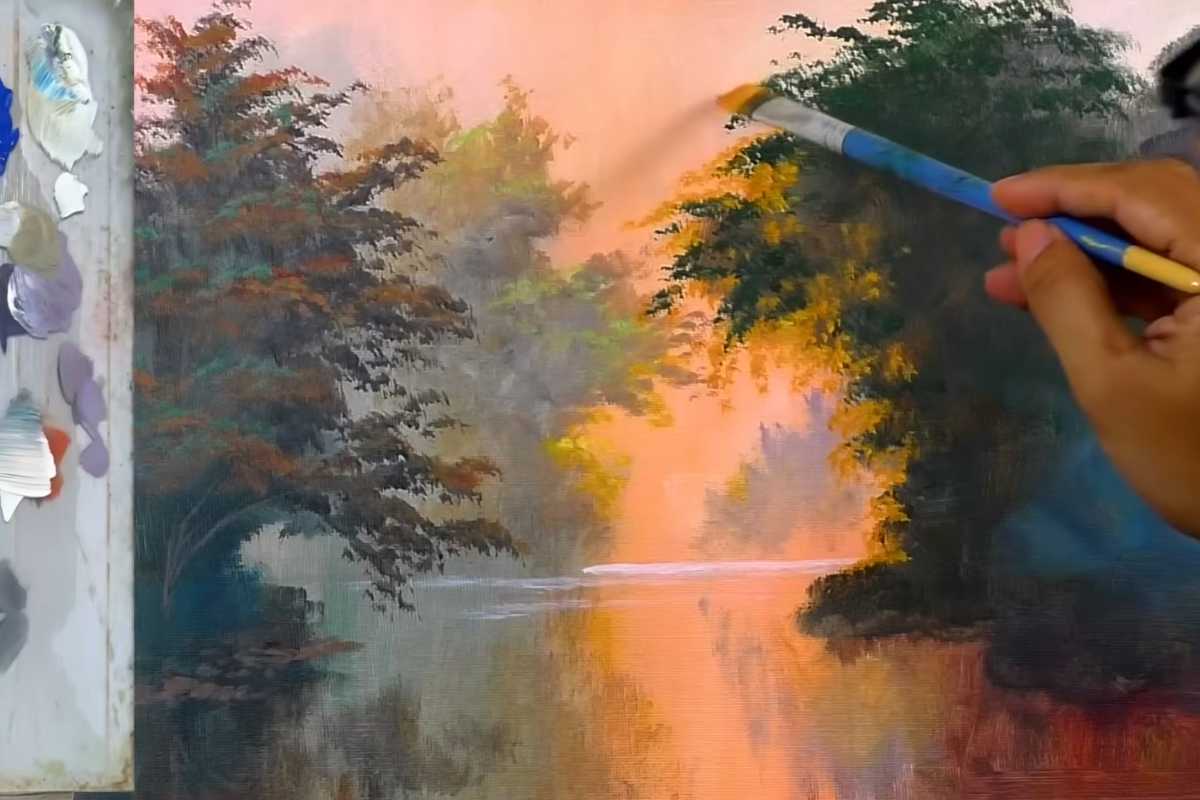
Keep your focal glow—where sky meets water—off-center for a more dynamic pull. Use distant tree silhouettes to frame the light and guide the eye toward the reflective path across the lake.
Sky and Water Relationship
Skies at dusk are about transitions. Notice how warm hues radiate near the light source and shift cooler as they move outward.
On the water, mirror the sky’s color sequence but simplify the shapes: horizontal strokes suggest calm ripples, while soft blending preserves the mirror-like effect.
A touch of color temperature contrast (warm sky vs. cool water edges) makes the scene breathe.
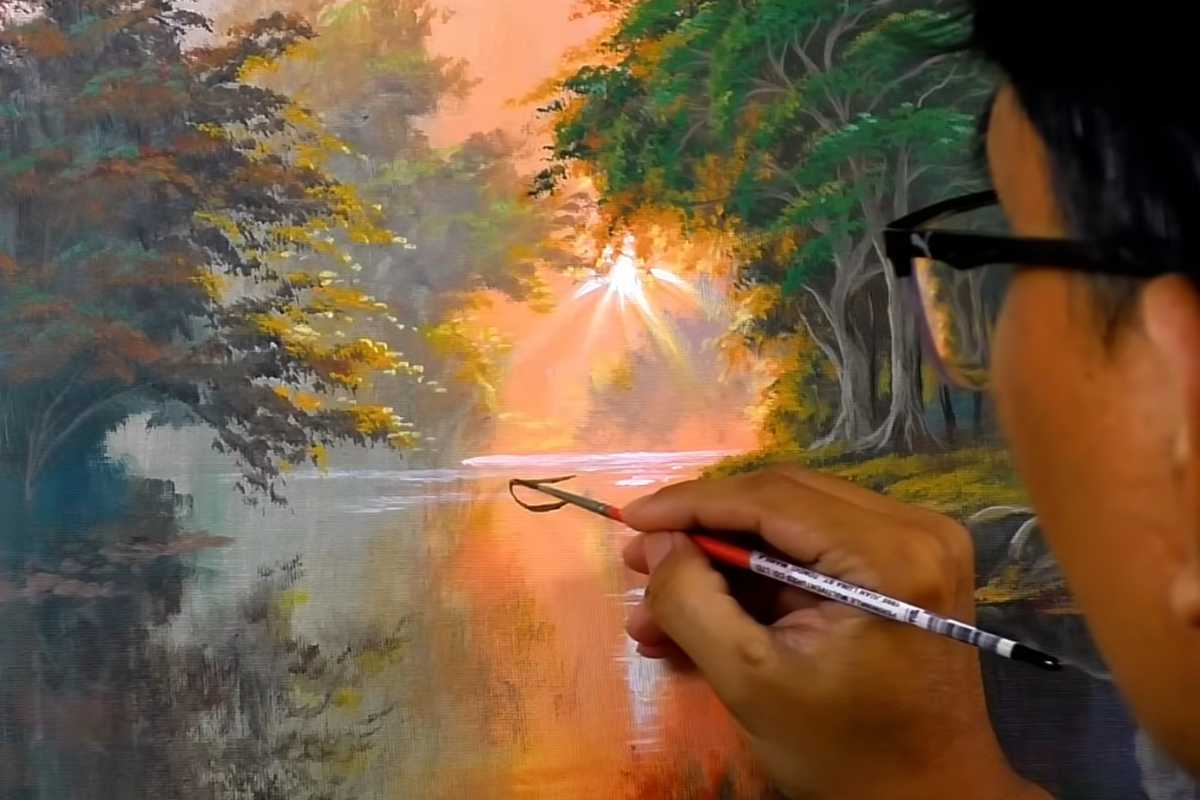
Technique Tips You’ll See in the Video
Soft blending without mud: Feather edges while the paint is still workable; wipe the brush between passes to keep colors clean.
Crips silhouettes: Let the underlayers set slightly, then apply darker tree lines with a steady hand and minimal medium.
Convincing reflections: Repeat the sky’s key hues in the water using horizontal strokes, then lightly break the reflection near shorelines.
These methods are demonstrated clearly in the video by Art of John Magne Lisondra, making the concepts easy to follow and apply.
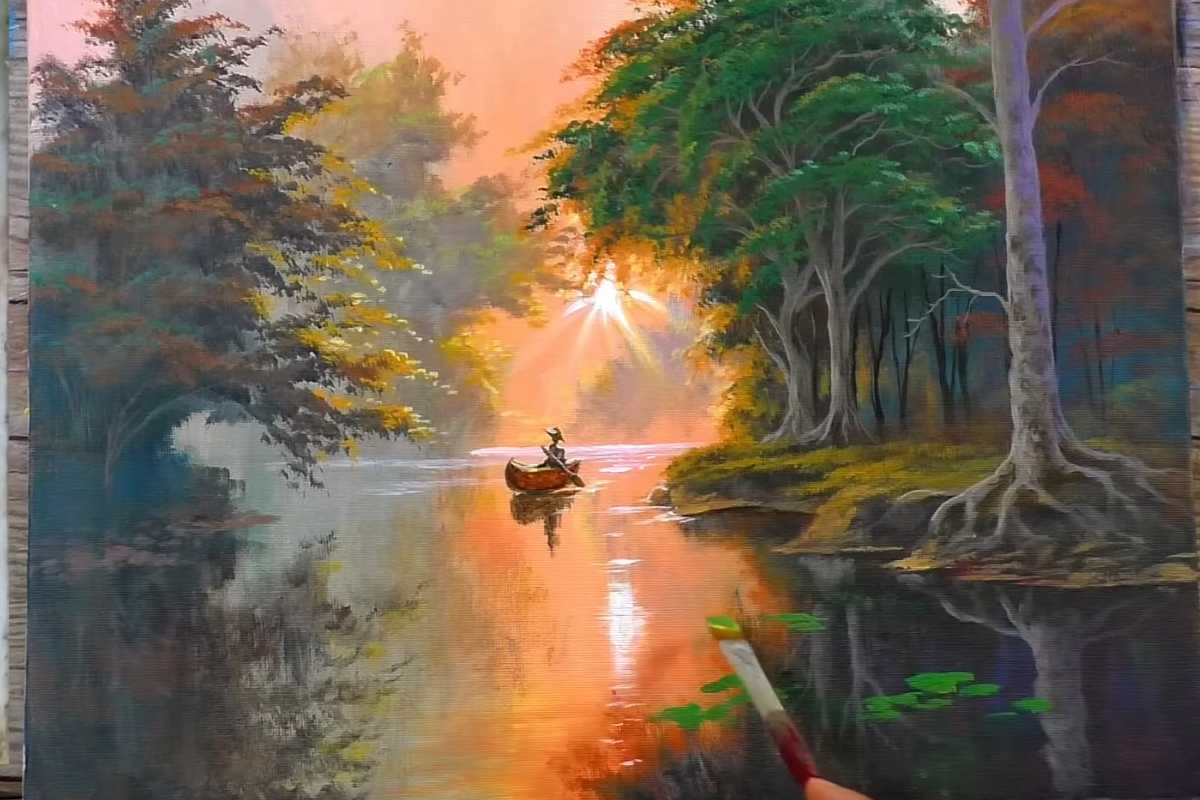
Adding Depth and Character
Value Control
Reserve your lightest values for the sunlit band and the reflection’s brightest stripe. Mid-values define distant hills and tree lines, while deeper accents along the shoreline create a natural vignette.
Strong value structure is essential for atmospheric depth.
Edges and Texture
Vary your edges—soft in the sky, slightly broken on water, sharper on foreground elements. Subtle texture on the banks or tree trunks adds realism without stealing attention from the glow.
Use brush pressure changes to create nuance: lighter pressure for glazes and heavier pressure for opaque accents.
Troubleshooting Common Issues
Over-blended skies: If your colors turn chalky, pause, let layers tack up, and glaze a transparent warm hue to restore vibrancy.
Flat reflections: Introduce slight value shifts and a few broken strokes near the shore to suggest ripples and depth.
Crowded silhouettes: Keep shapes simple; a few well-placed tree masses read better than many small details.
Finishing Touches
Highlights and Accents
Add selective highlights along the water’s path and the top edges of distant forms to signal the last light of day. A few controlled sparkles—tiny, high-value marks—sell the illusion of shimmering surface.
Varnish and Display
Allow the painting to cure, then apply a gloss or satin varnish to unify the finish and enrich colors. A simple frame or floater style suits the calm, contemporary mood of a lakeside sunset.
Watch the Tutorial
For the full demonstration—sketching, layering, blending, and refining—follow the shared video by Art of John Magne Lisondra.
It’s a concise guide that pairs perfectly with these notes, helping you create a luminous, beginner-friendly lakescape while building skills you can carry into any acrylic painting project.
We thank Art of John Magne Lisondra for the images.
Enjoy The Video Tutorial

Source: Art of John Magne Lisondra
Did you find this post useful or inspiring? Save THIS PIN to your Art Board on Pinterest! 😊
Discover More Artistic Inspiration