
How to Paint a Lime in Acrylics: Pro-Level Results Made Easy
Want a fun still life subject that instantly levels up your painting skills? A lime is perfect—it has bold color, strong contrast, and that slightly waxy shine that looks amazing in acrylics when you get the highlights right.
In this tutorial, you’ll follow a lime acrylic painting step-by-step, focusing on the techniques that make it look dimensional, fresh, and more “pro” than flat.
Lime Acrylic Painting Tips for Realistic Color, Depth, and Shine

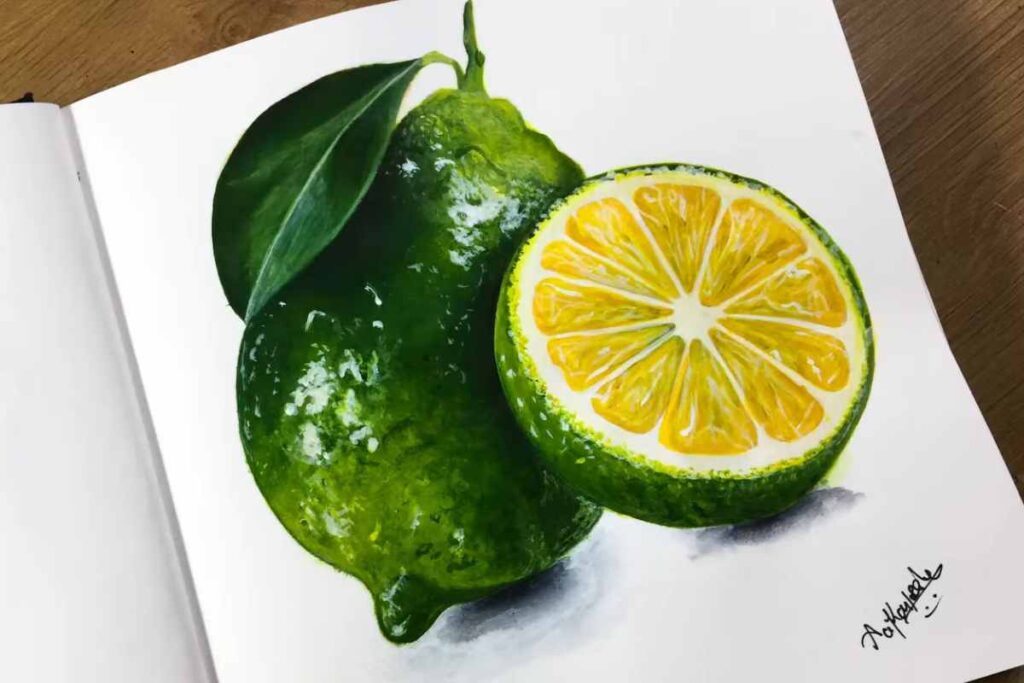
A realistic lime look comes down to three things: value changes, color variation, and highlight placement. In the video, you’ll see how the lime’s surface isn’t just one green—there are lighter yellow-greens where the light hits, deeper cooler greens in the shadows, and soft transitions in between.
As you paint, watch how the shadows help define the round shape. Even a small shift from mid-tone to darker green can make the lime pop forward. Then, adding controlled highlights (and keeping the edges clean) gives that fresh, glossy feel without overdoing it.
This is also a great subject for practicing smoother blends in acrylics. You’ll see how layering and gentle transitions can create a more polished finish—especially around the curves and the brightest spots.
We thank Canvas Whispererr for the images.
Paint a Lime Like a Pro With This Acrylic Video Tutorial

Source: Canvas Whispererr
Common Lime Painting Mistakes (and Easy Fixes)
If your lime isn’t reading as “real” yet, it’s usually one of these quick issues:
- Too much flat green: add a lighter yellow-green area where the light hits, plus a deeper shadow green for contrast.
- Hard edges everywhere: soften a few transitions so the surface feels round.
- Highlights placed randomly: keep highlights consistent with one light direction, and don’t make them all the same size.
The video helps a lot here because you can copy the order of steps—blocking in, shading, then refining and highlighting.
Save this one for later and come back whenever you want a quick fruit still life that’s simple, satisfying, and skill-building.
— Lauren
Discover More Artistic Inspiration