
Watercolor Lilies: Vibrant Flower Tutorial

Ready to paint watercolor lilies that glow from the page? This curated guide walks through a relaxed, step-by-step approach for a single watercolor flower that feels fresh and luminous.
You’ll learn a simple layering method, soft gradients on petals, a sunlit center, and crisp stems—everything you need for lilies that truly pop.
Why Lilies Make Great Subjects
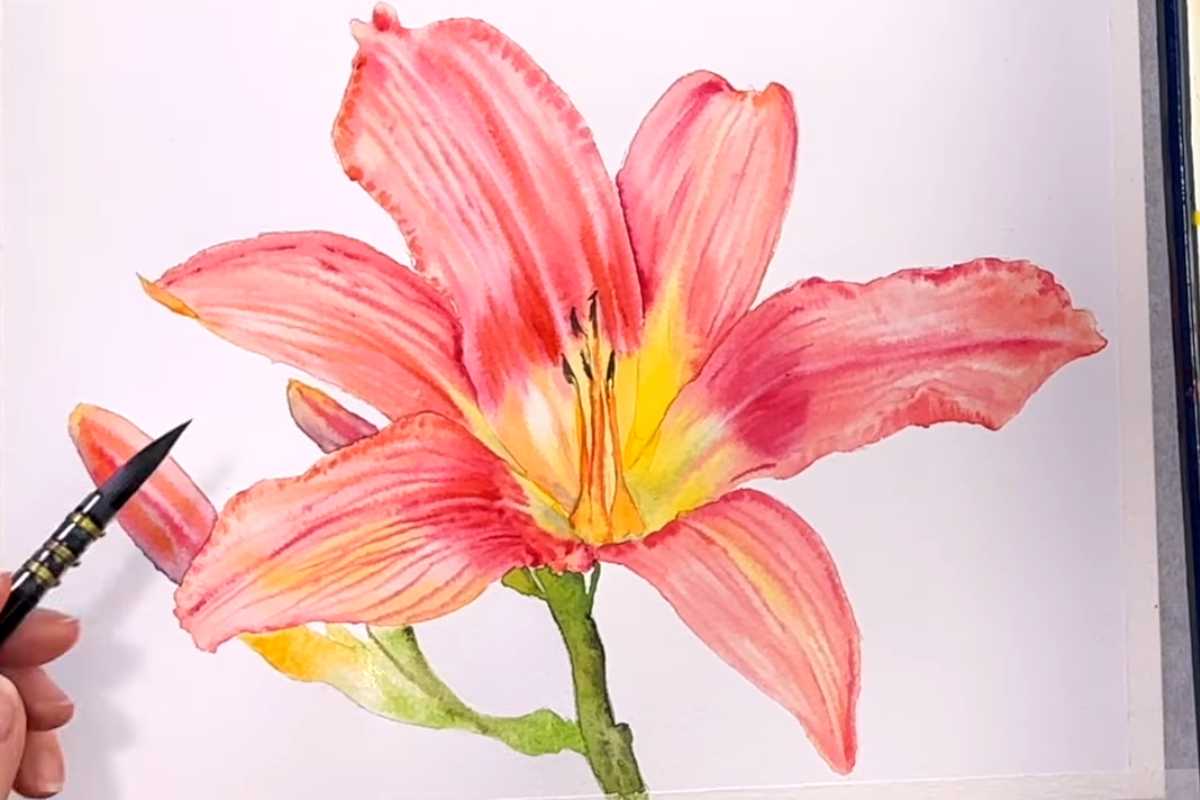
Lilies have broad petals and bold centers, perfect for practicing smooth transitions from warm yellows to coral and pink.
In lilies watercolor studies, those generous shapes let you explore edge control and soft blends without getting lost in tiny details.
If you’re collecting ideas for Lilies Art, this project balances realism with expressive marks so your flower feels alive rather than overworked.
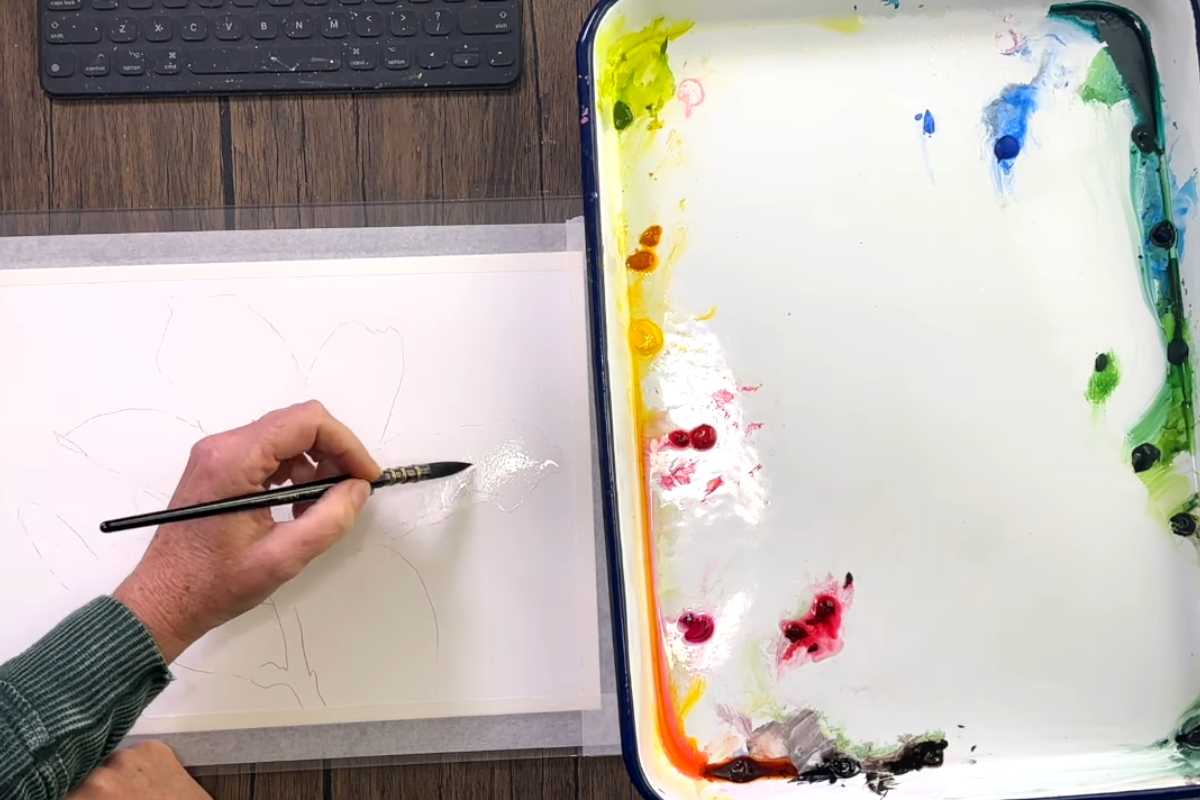
Materials & Color Planning
Choose a cotton watercolor paper, a round brush (sizes 6–10), and a limited palette: a warm yellow, a transparent pink or rose, and a cool red for accents, plus a sap/olive green for the stem.
Keep a second brush for clean water and a tissue for lifting highlights.
Before you begin, test mixes on a scrap to find your “glow” color. A tiny touch of pink in the yellow creates the peach tones that define classic lilies watercolor painting.
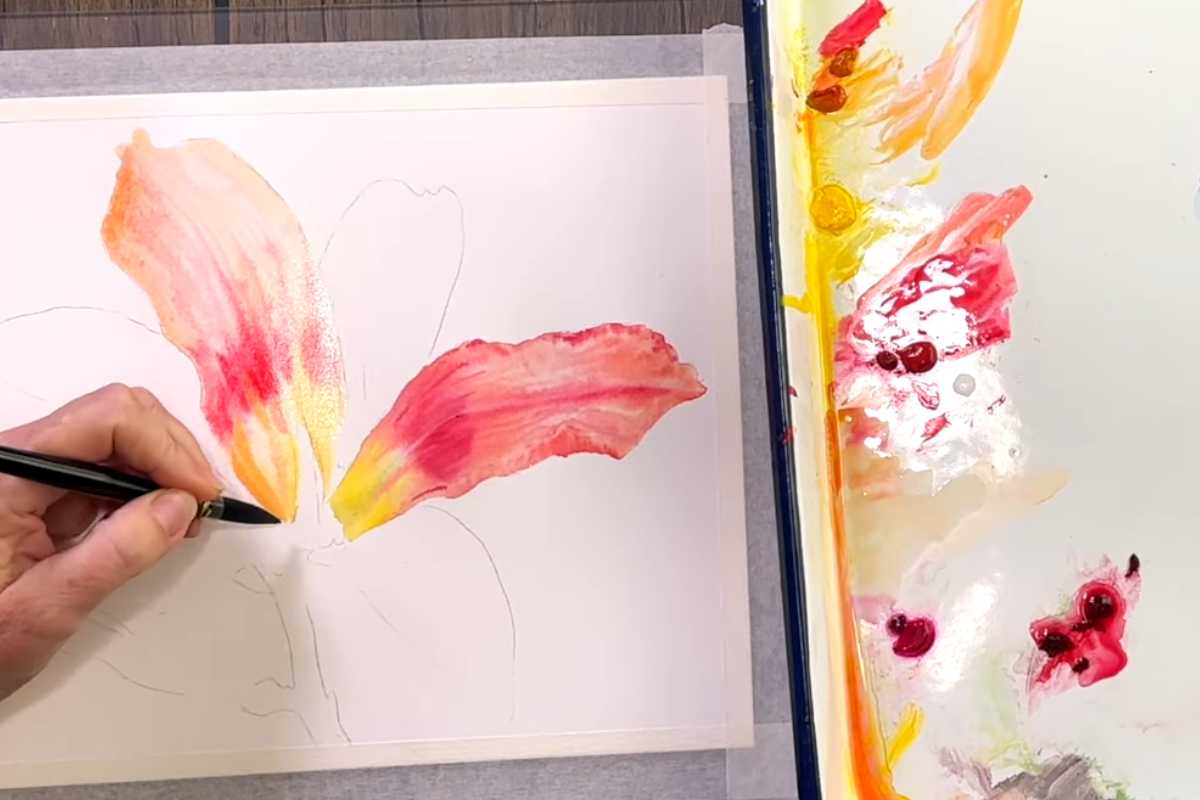
Petal Workflow (Loose to Refined)
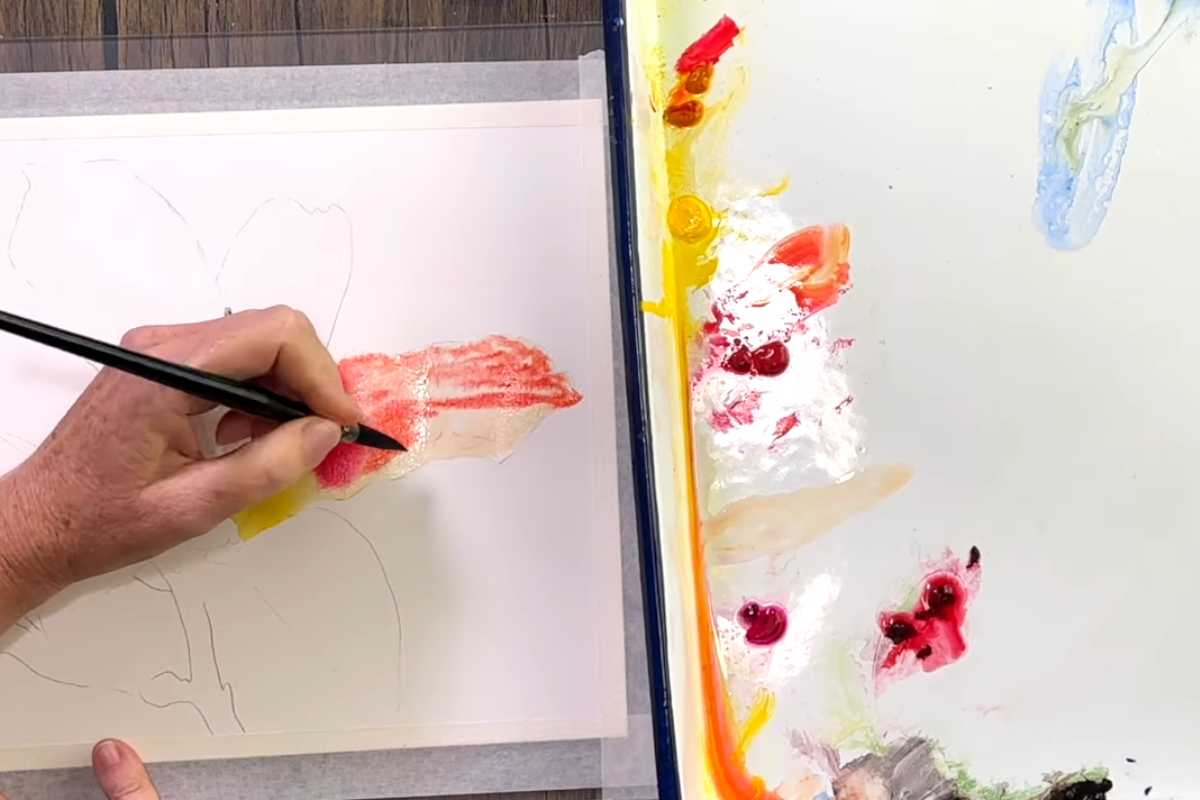
Start wet-in-wet. Float diluted yellow at the base of each petal and drop in rose toward the tips. Tilt the page so colors mingle without cauliflower blooms. While still damp, charge a stronger mix along the midribs for dimension.
Let layers dry, then glaze transparent shadows where petals overlap. Preserve a few sparkling highlights with the paper white—your best friend for believable sheen in any flower painting watercolor piece.
Center, Stamen & Stems
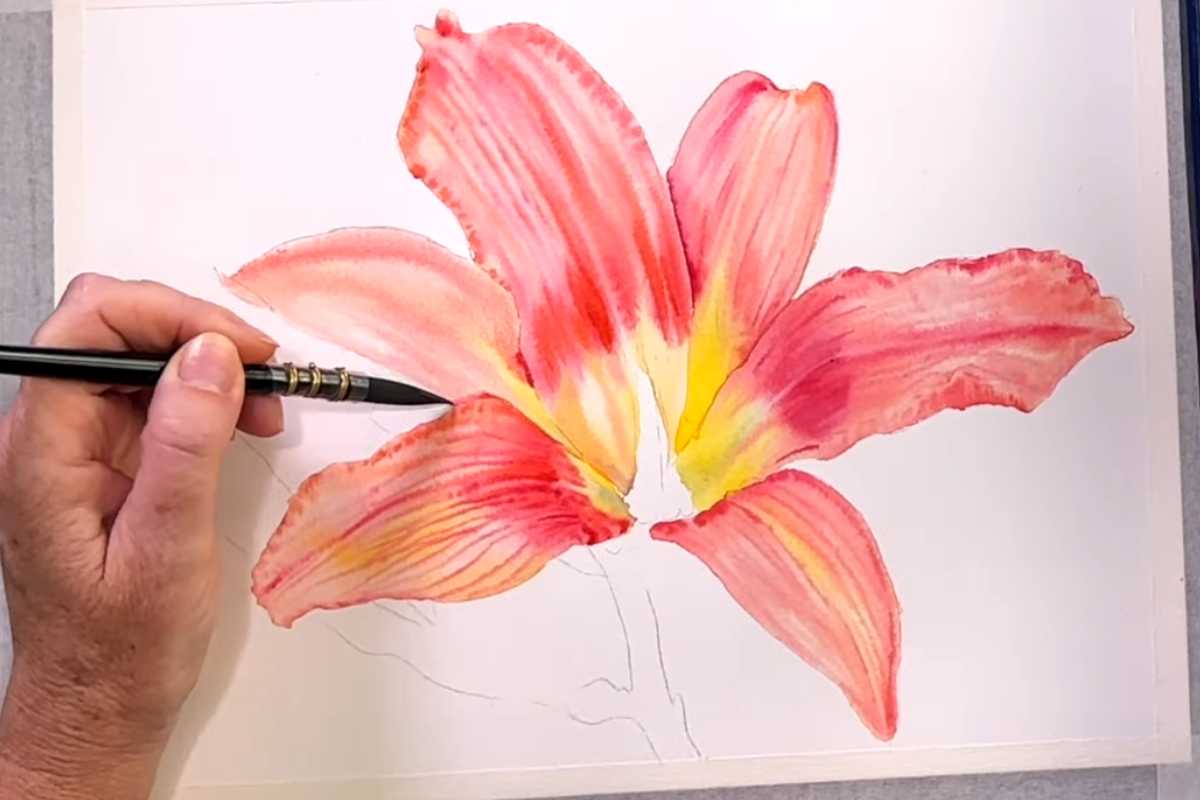
Paint a warm, radiant throat by glazing yellow and a hint of green, then lift a couple of filaments with a thirsty brush.
Use a rigger for stamens and a deeper red-brown for the anthers. Stems read best with two greens: a light wash for the cylinder and a thin darker line for the shadow edge.
Small lost-and-found edges around the bud keep the composition airy—an elegant touch in a modern Flower Tutorial.
Edges, Texture & Final Details

Drybrush a few vein lines with nearly dry paint; keep them subtle so they don’t overpower the form. If you need extra sparkle, lift thin highlights along the petal curl. These finishing moves are demonstrated clearly in the video’s Painting Flowers Tutorial.
Prefer a gentler pace? The lesson doubles as an Easy Flower Painting roadmap: pause after each layer, compare values, and continue when you’re confident.
Learning Path & Variations
After one bloom, repeat the process at different scales to build a small series. Try a cool palette (rose + violet) or a fiery one (orange + crimson).
As your control grows, you’ll have a personal watercolor lilies tutorial “playbook” you can apply to bouquets and greeting cards.
If you’re new to structured lessons, think of this as a friendly Flower Tutorial that bridges quick studies and frame-worthy work.
Attribution & Fair Use
This article summarizes a creator’s video demonstration. The composition, pacing, and exact techniques are the artist’s.
We provide a high-level overview—no full replication of specific steps—so you can decide if the class matches your goals.
We thank Creative Lass for the images.
Watch the Video: Watercolor Lilies
Follow the complete walkthrough for color mixing, smooth gradients, and confident details. Support the artist by watching, liking, and subscribing.

Source: Creative Lass
Discover More Artistic Inspiration