
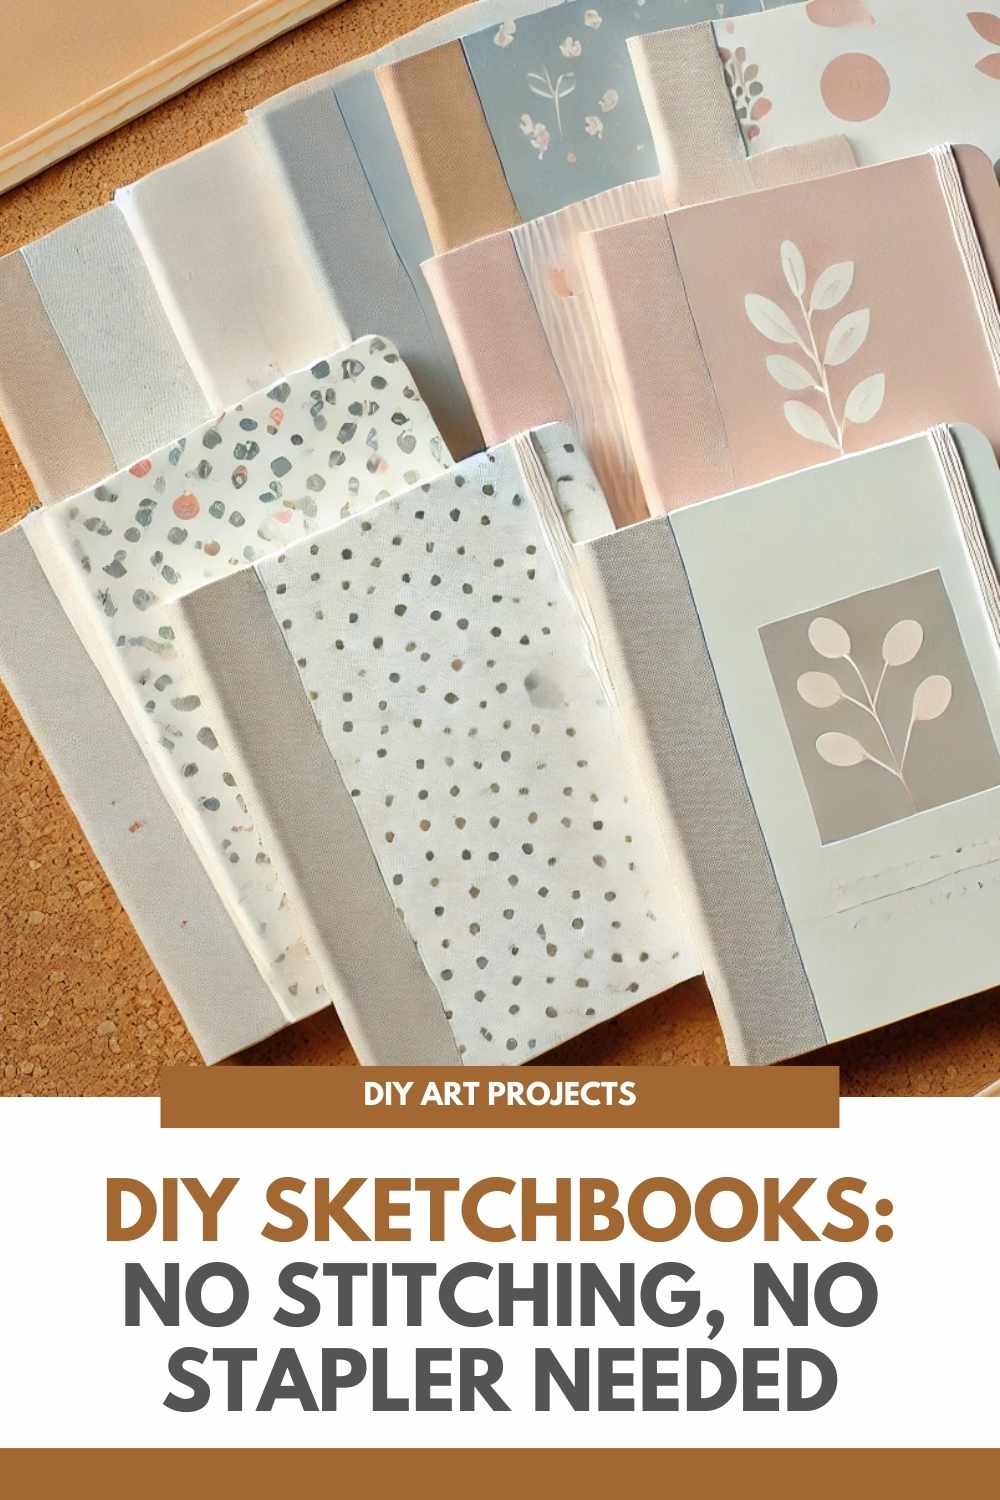
DIY Sketchbooks: No Stitching, No Stapler Needed

Creating your own sketchbook doesn’t have to be a complicated process. If you love the idea of crafting a personalized sketchbook but don’t have the tools for stitching or stapling, this simple DIY method is perfect for you.
With a few materials, you can easily make your own unique sketchbook for drawing, journaling, or note-taking.
This tutorial focuses on a no-stitching, no-stapler technique that’s beginner-friendly and completely customizable. Whether you want to experiment with decorative covers or keep it minimalistic, this project is as creative as you want it to be.
Why Make Your Own Sketchbook?
A DIY sketchbook offers creative freedom and customization that store-bought options lack. You get to choose your own paper type, size, and cover design, ensuring the sketchbook is tailored to your specific needs.
Plus, crafting something with your own hands adds a sense of accomplishment and makes it even more special.
Benefits of DIY Sketchbooks:
- Creative Freedom: Customize the size, colors, and design of your sketchbook.
- No Special Tools Needed: This technique avoids complicated methods like stitching or stapling.

Materials You’ll Need
For this project, gather the following materials:
- Sheets of paper (blank, lined, or mixed)
- Cardstock or decorative paper for the cover
- Glue or double-sided tape
- A ruler for measurements
- Scissors or a craft knife
- Binder clips or rubber bands (optional, for holding pages together during assembly)
These basic supplies make the process quick and hassle-free, even for first-timers.
Customizing Your DIY Sketchbook
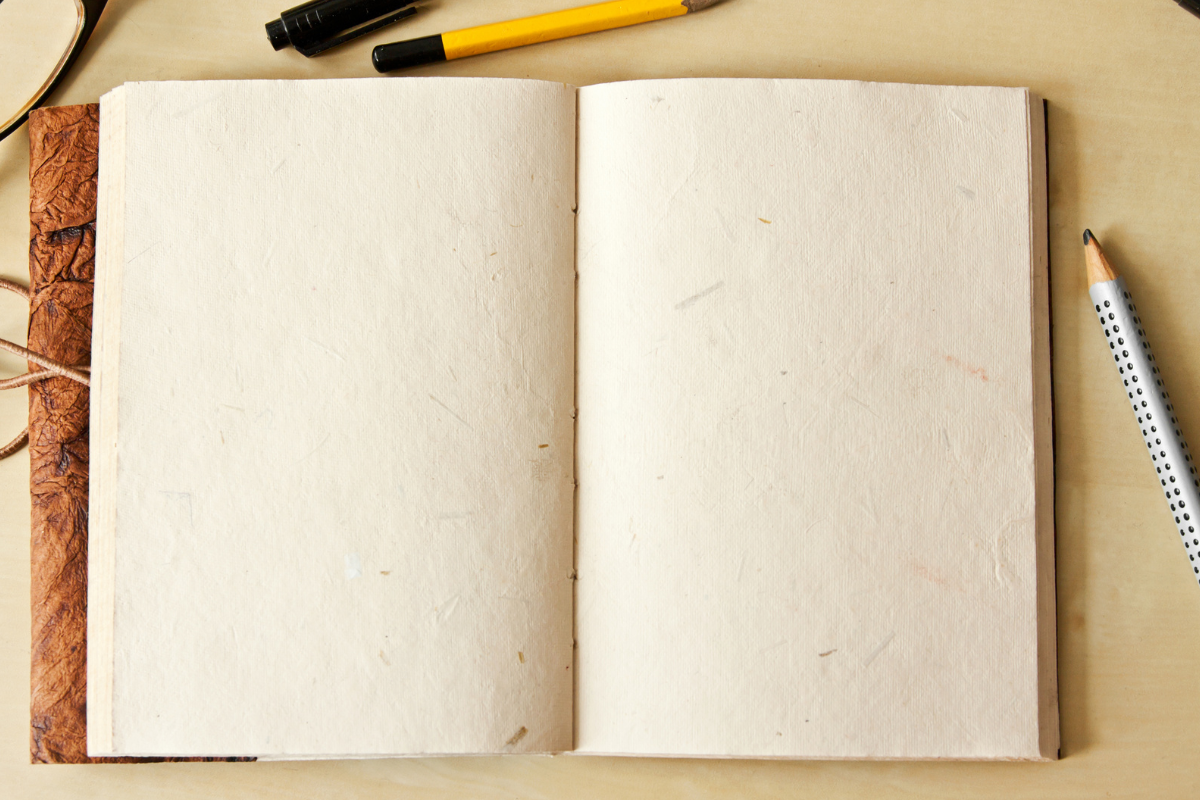
Choosing the Right Paper
The paper you select depends on how you’ll use the sketchbook. Blank pages are ideal for artists, while lined or grid paper works better for journaling or note-taking. You can even mix different types of paper to create a multi-purpose book.
Pro Tip: Use thicker paper for the cover to give your sketchbook durability and structure.
Decorative Covers
One of the best parts of making your own sketchbook is designing the cover. Use patterned cardstock, recycled materials, or even hand-painted designs to give your sketchbook a unique look. Adding metallic accents or textured paper can elevate its appearance.
Binding Without Staples or Stitching
The no-stitching, no-stapler method relies on folding and gluing techniques to secure the pages. You can use adhesive along the spine or opt for a fold-over cover that holds the pages together. This technique is quick and requires no advanced tools.
Tips for Creating a Durable Sketchbook
- Reinforce the Spine: Apply extra adhesive or use strong tape along the spine to keep the pages securely in place.
- Protect the Cover: Laminate the cover or use clear adhesive film to protect it from wear and tear.
- Test Your Glue: Ensure the adhesive you’re using is strong enough to hold multiple sheets without peeling.
Why This DIY Method Is Beginner-Friendly
This no-stitching, no-stapler technique is ideal for beginners because it eliminates the need for complex tools or skills.
The process is straightforward, and you can complete it in under an hour. Plus, the flexibility of this method allows you to experiment with different designs and materials.
Perfect For:
- Artists looking for quick, personalized sketchbooks
- Students who need an affordable alternative to store-bought notebooks
- Crafters who enjoy simple, creative projects

Watch the Video Tutorial
For visual learners, the accompanying video tutorial demonstrates the entire process from start to finish.
It walks you through every step, from preparing the materials to assembling the final product. This tutorial is easy to follow, even for those new to crafting.
Final Thoughts
A DIY sketchbook made without stitching or stapling is a creative and practical project that anyone can enjoy. It’s a fantastic way to repurpose materials, explore your artistic side, and create something uniquely yours.
Whether you’re an artist, student, or journal enthusiast, this easy method ensures your sketchbook is both functional and beautiful.
So grab your supplies, unleash your creativity, and craft a sketchbook that reflects your personal style!
We thank Baylee Jae for the images.
Enjoy The Video Tutorial

Source: Baylee Jae
Did you find this post useful or inspiring? Save THIS PIN to your Art Board on Pinterest! 😊
Discover More Artistic Inspiration