
- Urbaki Art
- DIY Art Projects
- Make Your Own Sketchbook: DIY Guide for Artists
Make Your Own Sketchbook: DIY Guide for Artists
Michael Turner

Creating your own sketchbook is a rewarding and creative process, especially when you use the coptic stitch bookbinding method.
This binding technique not only gives your sketchbook a professional and elegant finish but also allows it to lay flat when opened, making it perfect for drawing and journaling.
In this article, we’ll explore how to craft a custom sketchbook using this unique method and why it’s worth trying for your next creative project.
Why Make Your Own Sketchbook?
A handmade sketchbook gives you the freedom to customize every aspect, from the type of paper to the size and design of the cover. This means you can create a sketchbook tailored to your artistic style and needs.
Benefits of a DIY Sketchbook:
- Customizable: Choose the paper, size, and design that best suits your preferences.
- Cost-Effective: Crafting your own sketchbook can be more affordable than purchasing a high-quality one.
- Satisfying: The process of creating something by hand adds personal value and a sense of accomplishment.

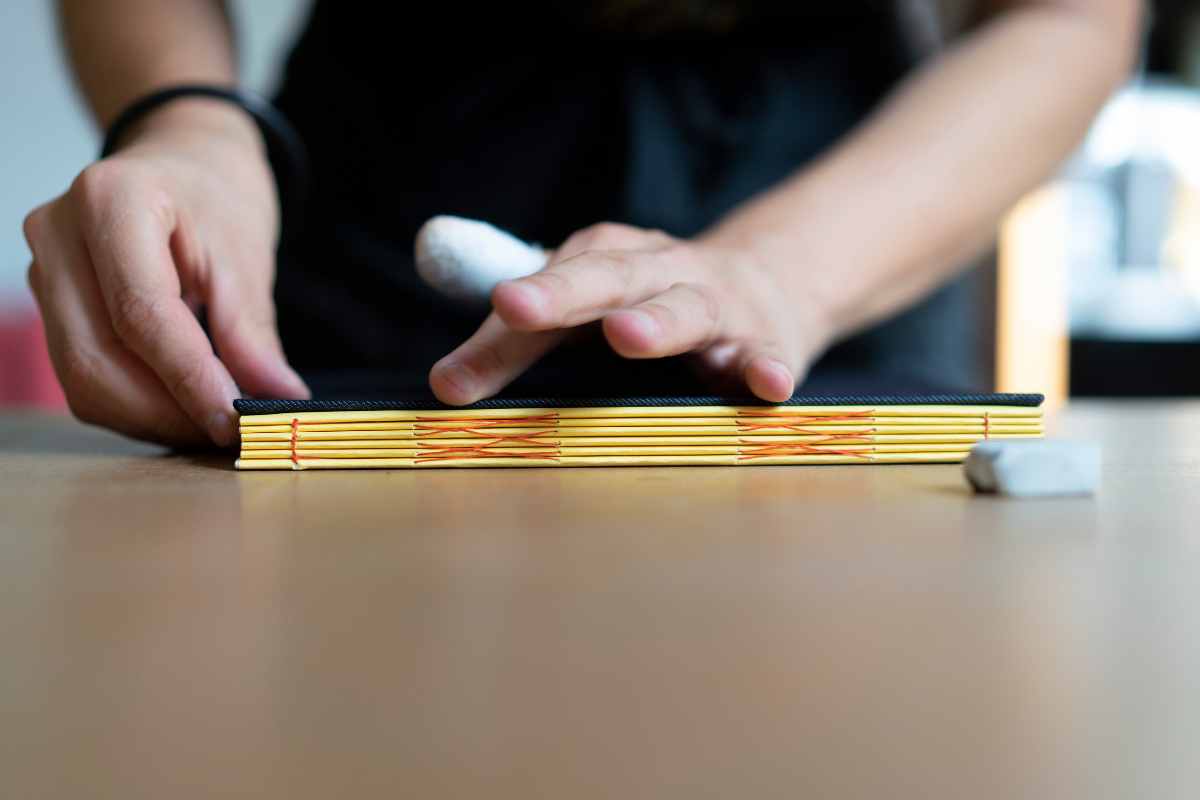
What Is Coptic Stitch Bookbinding?
The coptic stitch is a versatile and decorative bookbinding technique that uses exposed stitching along the spine to hold the pages together. Its flexibility allows the sketchbook to open completely flat, making it ideal for drawing and painting.
This method dates back to early Christian Egypt, where it was developed by the Copts. Today, it remains popular among artists and bookbinding enthusiasts for its functionality and aesthetic appeal.
Materials You’ll Need
Here’s what you’ll need to get started with your DIY sketchbook:
- Sheets of drawing paper or mixed media paper
- Cover boards (cardboard or chipboard)
- Decorative paper or fabric for the cover
- Waxed thread or strong embroidery floss
- Bookbinding needle
- Awl or a similar tool to create holes for stitching
- Ruler and pencil for measurements
These materials are easy to find, and many can be repurposed from items you already have at home.

The Process of Making a Sketchbook
1. Preparing the Pages
Decide on the size of your sketchbook and cut the paper to your desired dimensions. Fold the sheets into groups called "signatures," which are stacks of folded paper that form the pages of the book.
2. Crafting the Cover
Cut two pieces of sturdy cardboard for the front and back covers. Decorate them with patterned paper, fabric, or even hand-painted designs to personalize your sketchbook.
3. Binding with the Coptic Stitch
The coptic stitch involves weaving thread through the pages and covers, creating an exposed binding along the spine. This stitching method not only looks beautiful but also ensures that your sketchbook is durable and functional.
Why Coptic Stitching Is Perfect for Artists
One of the standout features of coptic stitch binding is that it allows the sketchbook to lay completely flat when opened. This is particularly useful for:
- Sketching: No more struggling with uneven pages or bumpy surfaces.
- Painting: It’s easier to work on two-page spreads without damaging the binding.
- Journaling: Flat pages make writing more comfortable and enjoyable.
Tips for a Professional Finish
- Use High-Quality Materials: Choose durable thread and sturdy cover boards for a long-lasting sketchbook.
- Measure Carefully: Precise measurements ensure your pages and covers align perfectly.
- Practice Your Stitching: If you’re new to coptic stitching, practice on scrap materials before starting your sketchbook.
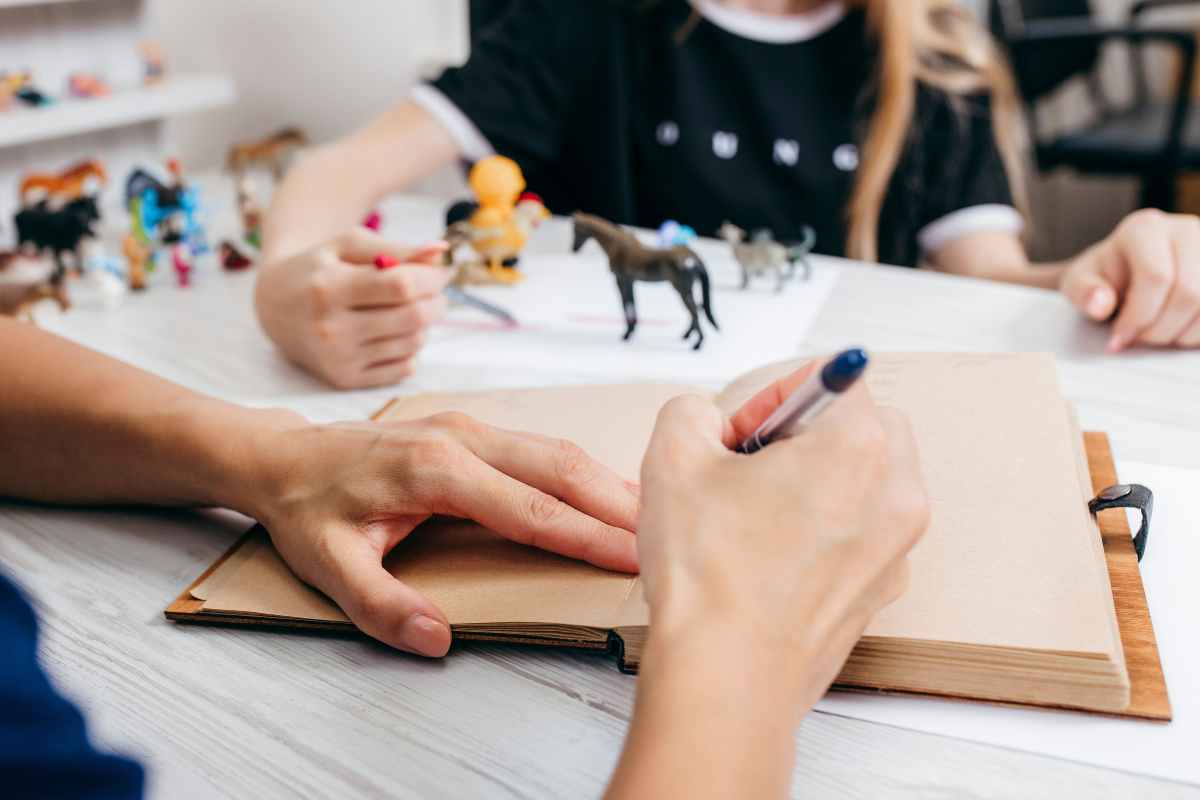
Drawing in Your Handmade Sketchbook
Once your sketchbook is complete, it’s time to let your creativity flow! A handmade sketchbook is perfect for:
- Experimenting with new drawing techniques
- Planning out art projects or storyboards
- Journaling and documenting daily thoughts or travels
The satisfaction of creating and using your own sketchbook adds an extra layer of meaning to your artistic journey.
Final Thoughts
Making a sketchbook using the coptic stitch bookbinding method is an enjoyable and fulfilling experience.
Not only does it give you complete control over the design and materials, but it also provides a functional and visually stunning tool for your creative work.
Whether you’re an artist, a writer, or someone who simply loves DIY projects, this method allows you to create something truly personal and practical. Grab your materials, explore the process, and craft a sketchbook that reflects your unique style!
We thank JelArts for the images.
Enjoy The Video Tutorial

Source: JelArts
Did you find this post useful or inspiring? Save THIS PIN to your Art Board on Pinterest! 😊

Michael Turner
Michael Turner is a passionate art lover who finds joy in exploring galleries and exhibitions around the world. He enjoys delving into diverse styles and mediums, always ready to learn something new. Through Urbaki Art, he hopes to spark curiosity and inspire fellow enthusiasts.
Discover More Artistic Inspiration