
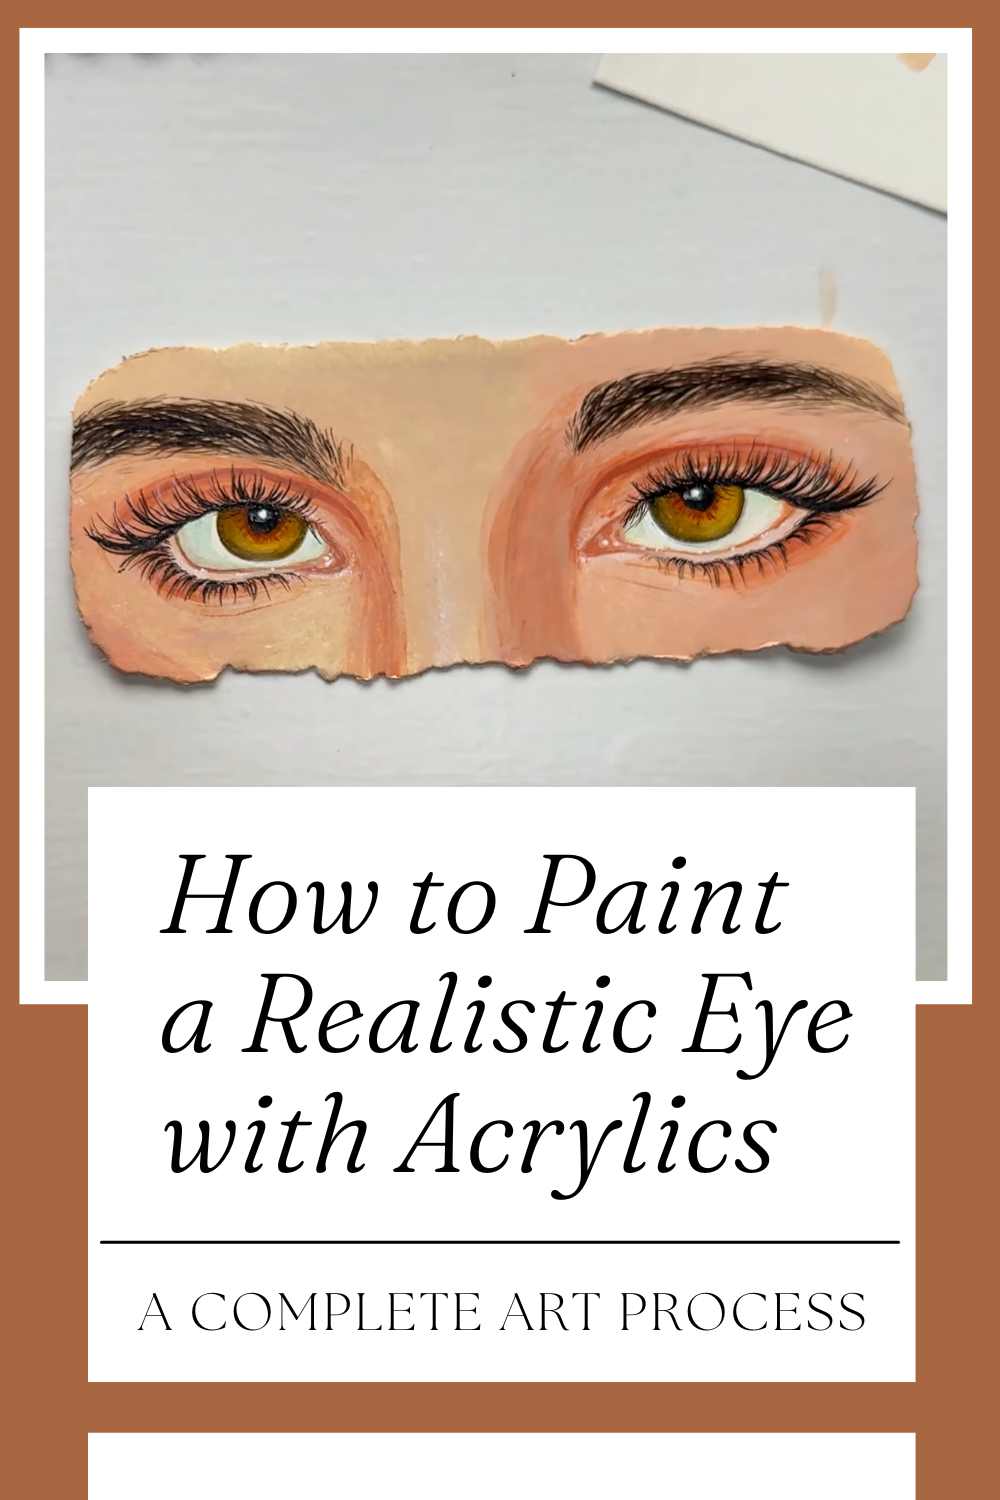
How to Paint a Realistic Eye with Acrylics: A Complete Art Process
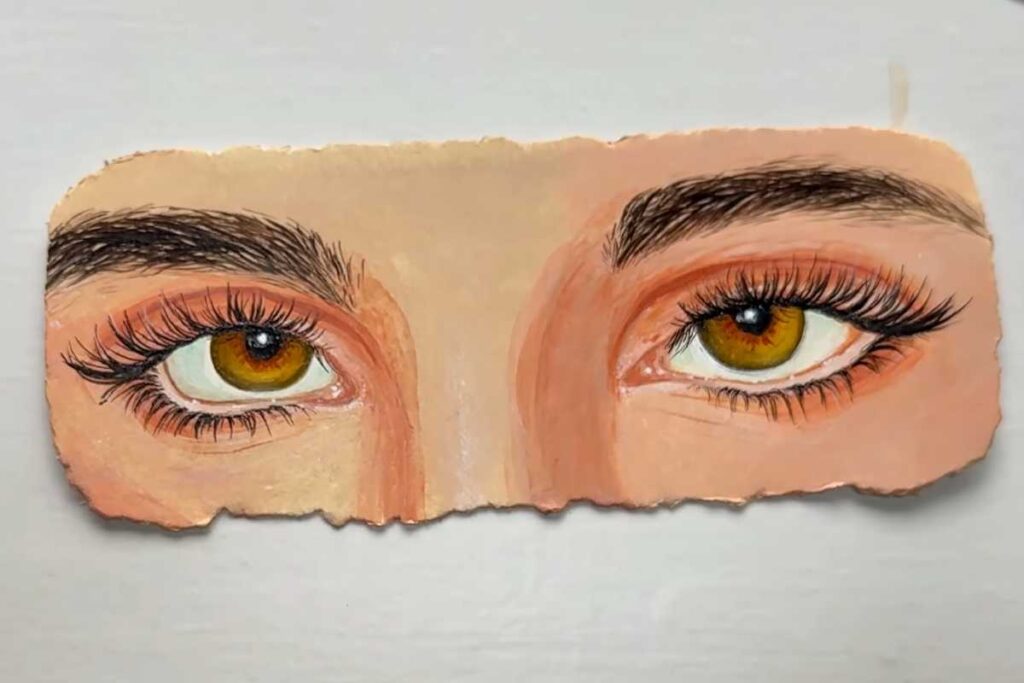
Creating a realistic eye painting with acrylics can be a rewarding challenge, especially when you are able to capture the intricate details that make the human eye so expressive.
In this guide, we will explore the key elements involved in painting a realistic eye using acrylic paints.
The tutorial from The Colors by Priyanka offers a fantastic step-by-step approach, and by following the techniques shared in the video, you'll be able to create your own stunning eye paintings.
Materials You’ll Need
Before diving into the process, it's important to gather the necessary materials. For a realistic eye painting, you’ll need high-quality acrylic paints, brushes, and a suitable canvas.
Some of the essential colors include skin tones, browns, blacks, and whites. You'll also need a palette to mix your paints, a clean water cup, and a cloth for wiping off excess paint.
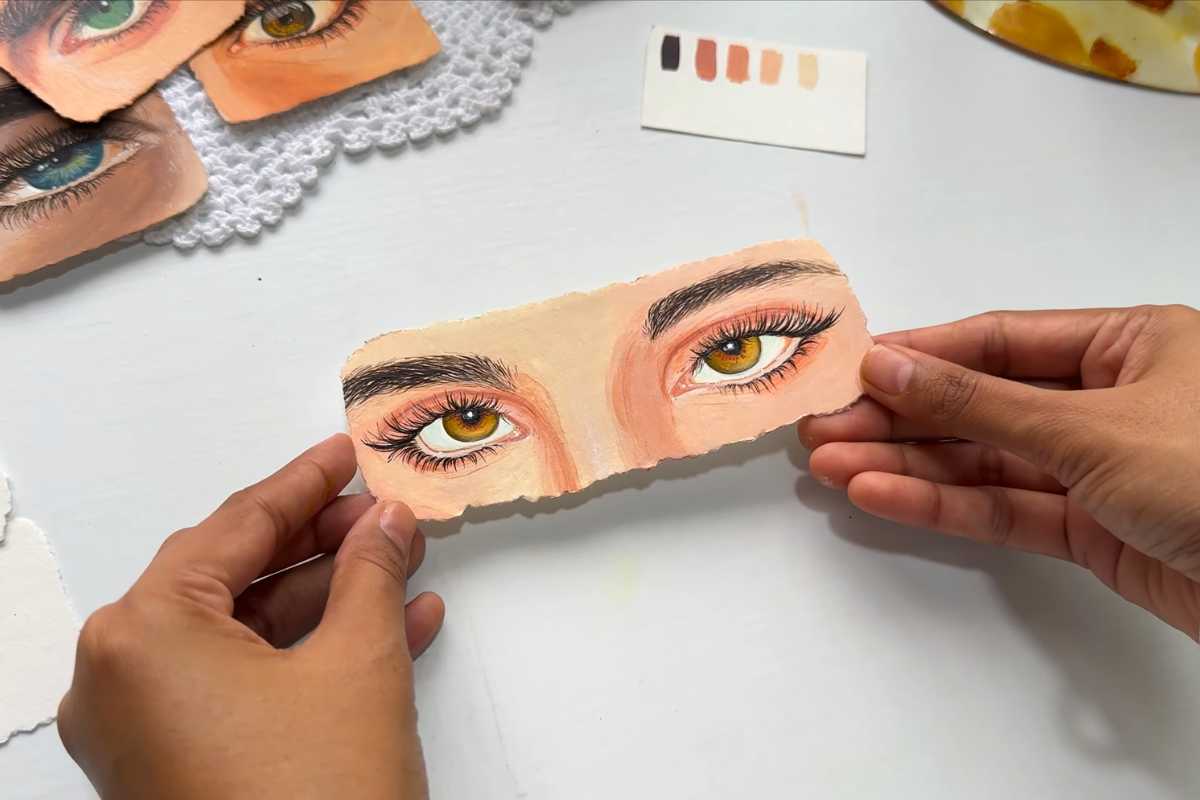
If you're looking to replicate the colors of the eyes from the tutorial, having a color palette as a reference will also be helpful.
Preparing Your Canvas
Start by preparing your canvas. Stretching and priming your canvas is crucial to ensure that the acrylics adhere well. If you’re working on a pre-stretched canvas, you can apply a thin layer of gesso to create a smooth surface.
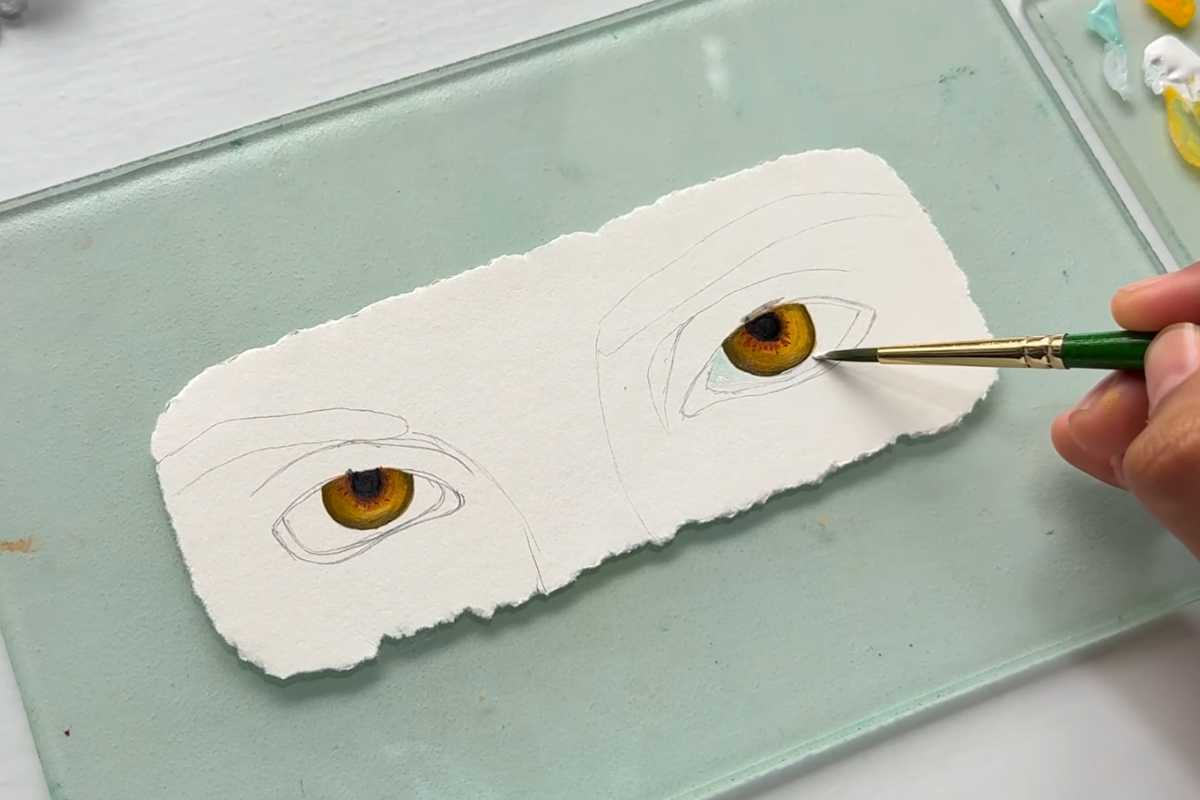
Once your canvas is ready, lightly sketch the outline of the eye. Pay attention to the proportions of the eye, as getting the right shape will help with the overall realism of the painting.
Understanding the Basics of Eye Structure
The human eye is a complex organ, and understanding its basic structure will make painting it much easier. Begin by observing the various components of the eye, such as the iris, sclera (the white part), pupil, and eyelashes.
The iris is often the focal point of eye paintings, as its colors and texture can vary significantly. Take note of how light interacts with the eye – reflections in the eye can add a sense of realism to your painting.
Layering Colors for Realism
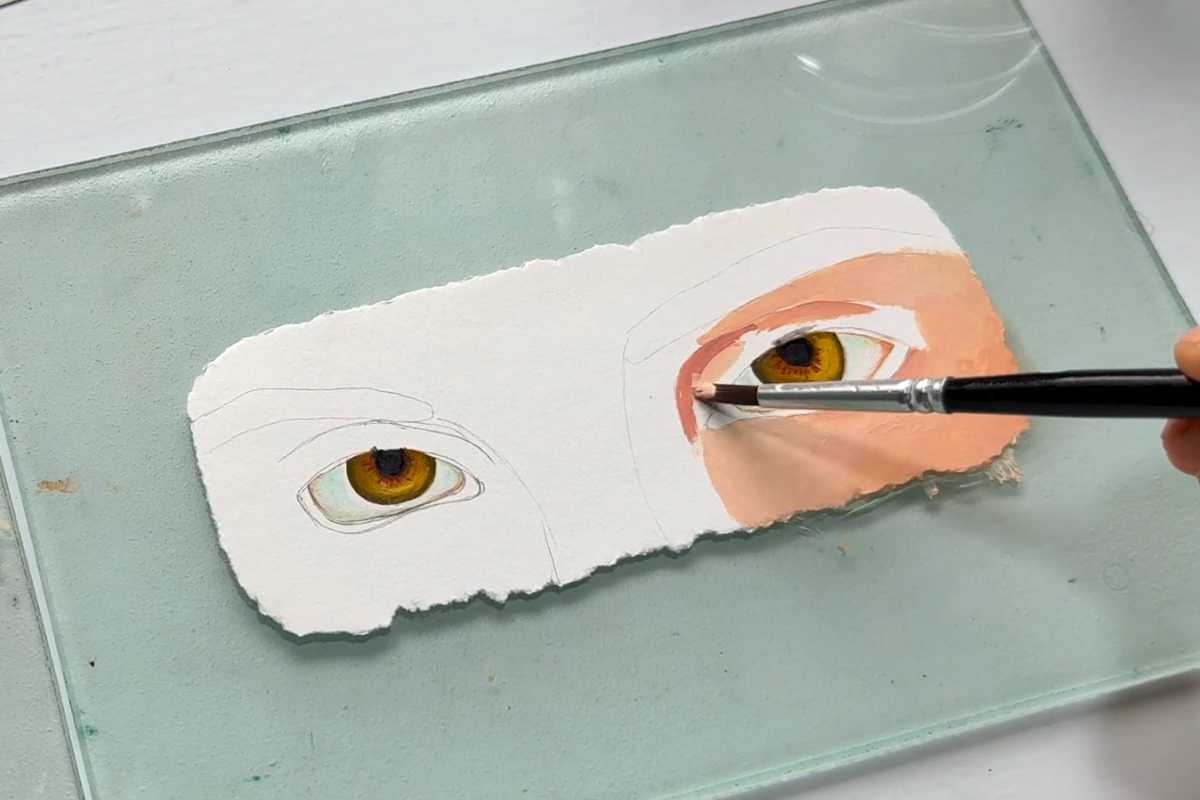
When painting a realistic eye, layering colors is key to creating depth. Start with a base layer for the sclera (the white part of the eye). Use a light wash of blue or grey to show the natural tones in the white of the eye.
As you build up the layers, be mindful of subtle shadows and highlights that define the shape of the eye.
Next, focus on the iris. Depending on the color you are painting, you can use various shades of greens, blues, or browns.
The key to a realistic iris is blending the different colors smoothly and ensuring that you replicate the fine details of the texture and patterns within the iris.
The pupil should be painted last as it’s the darkest part of the eye. Use a deep black or dark brown for the pupil, and add small highlights to give it dimension.
The reflections on the pupil are often what bring the eye to life, so pay close attention to how light is interacting with the surface.
Adding Details and Texture
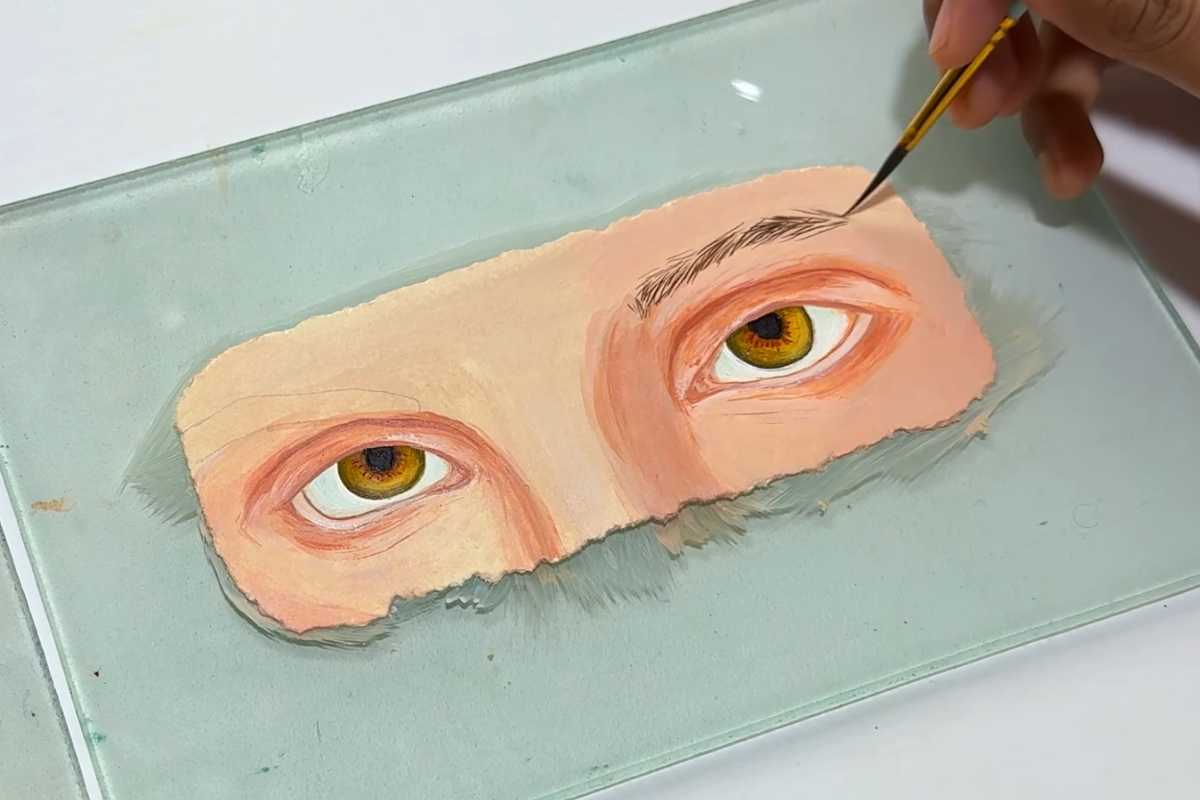
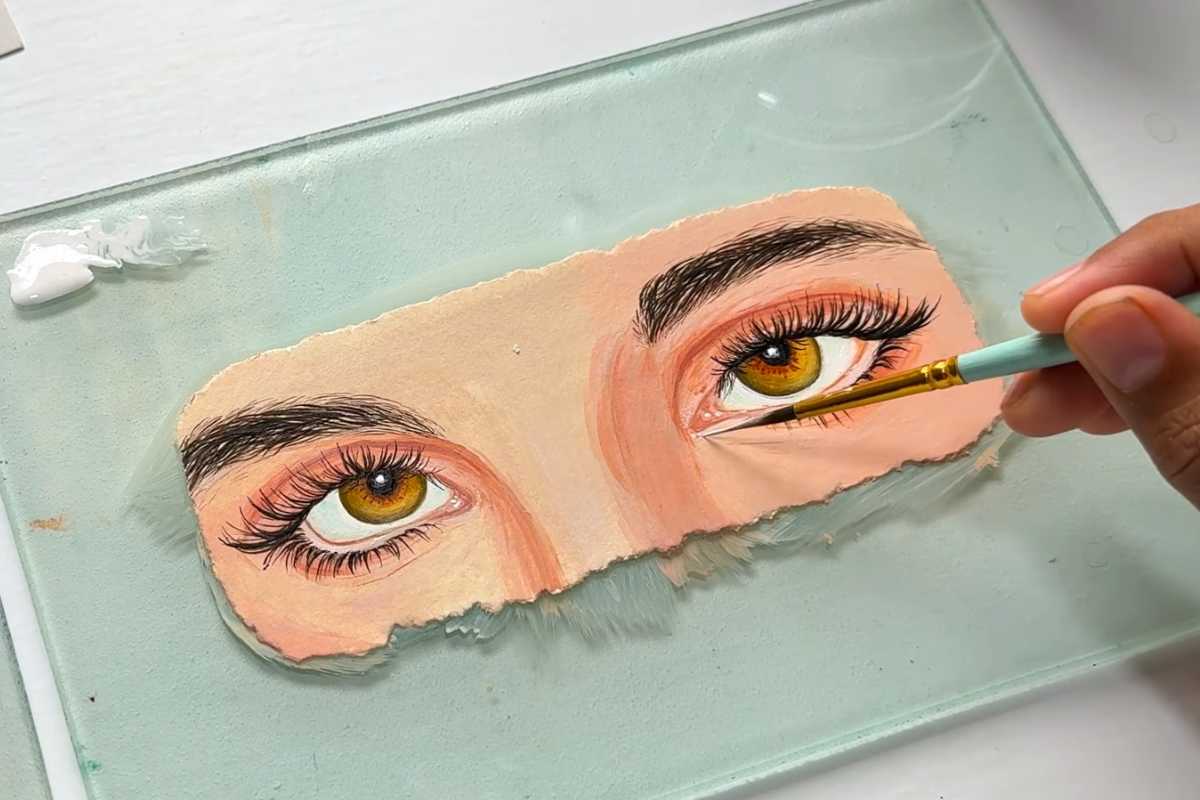
One of the most important steps in realistic eye painting is adding texture. Use fine brushes to create the delicate eyelashes, paying attention to their direction and length.
The skin surrounding the eye should also have some texture – adding subtle shading to the eyelids and under the eye will create the illusion of depth and form.
You can also add veins in the sclera, which will contribute to a more natural, lifelike appearance.
Refining the Painting
Once the main elements of the eye are in place, take a step back and evaluate your painting. Add additional layers to enhance shadows, deepen the colors in the iris, and refine the details in the eyelashes and skin.
The final steps will include blending the areas where the eye connects with the skin to make the transition smoother and more realistic. This part is essential for achieving a seamless look between the eye and its surroundings.
Final Thoughts
Painting a realistic eye with acrylics requires patience and practice, but the results are well worth the effort.
By following the steps in the tutorial by The Colors by Priyanka, you’ll be able to master the techniques needed to create an eye painting that looks incredibly lifelike.
Be sure to take your time, enjoy the process, and don’t be afraid to make adjustments as you go. As you develop your skills, you'll find that painting eyes becomes an incredibly satisfying and rewarding art form.
We thank The Colors by Priyanka for the images.
Enjoy The Video Tutorial

Source: The Colors by Priyanka
Did you find this post useful or inspiring? Save THIS PIN to your Art Board on Pinterest! 😊
Last update on 2026-01-15 / Affiliate links / Images from Amazon Product Advertising API
Discover More Artistic Inspiration