
Aurora Borealis Oil Pastel Drawing: Easy Northern Lights Mountain Scene

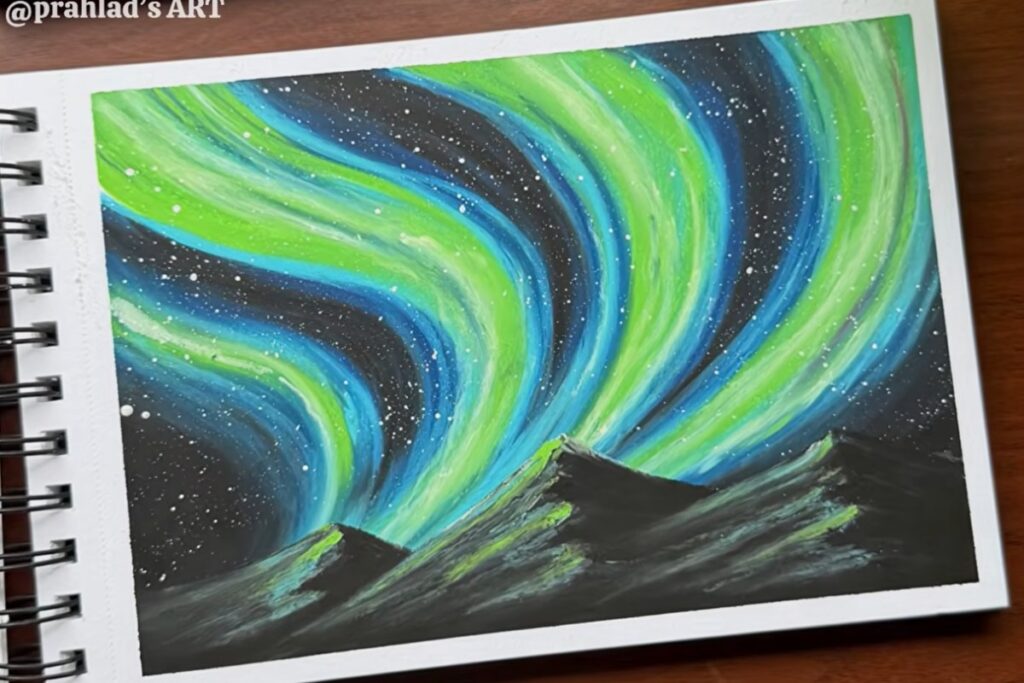
Bright green and turquoise ribbons of light sweeping over a dark mountain ridge, with a sky full of tiny white stars: this northern lights scene by Prahlad's ART is drawn entirely with oil pastels, plus a little acrylic paint for the stars. The video is short, under seven minutes, and every color change is labeled on screen, so it is easy to follow along even if you have never blended oil pastels before.
It is a great winter drawing to try on a cold evening, and the finished piece works well as a seasonal sketchbook page or a small framed gift for someone who loves the night sky.
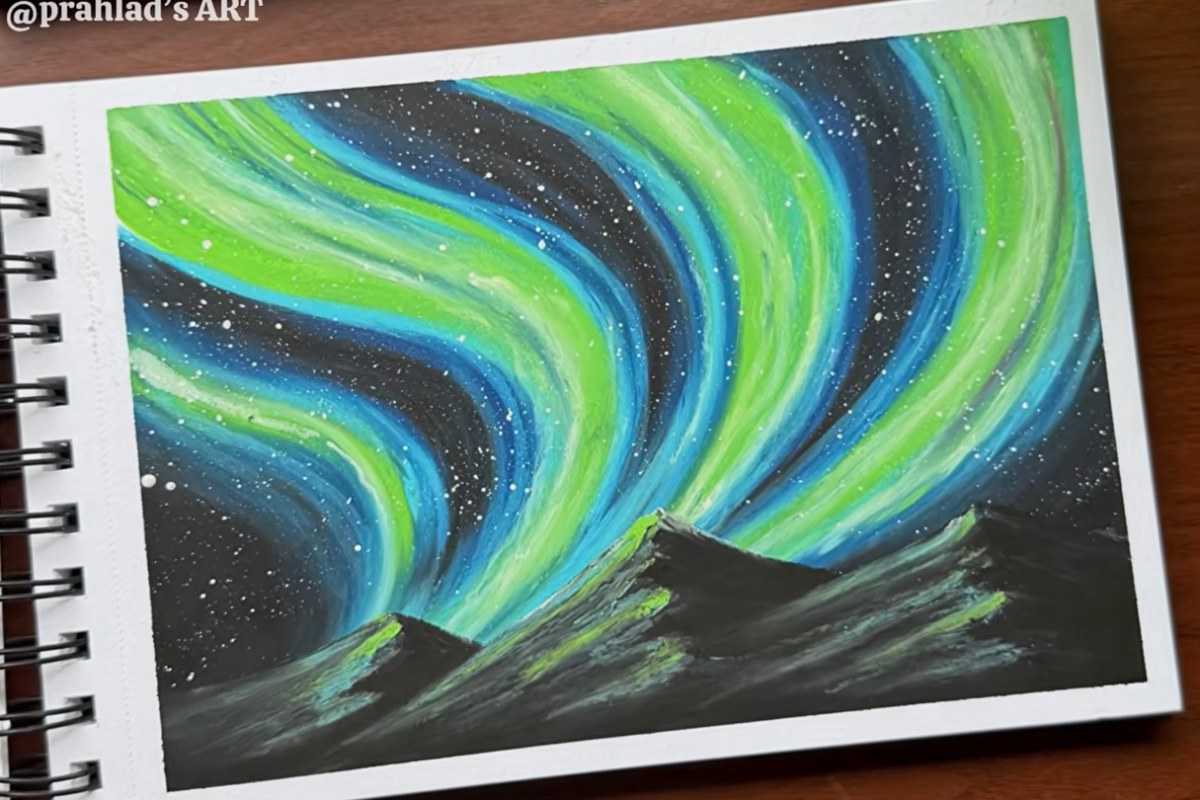
Aurora Borealis Drawing at a Glance
- Artist: Prahlad's ART
- Medium: Oil pastels, with acrylic paint for the stars
- Level: Beginner friendly
- Subject: Northern lights over a mountain landscape at night
- Video length: 6:51
What You'll Need
These are the materials listed by the artist, along with the colors named on screen during the video:
- Gallery oil pastels
- A Brustro 160 GSM sketchbook
- Oil pastel colors: yellow green, sky blue, sapphire blue, black and white
- Acrylic paint and a brush for the stars
- Your fingers for blending
How the Northern Lights Drawing Comes Together
1. Draw the light ribbons in yellow green (0:00 - 0:26)
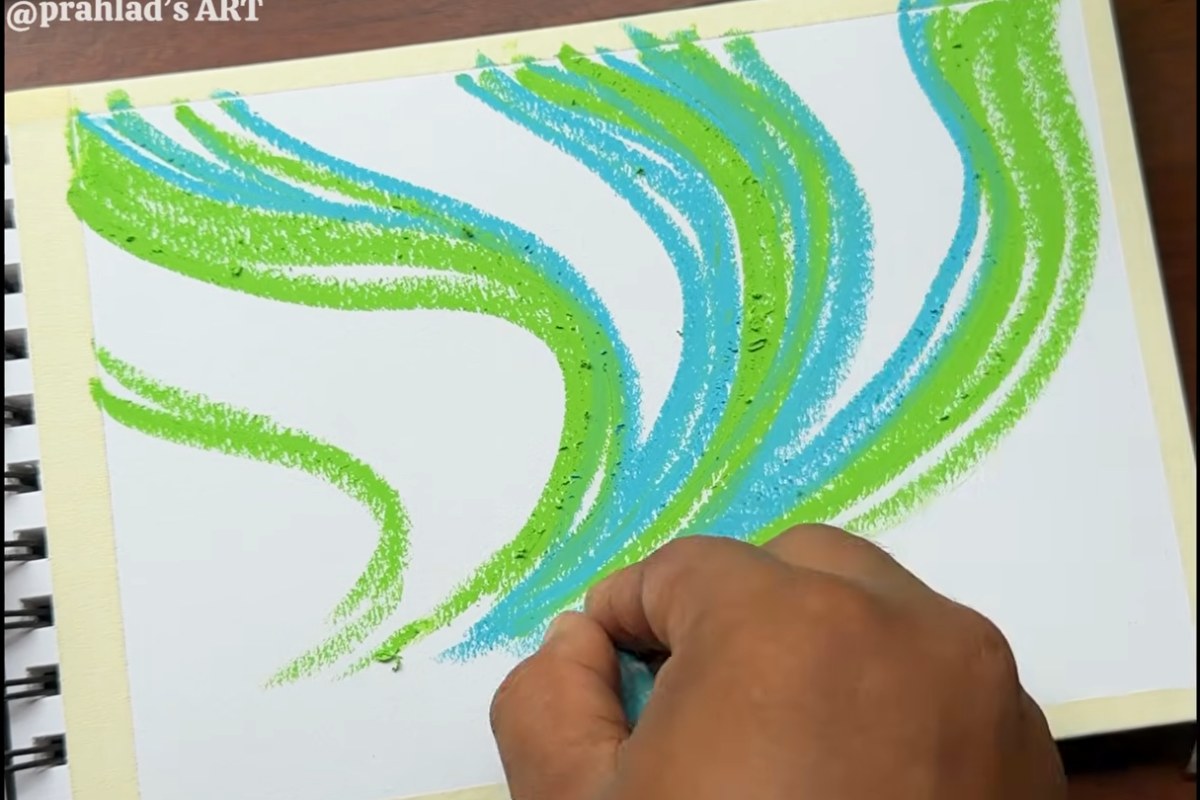
The drawing starts on clean white paper with long, curved strokes of yellow green. The lines sweep down from the top edge and bend to the left, a bit like ribbons blowing in the wind. Leave plenty of white paper between them, because the other colors go into those gaps.
2. Add sky blue and sapphire blue (0:26 - 1:44)
Sky blue goes right next to the green strokes, following the same curves. Then sapphire blue fills in the spaces between the bands. Keeping every stroke in the same direction is what makes the aurora look like it is moving.
3. Fill the dark sky and blend (1:44 - 3:14)
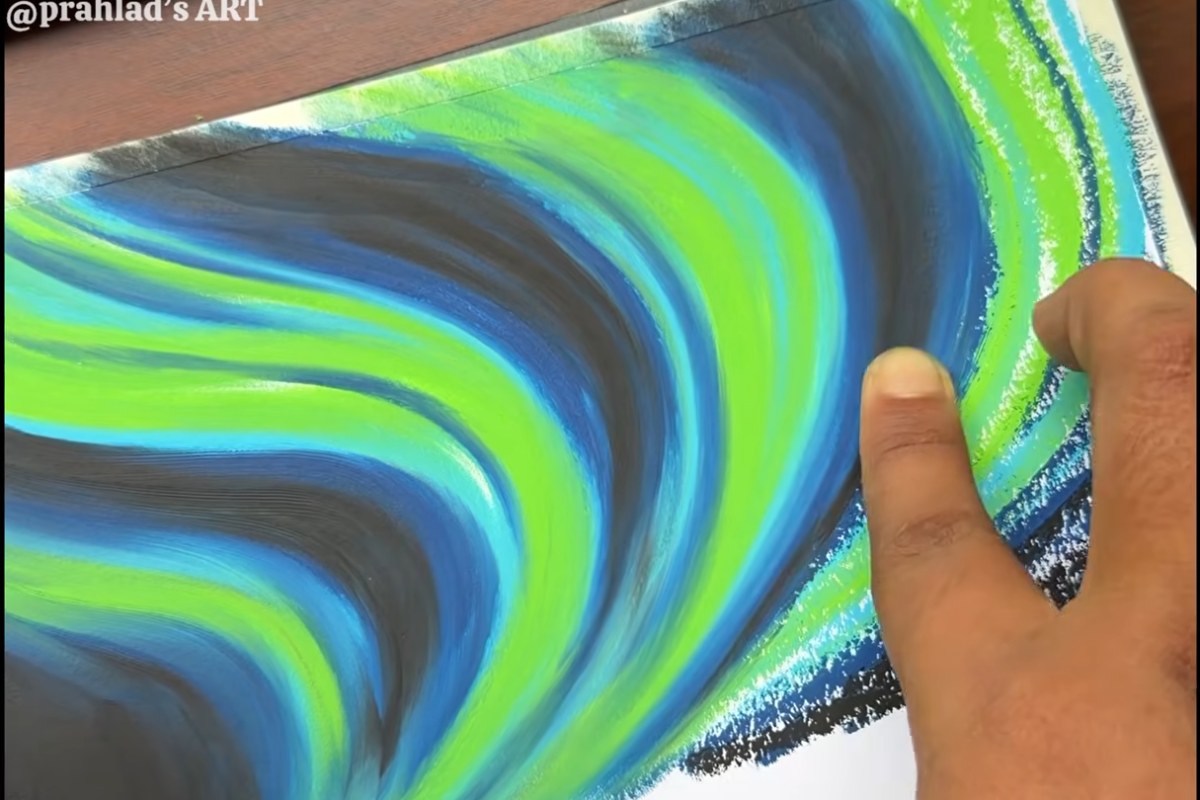
Black oil pastel covers the remaining white areas of the sky and the lower part of the page. Once everything is covered, the colors are blended with the fingers, always pulling along the curve of the ribbons. This is the step that turns rough pastel marks into a soft, glowing sky, with the green melting into blue and the blue fading into black.
4. Brighten the ribbons (3:14 - 4:26)
A second pass of sky blue sharpens the edges of the bands, and white pastel adds pale streaks inside the green. These light touches give the aurora its glow and keep it from looking flat after blending.
5. Draw the mountains (4:26 - 6:28)
The mountain range is drawn in black across the bottom, with a few sharp peaks rising into the sky. Short slanted strokes of sky blue, yellow green and white are then added on the slopes. They read as light from the aurora catching the rocky ridges, and they tie the landscape to the colors above.
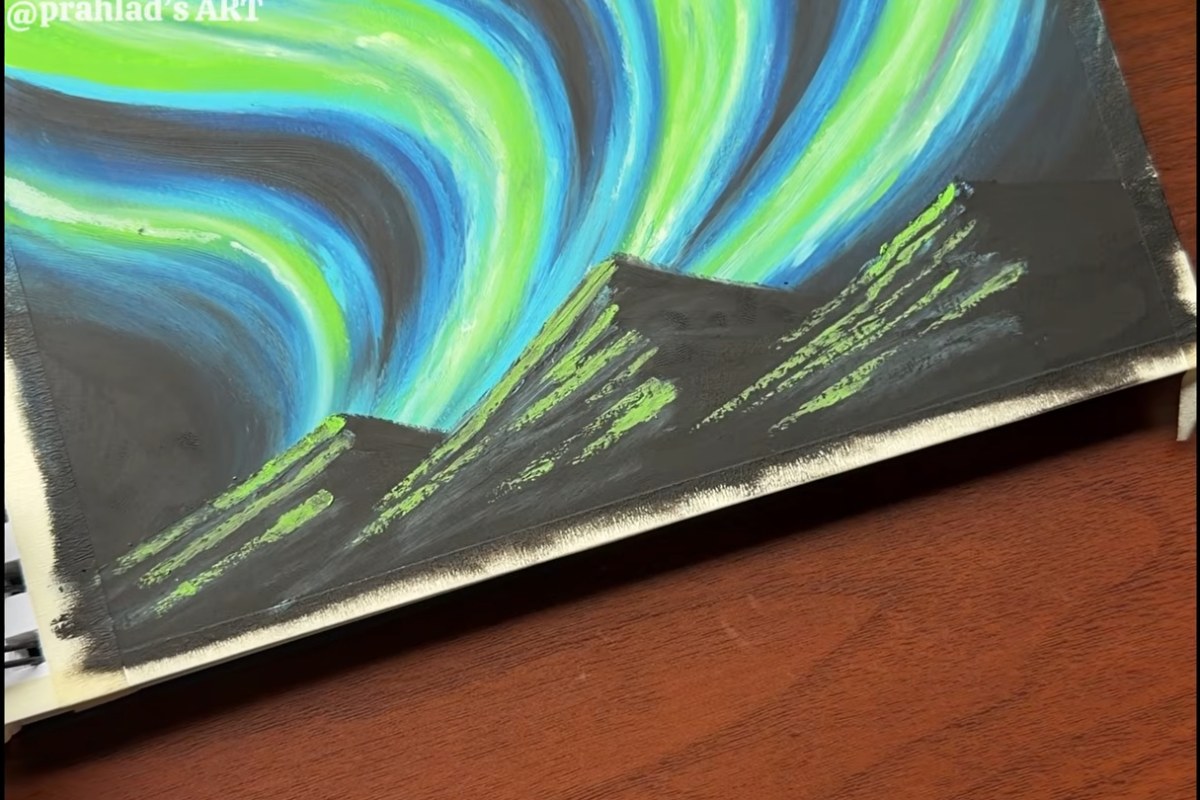
6. Splatter the stars (6:28 - end)
To finish, a brush loaded with acrylic paint is tapped against a second brush handle so small drops land across the dark sky. The paper's taped edges then come off to reveal a clean border around the drawing.
Tips for Drawing the Northern Lights with Oil Pastels
- Work light to dark. Lay down the green and blues before the black, so the bright colors stay clean when you blend.
- Blend in one direction. Follow the curve of each ribbon with your finger. Rubbing back and forth muddies the colors.
- Wipe your fingers often. Black pastel travels easily, so clean your hands before touching the green areas again.
- Keep the mountains simple. A dark silhouette with a few light strokes is enough. The sky is the star of this drawing.
- Test the splatter first. Try tapping the brush over scrap paper so you know how big the drops will be before you go over your drawing.
Enjoy the Video Tutorial
Here is the full drawing by Prahlad's ART, from the first green stroke to the last star. You can also watch the original video on YouTube.

Source: Prahlad's ART (original video)
Frequently Asked Questions
Is this oil pastel drawing good for beginners?
Yes. The shapes are simple curves and triangles, the colors are named on screen as they are used, and the blending is done with the fingers, so you don't need special tools to get a smooth sky.
What do I need to make the stars?
The stars are made with acrylic paint, not pastel. A brush loaded with paint is tapped against another brush so small drops fall onto the black sky. Try it on scrap paper first to control the size of the drops.
More Northern Lights and Oil Pastel Ideas
Discover More Artistic Inspiration