
Learn to Paint the Northern Lights in Watercolor: A Simple Tutorial


The Northern Lights, or Aurora Borealis, is one of nature's most breathtaking spectacles. With its shimmering colors sweeping across the sky, it's a sight that inspires awe and wonder.
Recreating this beautiful scene using watercolors can be a rewarding experience, especially for beginners. If you're looking to capture the magic of the Northern Lights on paper, this tutorial will guide you through the process in a simple, step-by-step manner.
Whether you’re new to watercolor or an experienced artist, this is a fun project to help you explore the beauty of the Northern Lights in a unique and creative way.
Why Watercolors Are Perfect for Northern Lights
Watercolor painting offers a unique opportunity to express the fluidity and movement of the Northern Lights. The medium's ability to flow and blend naturally is ideal for mimicking the ethereal quality of the colorful lights in the sky.
Watercolors also allow you to experiment with layering, blending, and creating smooth gradients, making it easier to portray the soft transitions between colors that you would see in a real Aurora Borealis display.
Creating Dreamlike Effects
One of the greatest benefits of using watercolors for this project is how it enables you to create dreamlike effects.
The soft washes and wet-on-wet techniques in watercolor mimic the delicate flow of the Northern Lights, letting the colors bleed and merge into one another smoothly. This gives the scene an otherworldly feel, perfectly capturing the stunning look of the Aurora against a dark, starry sky.

Essential Supplies for Painting the Northern Lights
Before you begin, it’s important to gather the right materials to help bring your Northern Lights scene to life. For this project, you don’t need an extensive list of supplies—just the basics will do.
What You’ll Need:
Watercolor paints: Choose a set that includes a range of vibrant colors like greens, blues, purples, pinks, and yellows to mimic the colors of the Northern Lights.
Watercolor paper: A thick paper that can handle water is essential. Cold-pressed watercolor paper is a great choice as it has a nice texture and can absorb water well.
Brushes: A medium-sized round brush is perfect for creating soft washes and blending colors, while a finer brush can be used for adding details.
Masking fluid (optional): Masking fluid can be helpful if you want to protect certain areas of your paper, like the stars or highlights in the sky.
Water: You'll need plenty of water for creating washes and controlling the flow of your paint.
Once you have everything ready, you can start the exciting process of creating your own Northern Lights painting.

The Beauty of Layering in Watercolors
Layering is key when it comes to watercolor painting, especially when depicting a subject like the Northern Lights. The layers of color help create depth and a sense of movement, giving the lights a natural, glowing appearance.
Building Layers for Depth
The first step in painting the Northern Lights is to establish a background wash using darker shades. This wash represents the night sky, setting the stage for the brilliant colors that will follow.
Start with a blend of dark blues and purples, and let the paint flow freely across the paper. This creates a soft gradient that will serve as the base for the vibrant lights.
After the background dries, you can begin layering the colors of the Northern Lights. Watercolors are perfect for building up color gradually, so don’t worry about adding too much at once.
Start with light, translucent layers of green, yellow, blue, and purple, and gradually build them up to create a more vivid, glowing effect. The wet-on-wet technique allows the colors to blend naturally, mimicking the flowing movement of the Northern Lights.
Adding Subtle Details
As you continue to layer your colors, you can start adding subtle details to enhance the realism of the scene. You might want to use a fine brush to add small stars to the sky or a distant horizon line to ground the scene. These small details help bring the painting to life and give it a sense of space and depth.

The Importance of Color Choice
When painting the Northern Lights, the color palette you choose plays a huge role in the overall impact of the piece.
The bright greens, blues, and purples of the Aurora should contrast against the darker backdrop of the night sky. The soft blending of colors creates a natural gradient, but you can also experiment with using other shades like pink or even white to highlight the intensity of the lights.
Colors for the Sky
To create the right atmosphere for the Northern Lights, focus on using dark, rich hues like midnight blue or deep violet for the sky.
These colors will make the Northern Lights pop and create a stark contrast between the lights and the surrounding sky. For the water below, use darker blues with hints of green to reflect the colors above.
Colors for the Lights
For the Northern Lights themselves, opt for bright, vibrant colors that mimic the natural shades of the Aurora. Lime greens, aqua blues, soft yellows, and purple tones work wonderfully.
Allow these colors to blend softly into each other, creating the flowing, ethereal effect that is characteristic of the Northern Lights.
Final Touches and Refining Your Painting
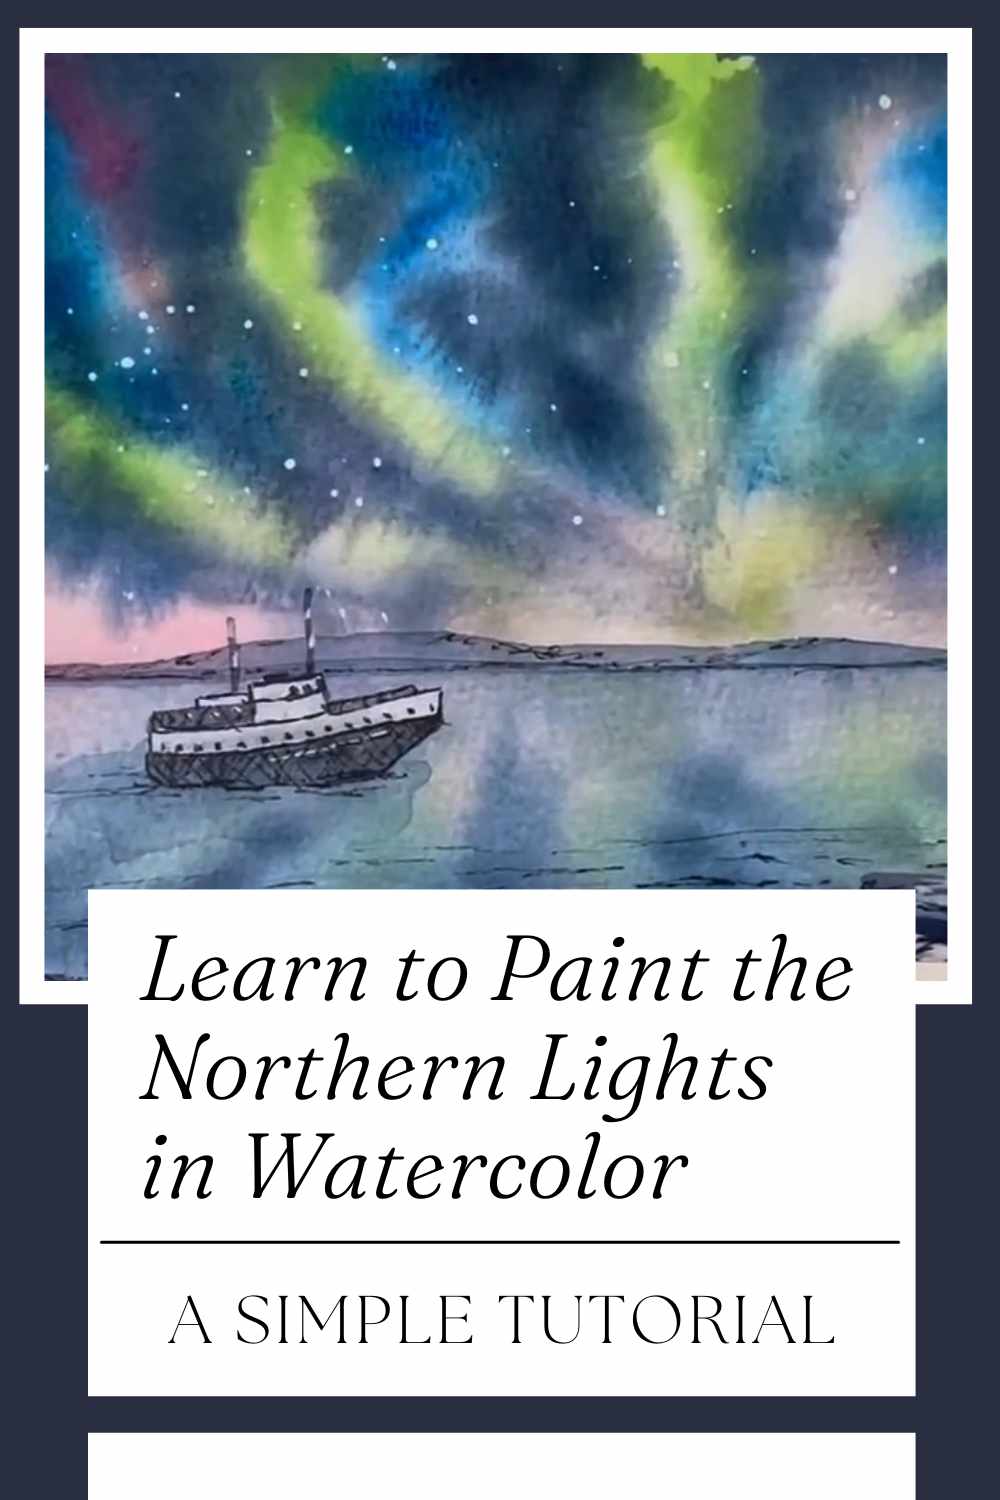
Once the layers of color have dried, take a step back and evaluate your painting. At this stage, you can refine the piece by adding details like the boat, mountains, or any other elements you want to include in your scene.
Small touches of white gouache can be used to add stars or bright highlights to the Northern Lights.
Additionally, splattering paint with a toothbrush or using a fine brush to create tiny dots can help create the effect of stars in the sky. These small details add depth and texture, making the painting feel more alive and dynamic.
Conclusion
Painting the Northern Lights with watercolors is a fun and rewarding project, especially for beginners. The fluid nature of watercolors allows you to capture the movement and magic of the Aurora in a way that other mediums can’t quite achieve.
By focusing on layering, blending, and color choice, you can create a stunning landscape that reflects the breathtaking beauty of this natural phenomenon.
Whether you're a beginner or an experienced artist, this tutorial is a great way to explore watercolor techniques and create something beautiful and awe-inspiring. So grab your paints, relax, and let the colors of the Northern Lights inspire you!
We thank Art In Motion for the images.
Enjoy The Video Tutorial
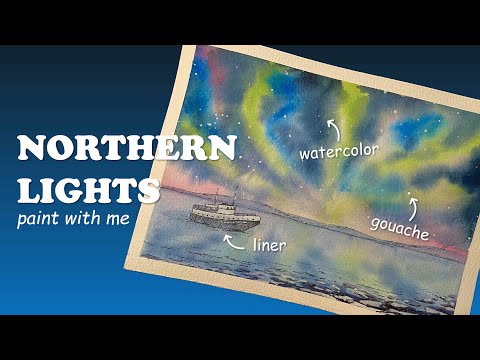
Source: Art In Motion
Did you find this post useful or inspiring? Save THIS PIN to your Art Board on Pinterest! 😊
Discover More Artistic Inspiration