
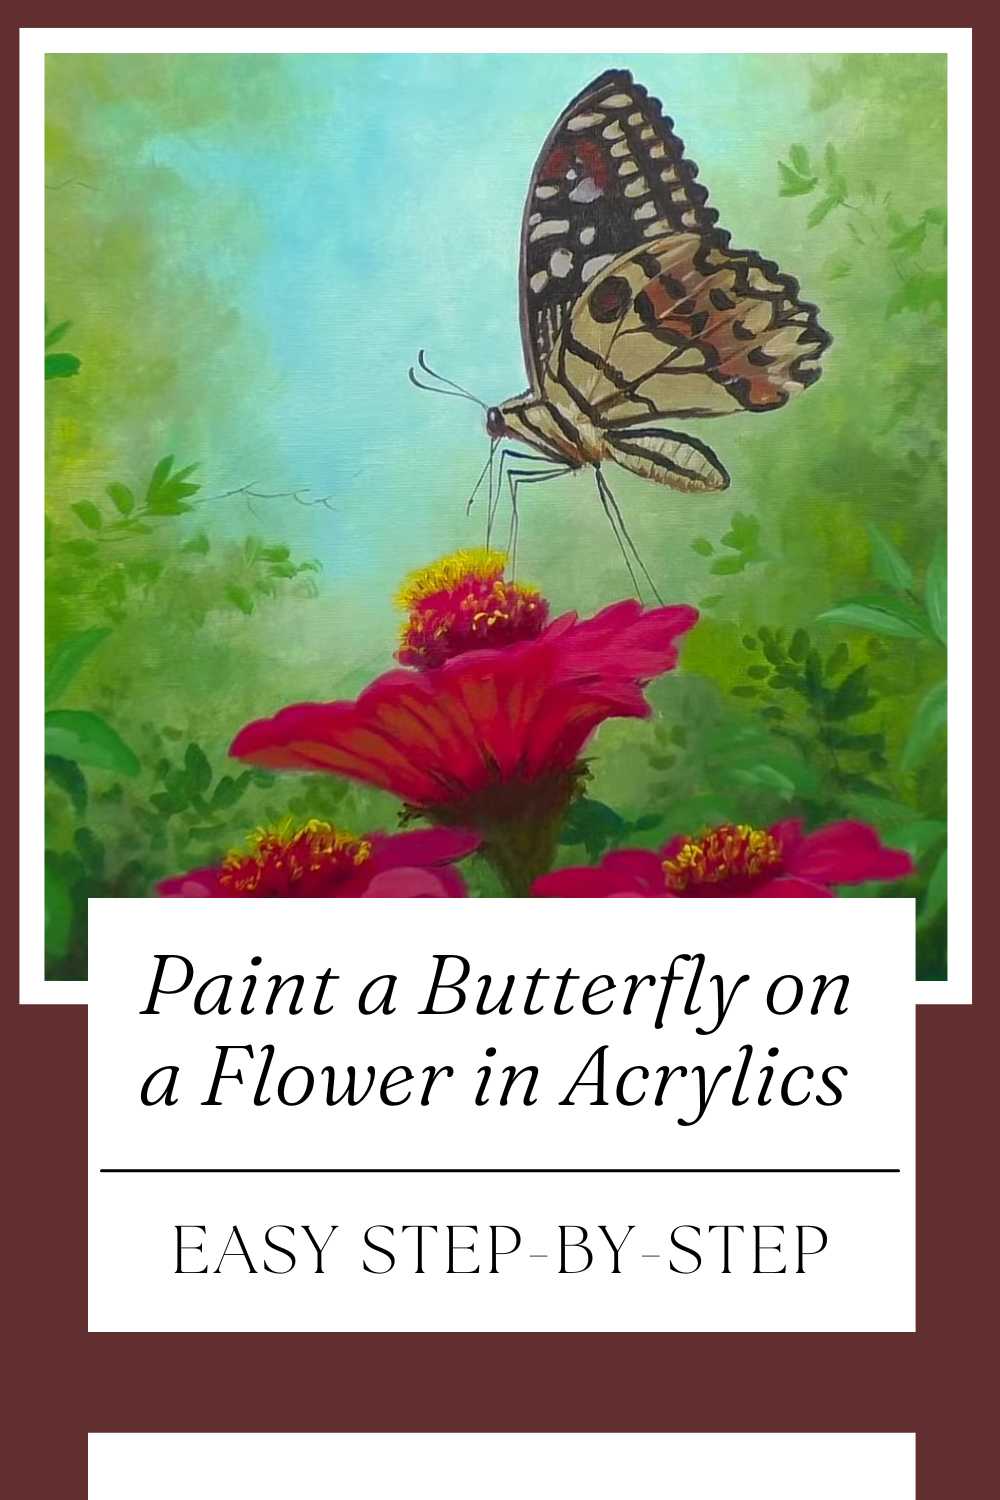
Paint a Butterfly on a Flower in Acrylics: Easy Step-by-Step
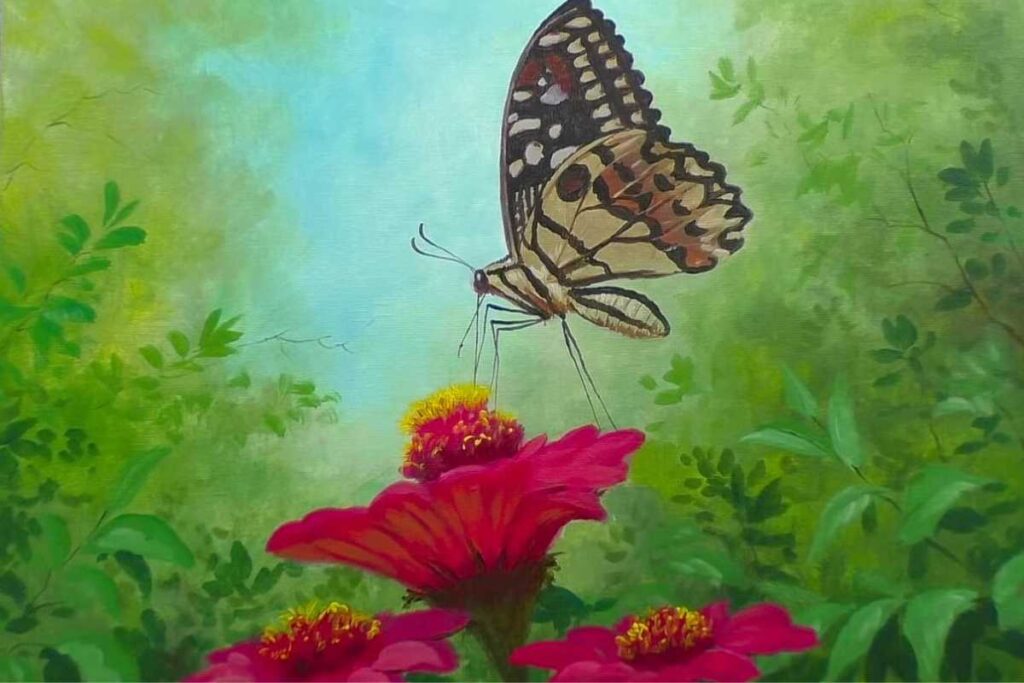
Bring a delicate butterfly to life with acrylics in a calm, nature-filled scene.
In the video shared here, Art of John Magne Lisondra (JMLisondra) walks you through the full process—from the first light sketch to the final flicks of detail—so you can paint along with confidence.
Below you’ll find an overview of the approach, the essential materials, and pro tips that help you capture crisp wings, soft petals, and a glowing woodland background without memorizing a complicated sequence.
Why This Tutorial Works
This lesson leans on a limited color palette, clear value structure, and simple brushwork.
By focusing on large shapes first and details last, beginners avoid muddy colors while advanced painters gain a reliable roadmap for efficiency. The real-time pacing also makes it easy to pause and study each move.
Materials & Setup
Suggested Supplies
Acrylic paints: warm and cool primaries, white, and a touch of earth tones for neutrals
Brushes: a flat for blocking, a round for petals and edges, a liner for antennae and veins
Surface: pre-primed canvas or panel
Extras: water, palette, paper towel, and a soft pencil for the initial drawing
Keep the palette simple. A restrained selection helps you mix fresh greens, vivid petals, and creamy butterfly tones while keeping harmony across the scene.
Building the Scene
Background Atmosphere
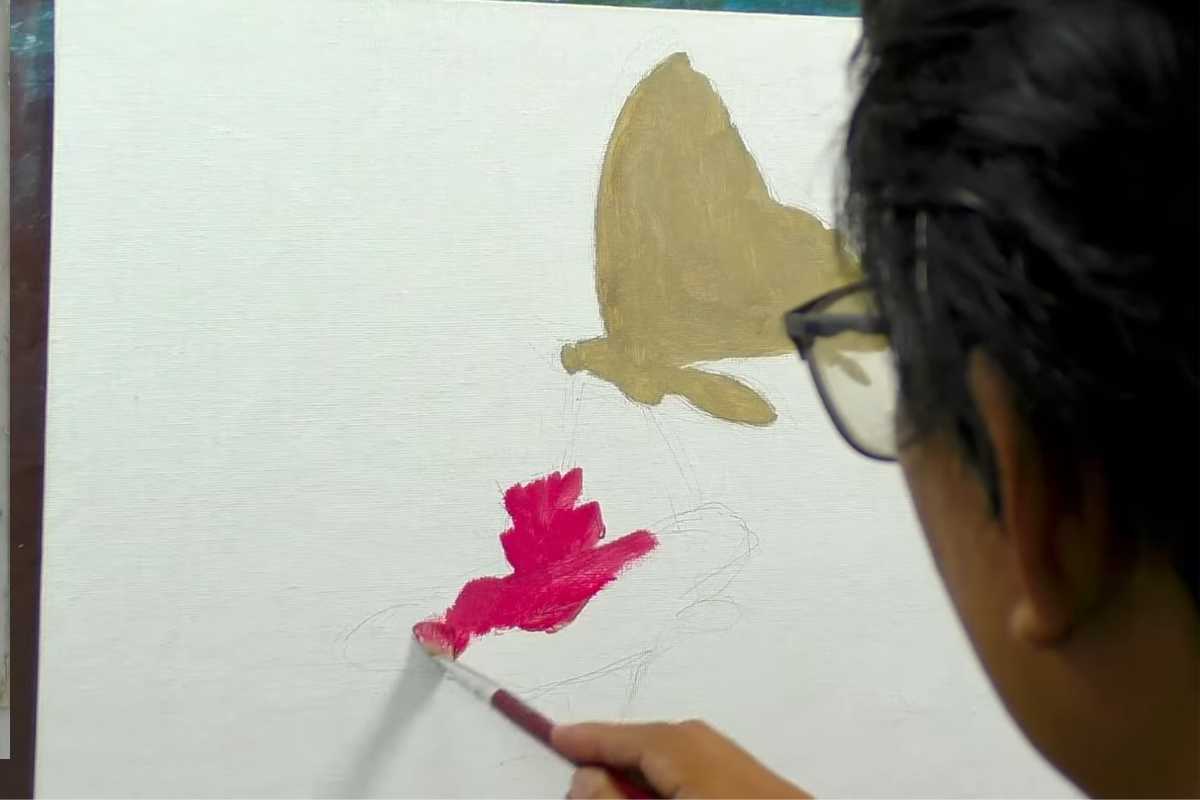
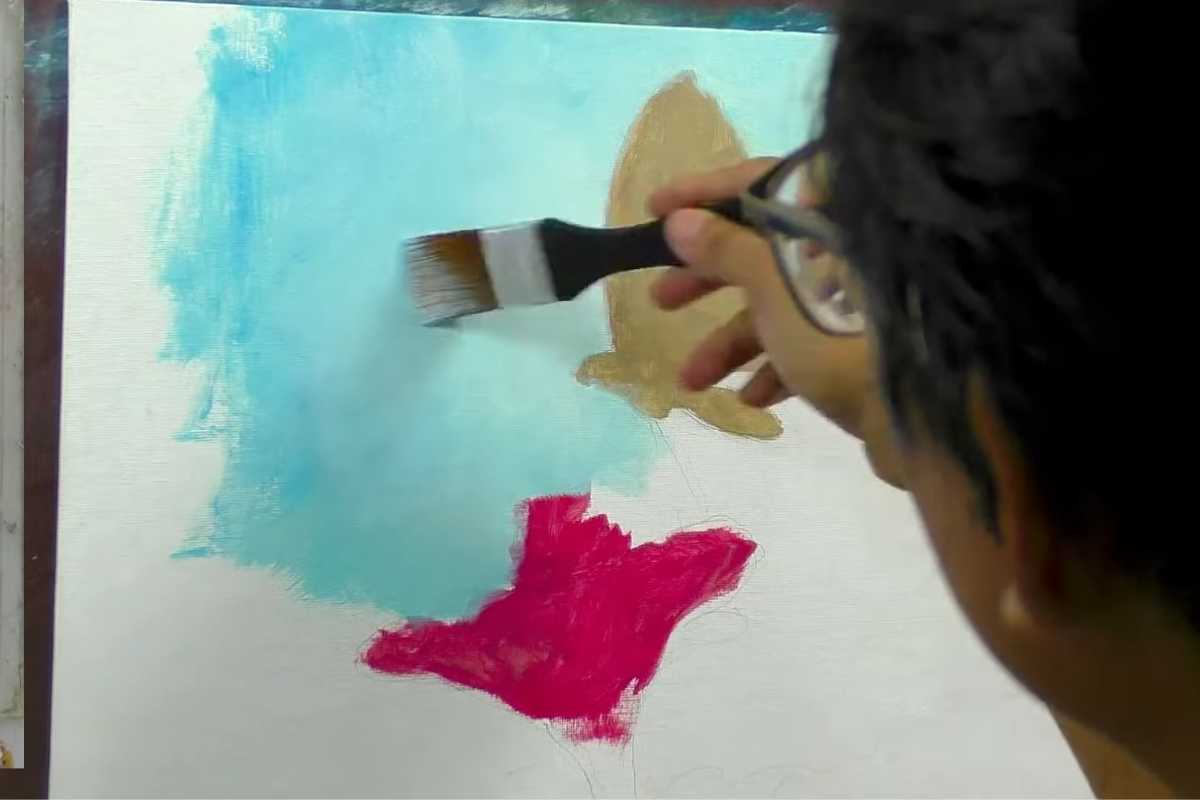
The painting opens with a light underpainting: thin, transparent layers to establish sky glow and leafy depth.
Use broad, soft strokes to suggest foliage without over-defining it. This creates aerial perspective—a sense of distance that makes the butterfly and flowers pop.
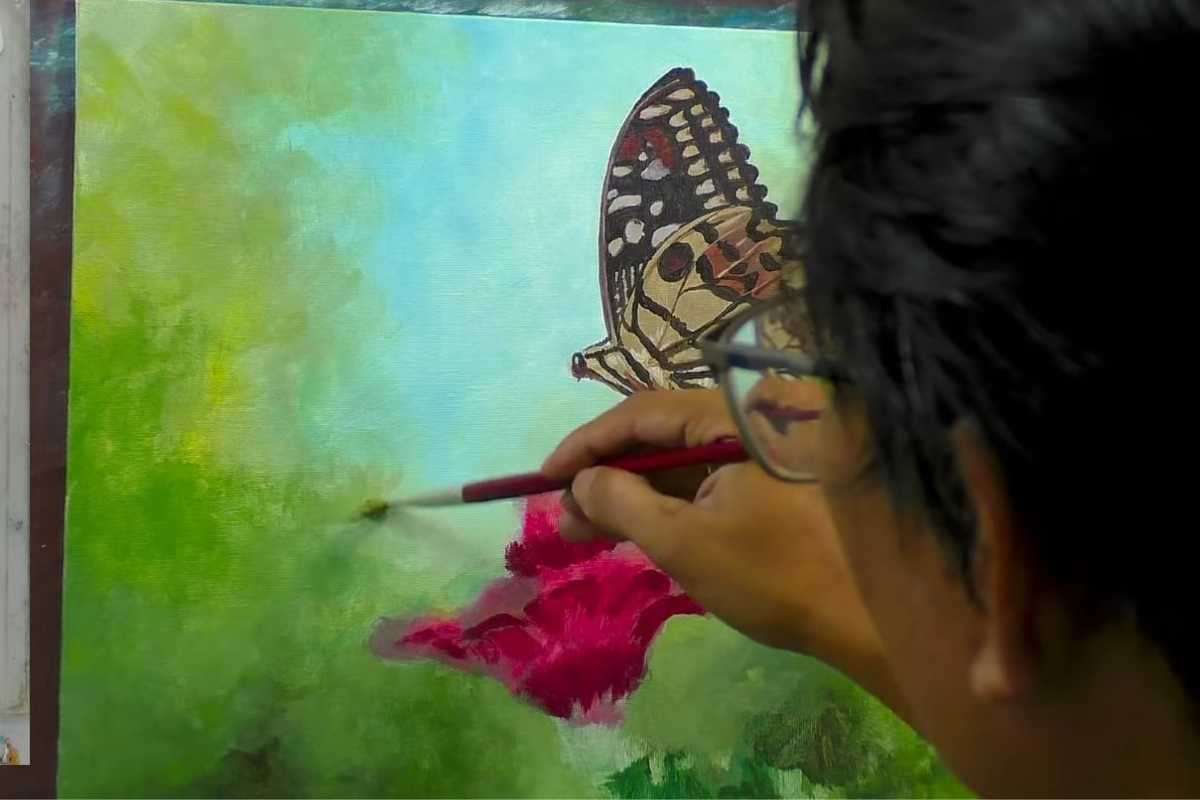
Flowers That Hold the Focal Point
For the blooms, start with mid-tones, then push highlights and shadows to build volume. Petal edges are softened toward the background and sharpened near the focal area.
A few warm accents in the centers guide the viewer’s eye without stealing attention from the butterfly.
Painting the Butterfly

Shapes First, Details Later
Outline the main wing shapes with light marks, then fill large areas in flat values. The key is clean separation of light and dark so the pattern reads even before you add markings.
Keep edges varied: crisp on the wing tips, smoother toward the body.
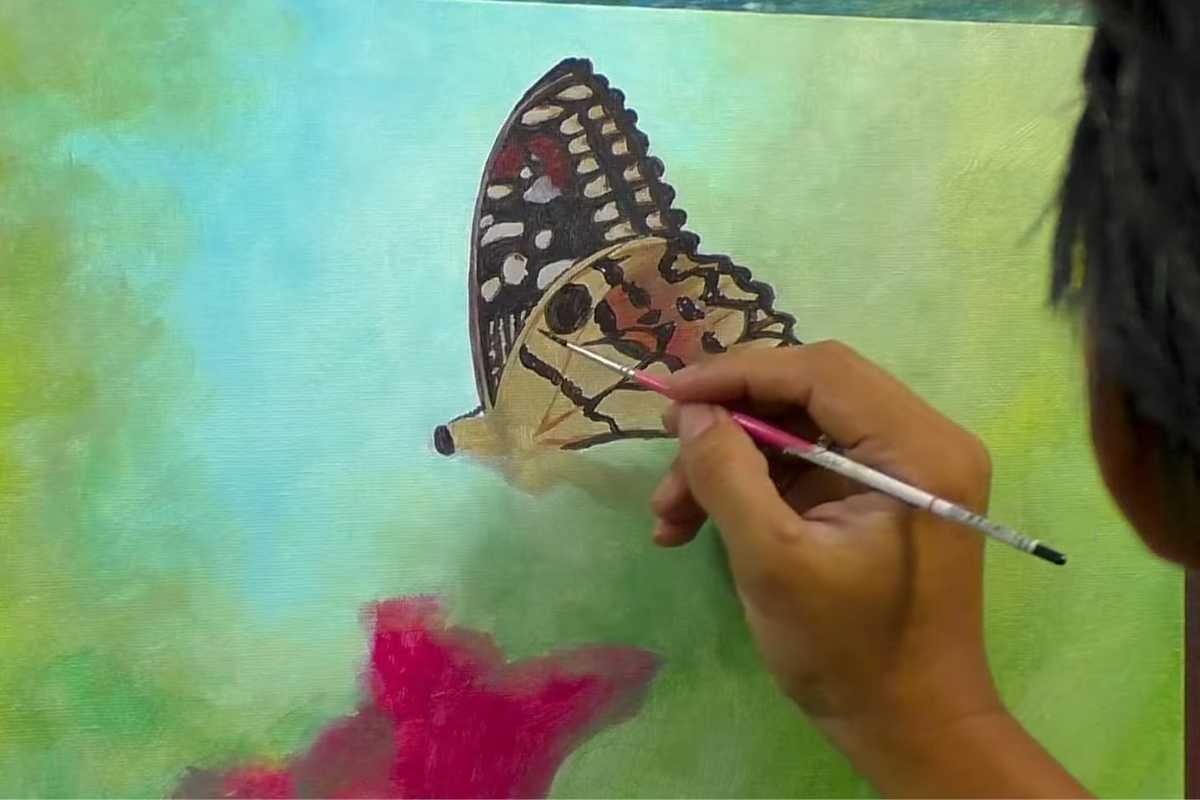
Markings, Texture, and Light
Use glazing to shift color temperature and dry brushing for subtle texture. Save the brightest accents—tiny specks on the wing and the glint on the eye—for the final moments.
A few delicate lines with a liner brush define veins and antennae without heaviness.
Color & Value Tips
Mix greens from your primaries for natural foliage that feels part of the same light.
Nudge petals warmer with a hint of orange; cool the shadows with a breath of blue to keep color contrast lively.
Reserve pure white for the final highlights. This makes the subject feel fresh and luminous.
Brushwork That Sells the Illusion
Soft vs. Sharp
Edges tell the story: soft transitions suggest round petals and out-of-focus leaves, while sharp contours describe the butterfly’s wing tips and the flower’s rim. Switching between a flat and a liner brush gives you control over both textures.
Layering with Intention
Work from thin to thick. Transparent passes unify the background; opaque mid-layers define forms; the last strokes carry sparkle and depth. This staged build keeps colors vibrant and prevents overworking.
Common Pitfalls (and Easy Fixes)
Colors turning chalky? Add a touch of medium or glaze over with transparent color to restore saturation.
Wings feel flat? Reinforce the shadow beneath the butterfly and sharpen one or two strategic edges for dimension.
Petals look stiff? Break up repeats with subtle value shifts and lost-and-found edges.
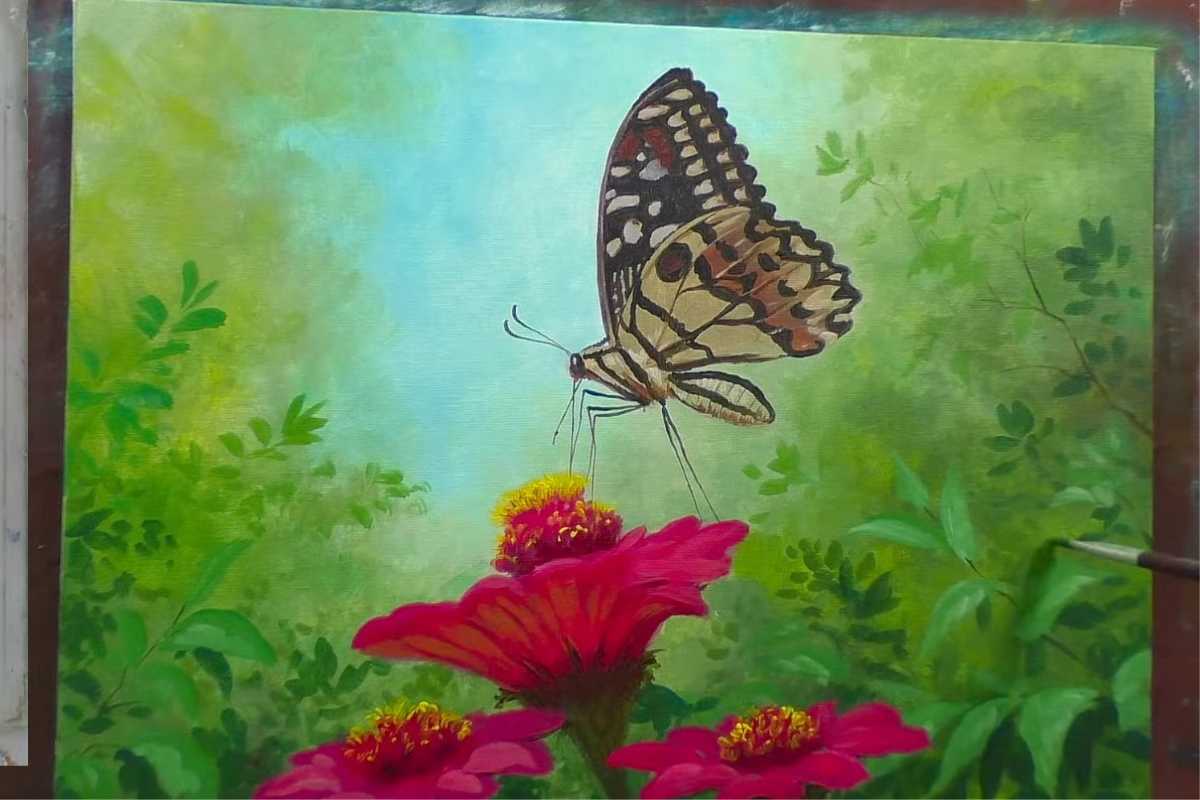
Final Touches That Matter
A few directional highlights on the petals and a soft cast shadow anchor the butterfly to the flower. Step back, squint, and check the overall value pattern; if the silhouette reads clearly from a distance, your focal point is working.
Paint With Confidence
This step-by-step acrylic painting is approachable, meditative, and rewarding.
Follow along with the video by Art of John Magne Lisondra (JMLisondra) to see every brushstroke in real time, then bring your own choices to the garden—adjust the flower color, shift the background greens, or try a different butterfly species.
With a limited palette, smart layering, and patient edges, you’ll create a vibrant piece that flutters off the canvas.
We thank Art of John Magne Lisondra for the images.
Enjoy The Video Tutorial

Source: Art of John Magne Lisondra (JMLisondra)
Did you find this post useful or inspiring? Save THIS PIN to your Art Board on Pinterest!
Discover More Artistic Inspiration