
Reverse Stenciled Watercolor Christmas Cards: 4 Easy Handmade Designs

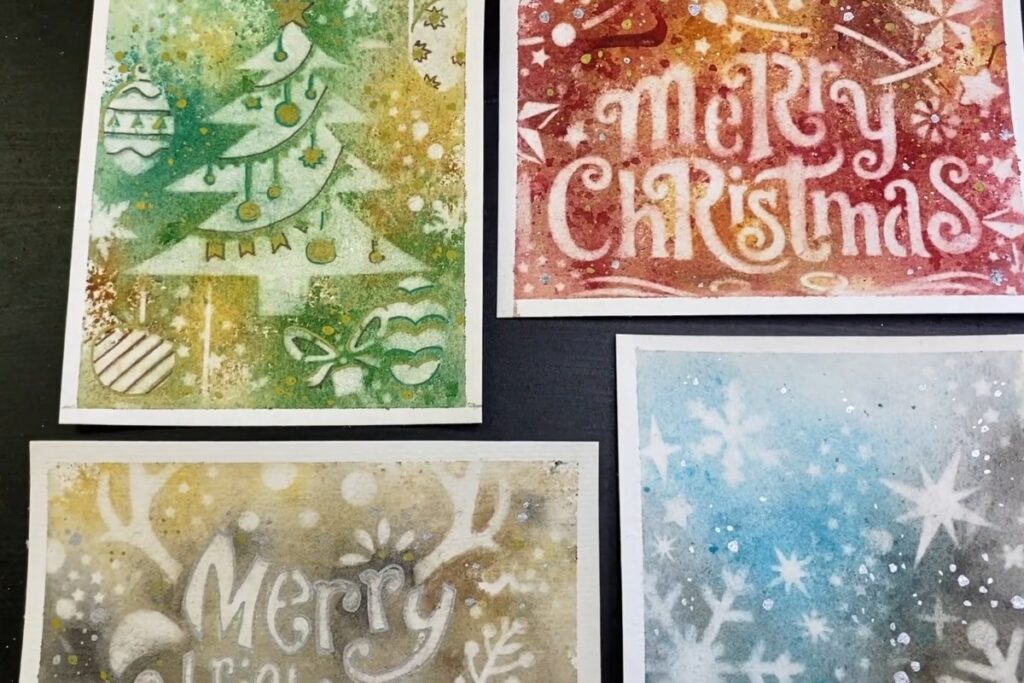
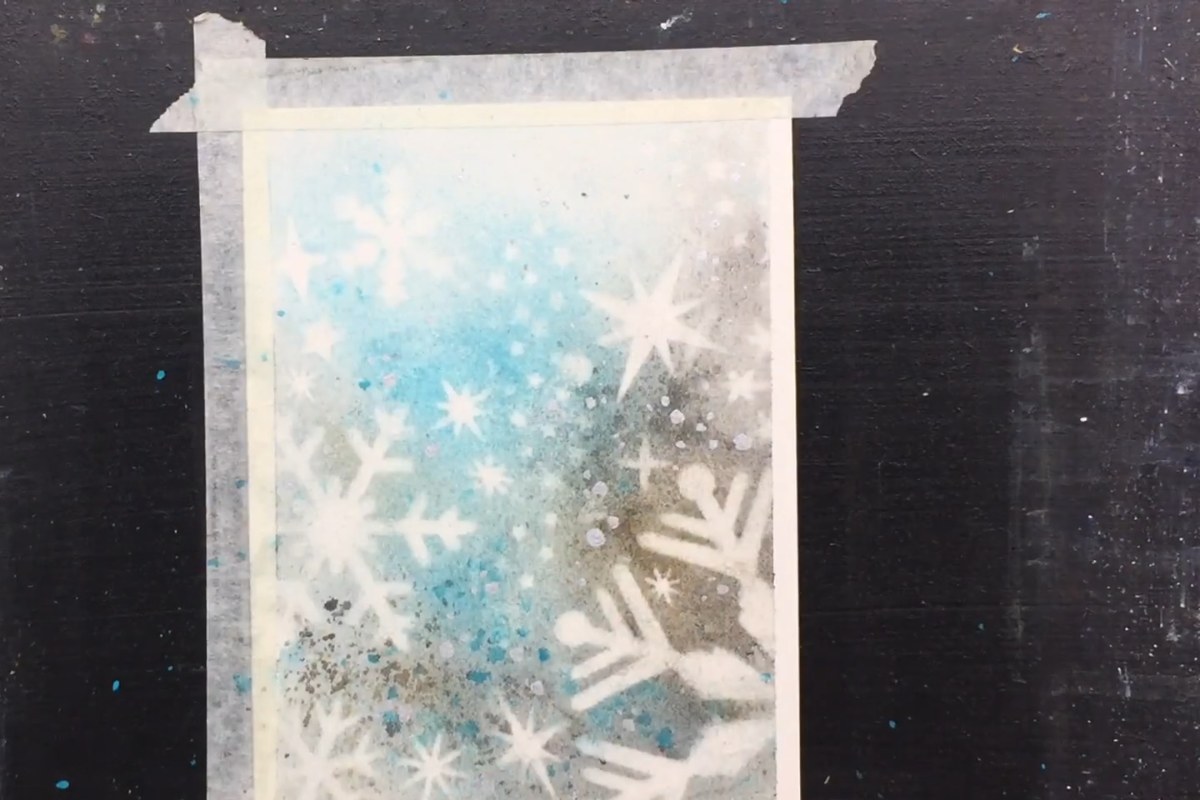
Handmade Christmas cards don't need a steady drawing hand. In this tutorial, Krista Robertson Art makes four rustic watercolor cards with reverse stenciling: she spatters color onto the paper, lays a stencil on top and lifts the paint away, so the Christmas tree, the lettering and the snowflakes appear in white.
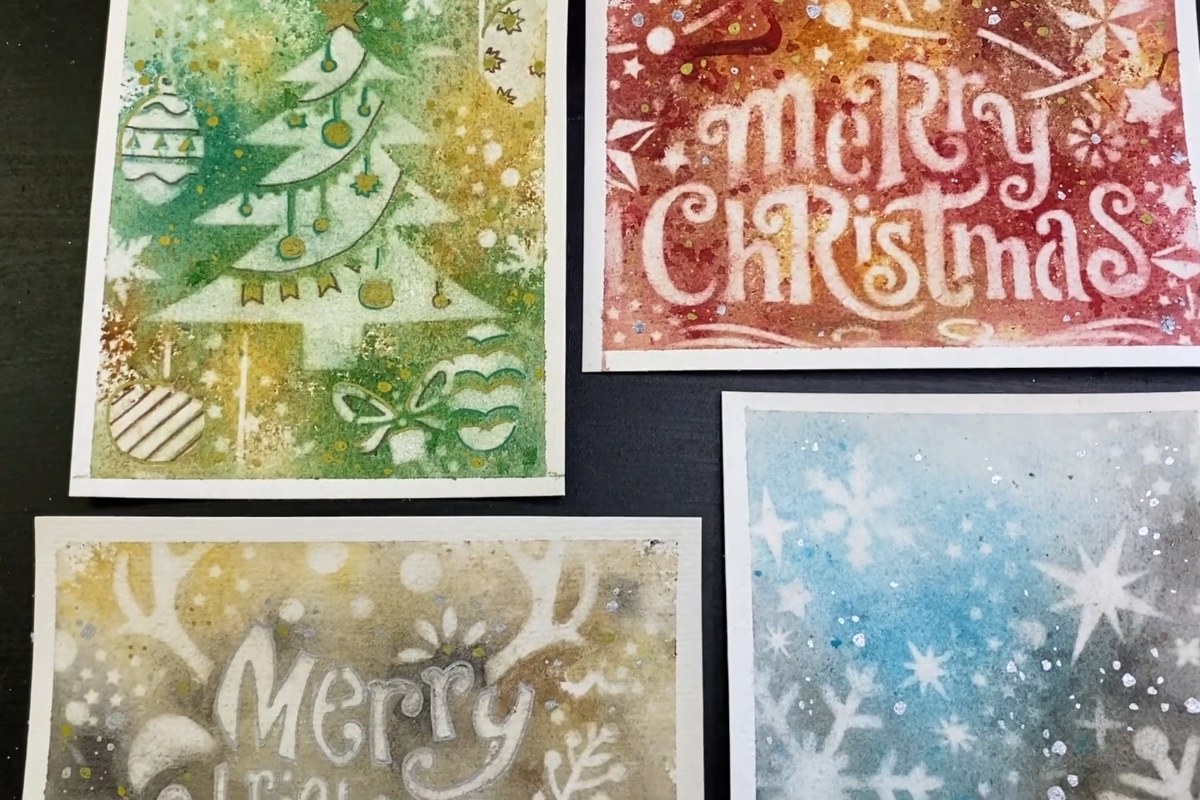
She paints four color versions from one sheet of paper: a green and gold Christmas tree, a red "Merry Christmas", a silver and gold reindeer design and a blue snowflake card. You can watch the full process in her original video further down this page.
Reverse Stenciled Christmas Cards at a Glance
- Artist: Krista Robertson Art
- Level: Easy. There is no drawing involved, because the stencils give you the shapes.
- Medium: Watercolor, with paint pens and a gel pen for the details
- Project: 4 small Christmas cards from one 9" x 12" sheet
- Video length: about 18 minutes
What You'll Need
- Cold pressed watercolor paper. Krista uses a 140 lb non-cotton paper (Brite Crown), with one 9" x 12" sheet cut into 4 cards.
- Watercolor paints in the colors of your choice (greens and yellows, reds and oranges, silver and gold, blues)
- Two brushes for spattering, one to hold the paint and one to tap it against
- Christmas stencils and a snowflake stencil set
- Masking tape to hold the cards down
- A spray bottle with water
- A wet sponge or cloth, a dry paper towel and a magic eraser for lifting
- A hair dryer
- Paint pens (she tries an inexpensive set similar to Posca pens), a silver paint pen and a sparkle gel pen
How the Cards Are Made
1. Prepare the cards
The 9" x 12" sheet is cut into four small cards, and each card is taped to the table around the edges. The tape keeps the paper flat and leaves a clean white border once it comes off.
2. Spatter the color
Krista loads a brush with paint and taps it against the handle of a second brush, so the color lands as small dots and splashes. For the first card she uses greens and yellows. She then sprays water, turns and tilts the card so the colors run together, and adds a little more spatter for texture.
3. Dry until just damp
Before any lifting, she dries the paint with a hair dryer until the paper is just damp, not glossy wet. Getting this timing right is what makes the paint come away cleanly through the stencil.
4. Lift through the stencil
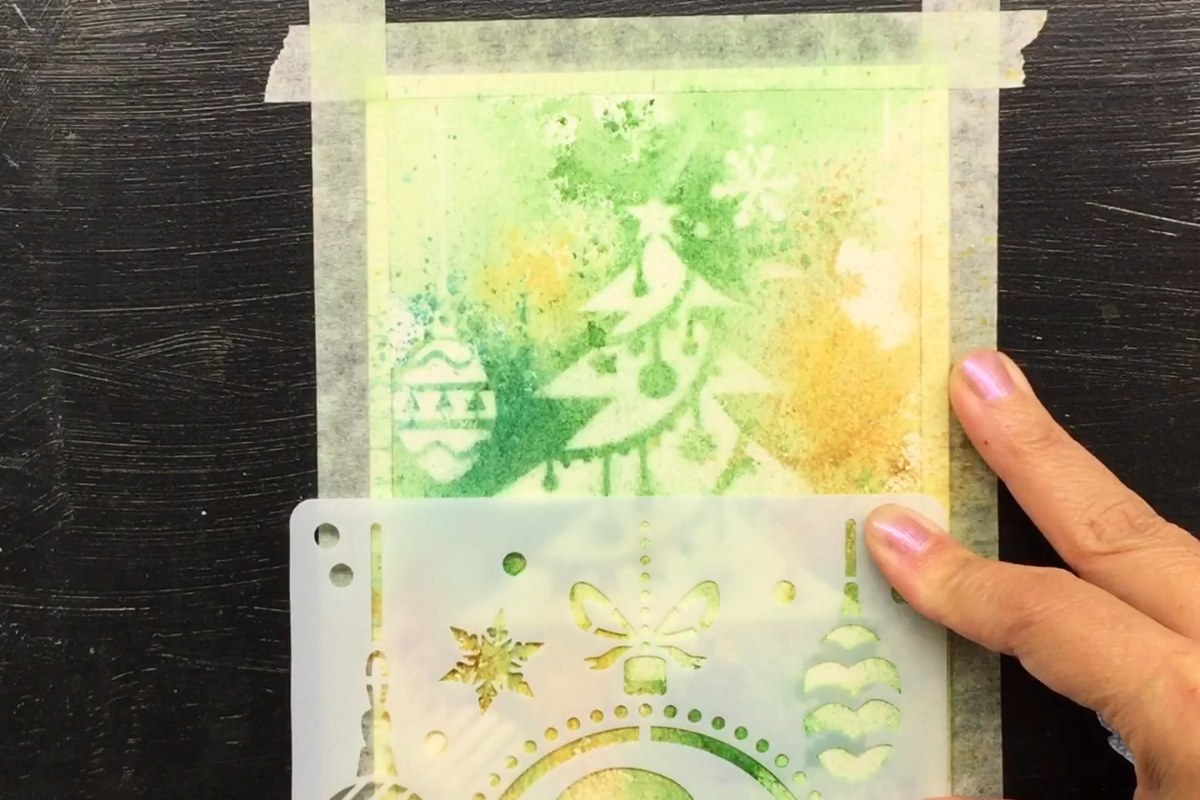
With the stencil pressed flat on the card, she dabs through the openings with a wet sponge or cloth, then dabs with a dry paper towel to pick the loosened paint up. A regular wet sponge works well on non-cotton paper. On the "Merry Christmas" card she works on the letters in small sections, and on the silver and gold card she scrubs some areas with a wet magic eraser.
5. Repeat with new colors
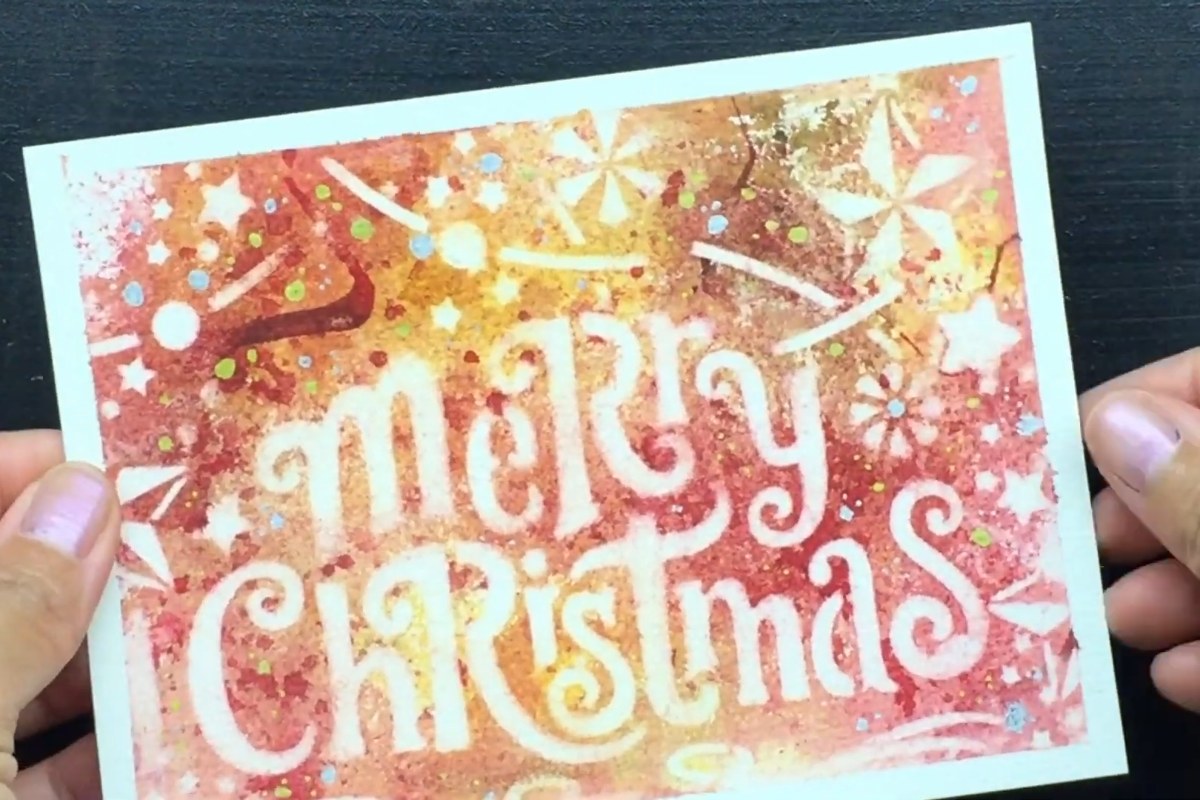
The same steps are repeated on the other three cards. The red card starts at around the 6-minute mark, the silver and gold reindeer card at about 9:40, and the blue snowflake card at about 14 minutes. For the blue card she waits until the paper is fully dry before the last details.
6. Add the details and remove the tape
The paint pens add small dots and accents, the sparkle gel pen gives the tree card a little shine, and the snowflake card gets silver paint pen dots. Finally the tape is peeled away to reveal the white borders.
Tips for Better Results
- Don't skip the drying step. Krista dries each card until it is just damp and no longer glossy before she lifts any paint.
- Hold the stencil still. Press it down with your fingers while you dab, so the edges of the shapes stay crisp.
- Work in sections. Large stencils with lettering are easier to lift a few letters at a time.
- Keep the details light. A few dots from a paint pen or gel pen are enough. The white shapes should stay the main focus.
- Make a set. Cutting one sheet into four cards is a quick way to try several color schemes and end up with a matching set to give away.
Enjoy the Video Tutorial
Watch Krista Robertson Art spatter, lift and finish all four Christmas cards:

Source: Krista Robertson Art
Frequently Asked Questions
What is reverse stenciling in watercolor?
Instead of painting through a stencil, you paint first and then remove color through the stencil openings with a damp sponge or cloth. The shapes show up lighter than the background, which is why the trees, letters and snowflakes on these cards look white.
Can I use cheaper watercolor paper for these cards?
Yes. Krista uses a non-cotton cold pressed paper for these cards and shows that a regular wet sponge lifts the paint well on it. Lifting results can change from one paper to another, so try a small scrap first.
More from Krista Robertson Art
Discover More Artistic Inspiration