
Snowy Fox Watercolor Painting: Easy Step-by-Step Winter Animal Tutorial

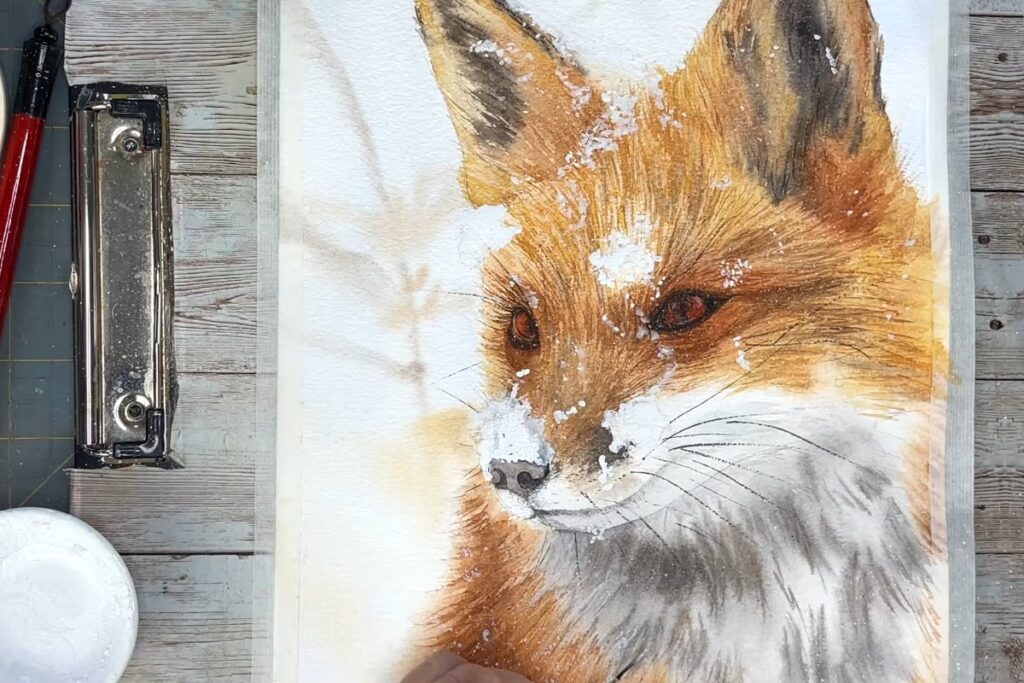
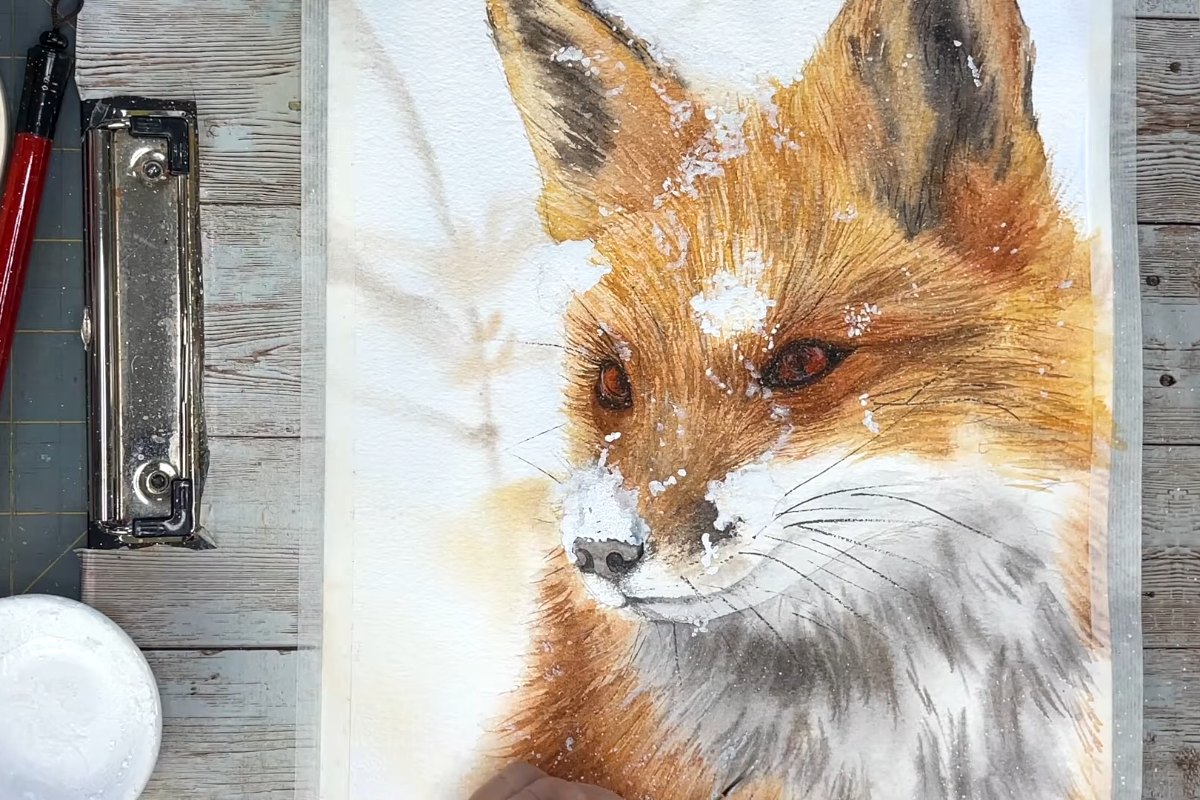
A red fox with snow caught in its fur is one of those winter subjects that looks hard but comes together layer by layer. In this video, Creative Lass paints a close-up fox portrait in watercolor, starting with soft background shapes and pale washes, then building warm fur, dark ears and bright eyes before finishing with white snow flecks on the face and head.
It's a good project for the colder months: the finished painting works as a winter wall piece, and the fur and snow techniques carry over to other animals and holiday cards.
Snowy Fox Watercolor at a Glance
- Artist: Creative Lass
- Medium: Watercolor, with an acrylic white pen and opaque white for the snow
- Level: Presented as beginner-friendly; the fur takes patience more than special skills
- Subject: Close-up portrait of a red fox in the snow
- Video length: About 21 minutes
What You'll Need
These are the supplies listed at the start of the video:
- Arches 140 lb cold pressed watercolor paper
- Watercolor paints: Raw Sienna, Burnt Sienna, Vandyke Brown, Burnt Umber, Sepia, Neutral Tint and Quinacridone Sienna, plus opaque white
- Watercolor brushes: a flat brush, a round brush, a script liner, calligraphy brushes and a fan brush
- Washi tape to hold the paper down
- An acrylic white pen
A pencil sketch of the fox is shown at the beginning, and the creator mentions the reference photo and sketch in the video description on YouTube.
How the Snowy Fox Is Painted
1. Sketch and background (0:00 and 0:32)
The video opens with the supply list, the reference and a light pencil drawing of the fox's head and chest. The background goes in first with soft, pale washes and a few loose grass-like shapes, so the fox later sits in a quiet winter setting without a busy backdrop.
2. First layer on the neck and fur (1:23)
The first color goes onto the neck and chest. Warm orange-brown fur is laid in at the edges while the chest stays mostly white with soft grey strokes. The strokes follow the direction of the fur instead of filling the area flat.
3. First layer on the face and eyes (3:16)
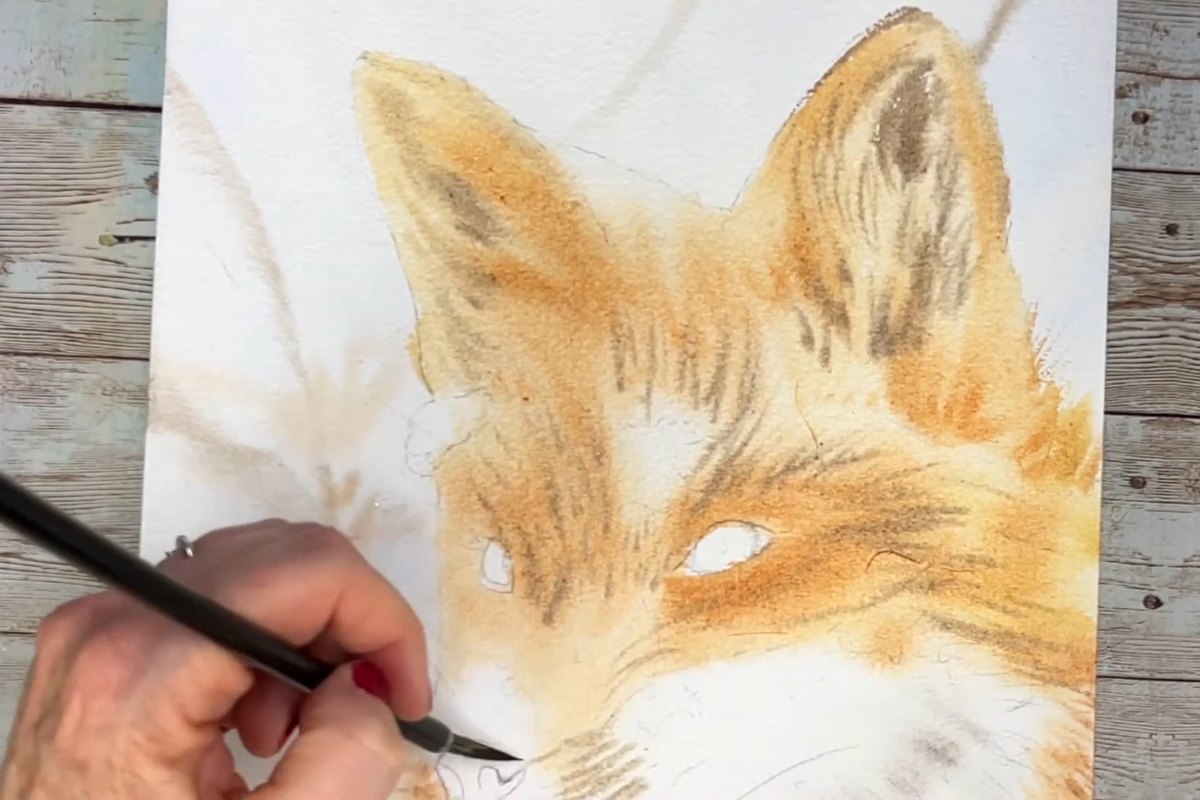
Next comes a light warm layer over the face and ears. The eye areas are left as small white shapes for now, so they stay clean until the details are added later.
4. Second layer and deeper values (5:33)
Once the first layer is dry, stronger color is added on top. The darker browns go into the ears, around the eyes and along the side of the head, and this is where the fox starts to look three-dimensional.
5. Refining the fur (7:34)
This stage is mostly fine strokes. Short, thin lines of warm brown are pulled over the earlier washes to suggest individual hairs, keeping some lighter patches showing through so the fur doesn't turn into one solid color.
6. Facial details and features (10:08 and 13:08)
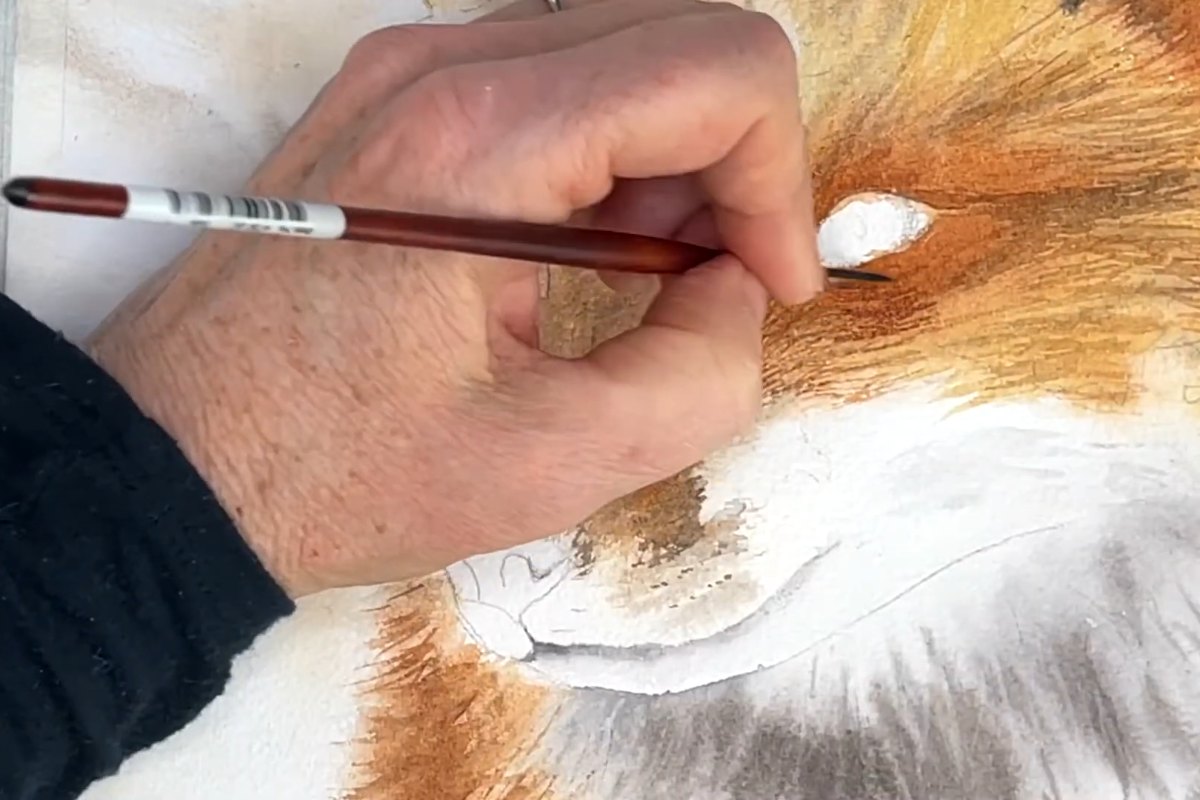
The eyes are painted in with warm reddish-brown tones and a dark outline, and the nose and mouth are darkened. Small details here, like the dark edge around the eye and the shadow under the nose, give the face its expression.
7. Whiskers and final touches (15:55)
Thin dark whiskers are drawn out from the muzzle with a fine brush, and a few last strokes tidy up the ears and the edges of the fur.
8. Painting the snow (17:10)
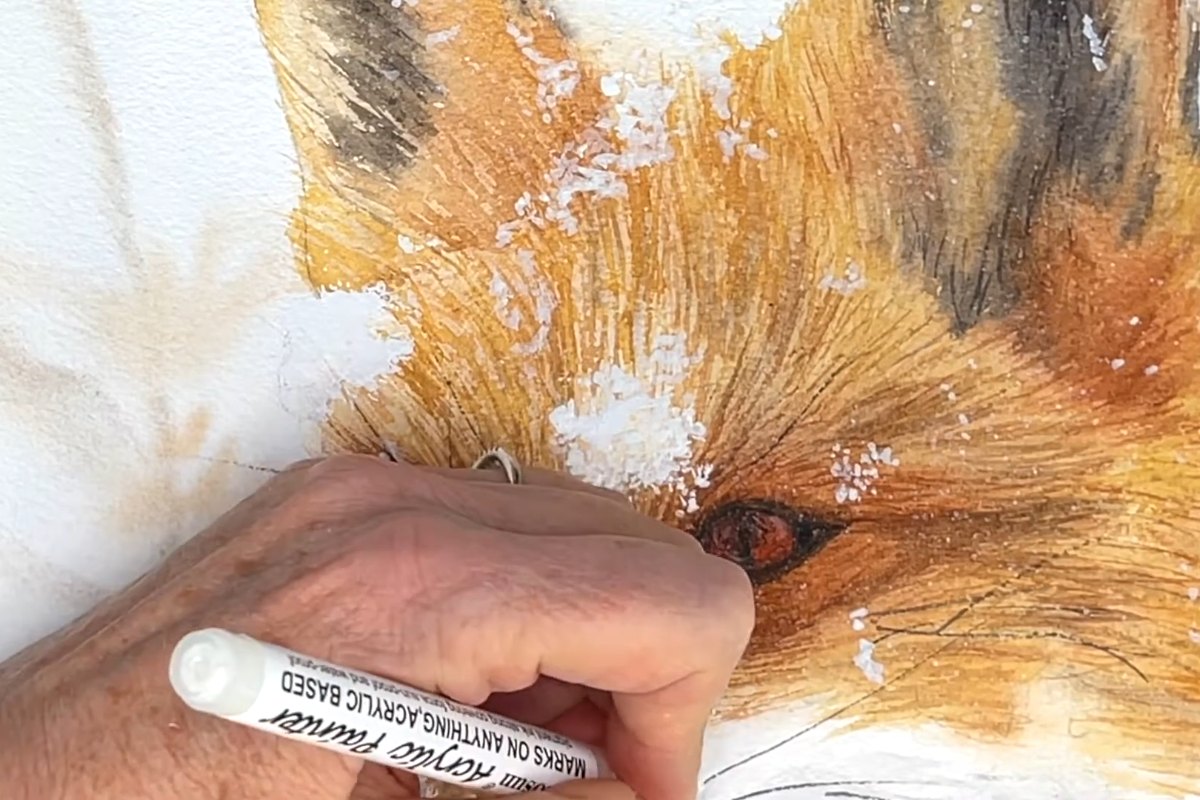
To finish, white snow is added over the head, nose and fur with the acrylic white pen, using little dots and clusters rather than one big patch. The last minutes of the video show the finished painting up close.
Tips for Painting a Fox in Watercolor
- Let each layer dry. The fur effect comes from strokes sitting on top of dry washes. Working into wet paint will blur them.
- Follow the fur direction. Around the eyes and muzzle the hair runs in different directions, so turn the paper if that makes the strokes easier.
- Save the whites. Leaving the eyes and parts of the chest unpainted early on keeps them bright, which is much easier than trying to lift color later.
- Keep the snow uneven. Random dots and small clusters look more natural than evenly spaced flecks.
- Pause the video at each chapter. Comparing your painting with the screen at the end of every stage helps you catch value problems early.
Enjoy the Video Tutorial
Watch the full process below and paint along at your own pace. The chapters in the video make it easy to jump back to a stage you want to see again.

Source: Creative Lass
Frequently Asked Questions
Is this snowy fox painting suitable for beginners?
The video is presented as beginner-friendly. There is no complicated technique involved, but the fur is built with many small strokes, so plan for a slow session and enough drying time between layers.
How is the snow added to the watercolor fox?
The snow goes on at the very end with an acrylic white pen, painted over the dry watercolor as small dots and clusters. Opaque white is also part of the supply list.
More from Creative Lass
Discover More Artistic Inspiration