
Cardboard Christmas Bear Puppet: An Easy Upcycled Holiday Craft That Moves

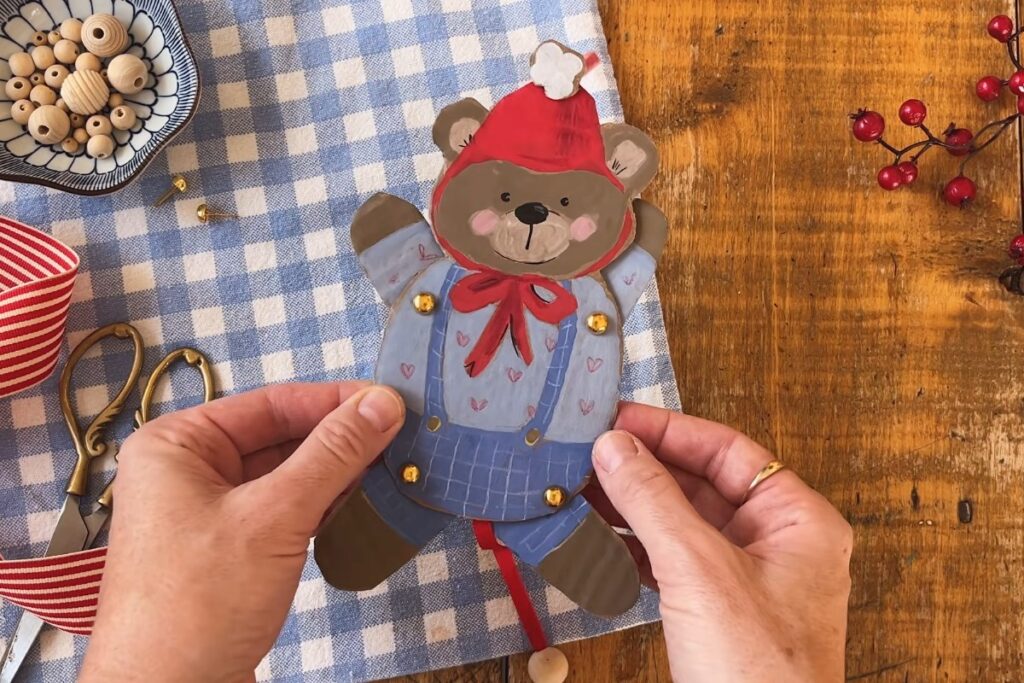
That piece of cardboard from your last delivery box can become a holiday decoration that actually moves. In this short tutorial, Shayda Campbell draws a little Christmas bear on scrap cardboard with paint markers, cuts it into pieces and joins the arms and legs with paper fasteners. A string on the back connects the limbs, so when you pull the ribbon at the bottom, the bear lifts its arms and kicks its legs.
The project, the design and all the pictures in this post come from Shayda Campbell. You can watch her original video on YouTube or further down this page. It is a quick, low-cost craft that works as a tree ornament, a gift topper or a rainy-afternoon project with kids.
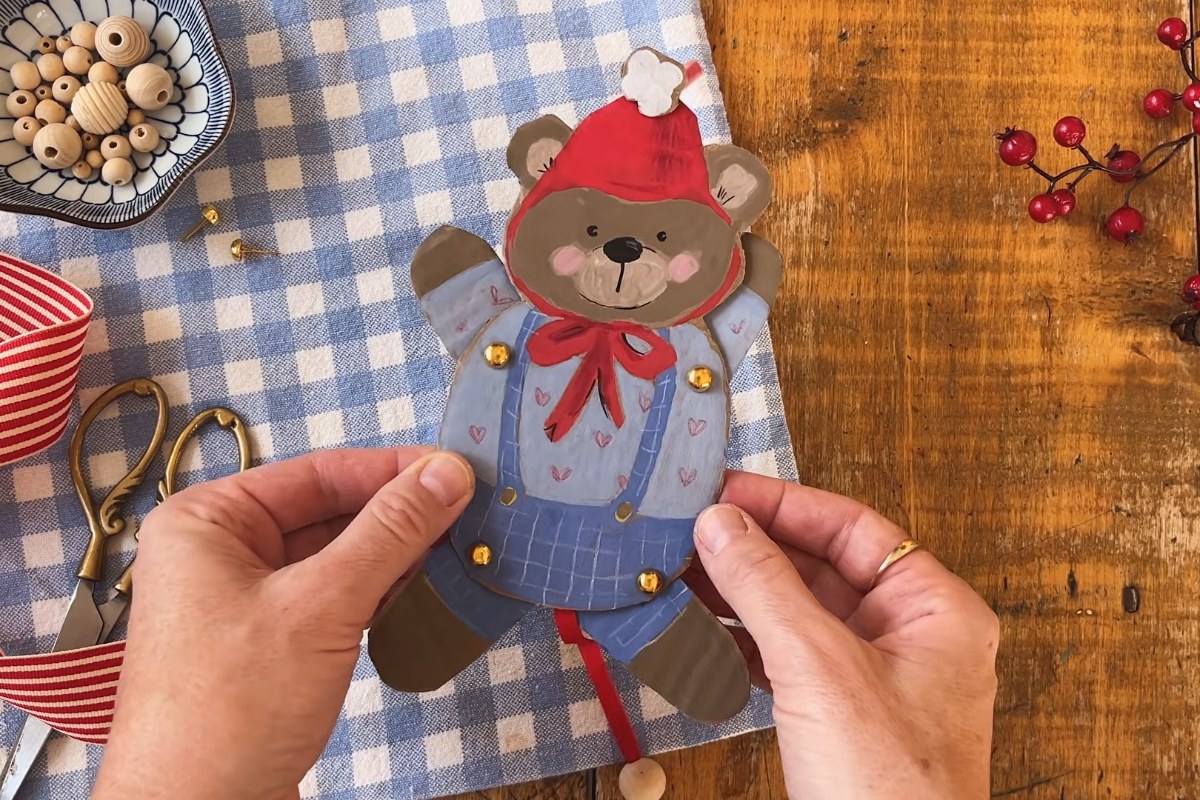
Cardboard Bear Puppet at a Glance
- Artist: Shayda Campbell
- Project: a jointed holiday bear puppet (a pull-string "jumping jack" toy)
- Level: beginner
- Main materials: scrap cardboard and acrylic paint markers
- Video length: 4 minutes 23 seconds
What You'll Need
This is the supply list Shayda shares with the video:
- Scrap cardboard (a flat piece from a shipping box is enough)
- Acrylic paint markers (she uses Arrtx markers in red, blues, browns, pink and white)
- Colored pencils
- A pencil
- Black fineliners
- Two-prong paper fasteners (brads)
- Thin string or twine and a ribbon for the pull cord
- Wooden beads (optional, for the end of the ribbon)
- Scissors
How to Make the Cardboard Christmas Bear Step by Step
1. Draw the body on the cardboard
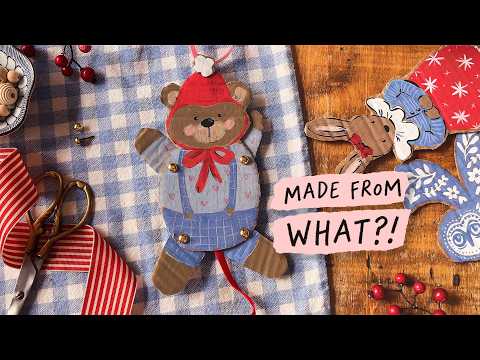
Start with the head and body as one piece. Shayda sketches the bear straight onto the brown cardboard and fills it in with paint markers: a red pointed hat, a light brown face with a darker muzzle, pink cheeks and a big red bow under the chin. The body gets a light blue shirt and darker blue overalls with suspenders. The brown cardboard shows through in places, which suits the cozy, handmade look.
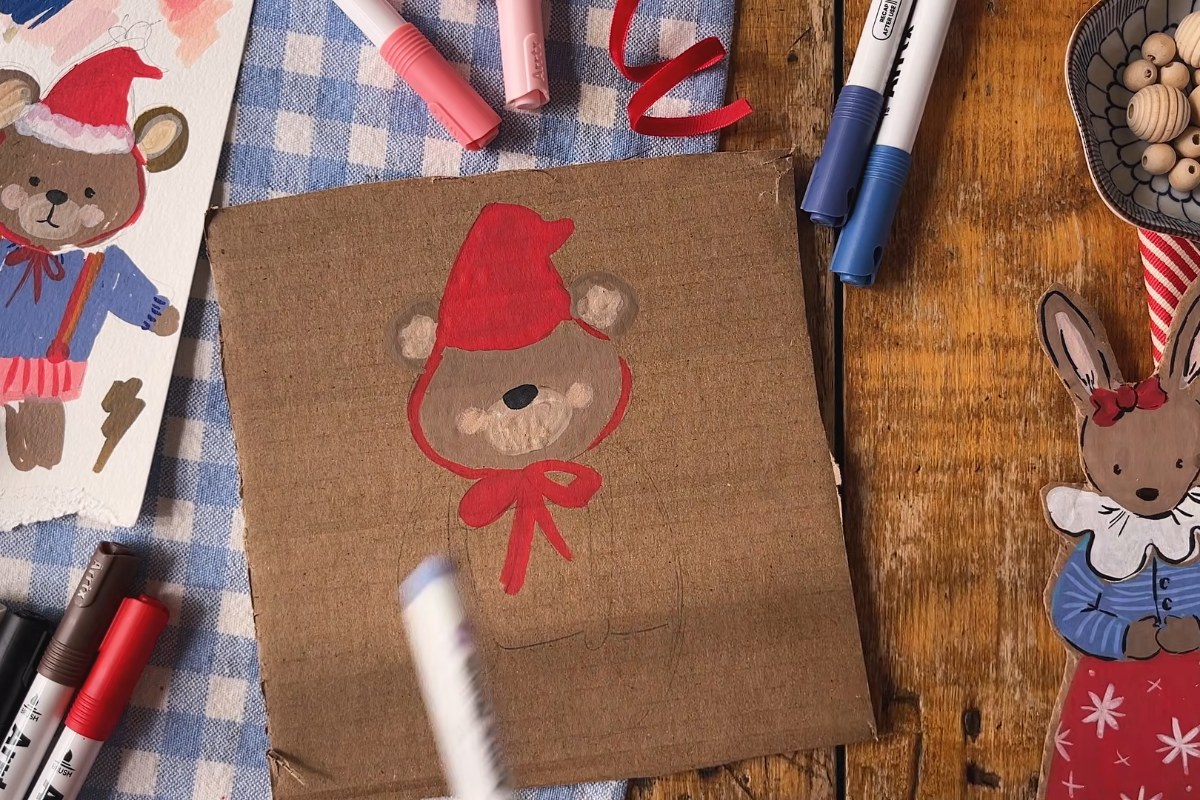
2. Draw the arms and legs separately
The arms and legs are drawn as four separate shapes on another part of the cardboard. Leave a little extra length at the top of each limb, because that end will sit behind the body where the fastener goes. In the video, the sleeves are light blue with brown paws, and the legs match the blue overalls with brown feet.
3. Add the details and cut everything out
Once the colors are dry, add the outlines and small details with the fineliner and a white marker, then cut out the body and the four limbs with scissors. Take your time around the ears and the tip of the hat; corrugated cardboard cuts cleanly if you use the full length of the blades.
4. Mark and make the joint holes
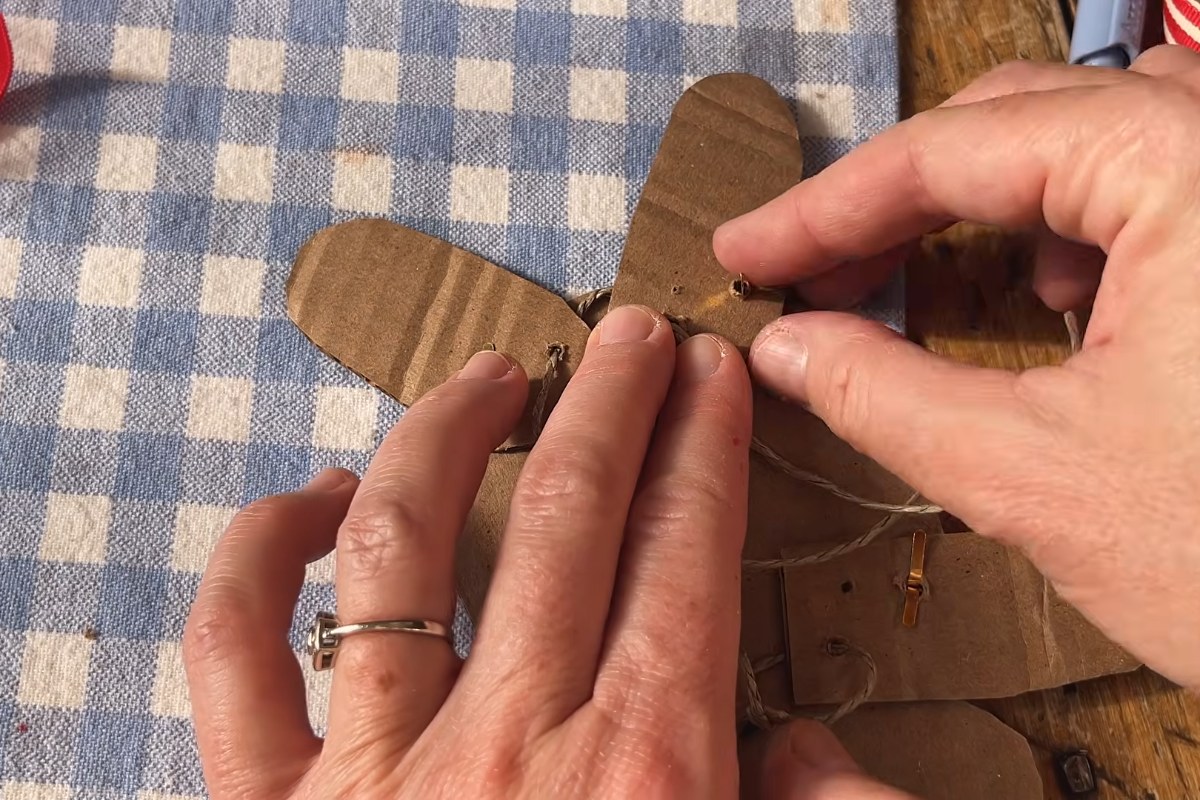
Mark where each arm and leg will attach: one point on each shoulder and hip of the body, and a matching point near the top of each limb. The limbs also get a second, higher hole for the string that makes them move. Make the holes small so the fasteners fit snugly but can still turn.
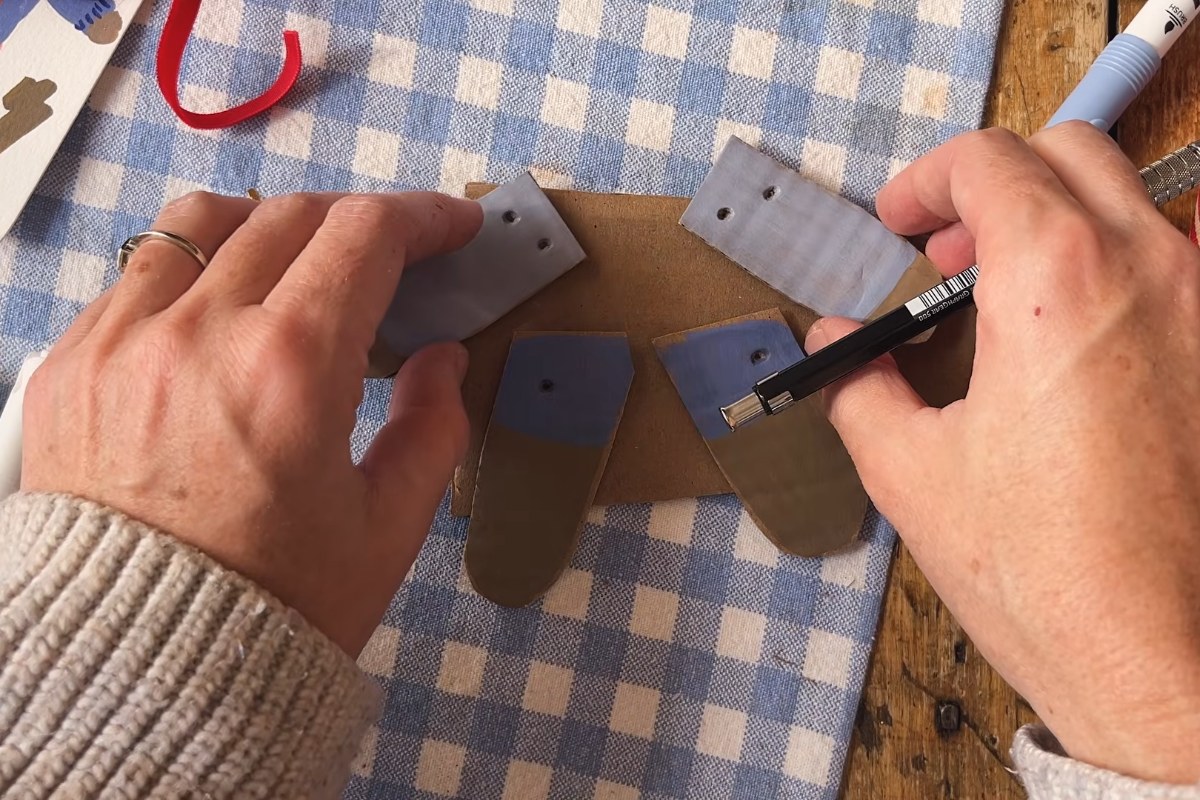
5. Attach the limbs with paper fasteners
Place each limb behind the body, push a brass fastener through both layers from the front and open the prongs on the back. Check that every arm and leg swings freely before you move on. The gold fastener heads become little buttons on the bear's shirt and overalls.
6. String the back and add the ribbon pull
Turn the puppet over. Tie a piece of string across the back to link the two arms through their upper holes, then do the same for the two legs. The strings are then gathered into a red ribbon that hangs below the bear, and Shayda finishes its end with a wooden bead. A loop of ribbon at the top of the hat lets you hang the bear.
7. Test the movement
Hold the bear by the top loop and pull the ribbon down. The arms and legs should rise together and fall back when you let go. If one side lags, retie the cross string a little tighter on that side.
Tips for Better Results
- Choose flat, clean cardboard without creases where the face will go, since paint markers skip over dents.
- Shake the paint markers well and test them on a scrap first; let each color dry before you draw details on top.
- Tie the strings while the arms and legs hang straight down, so the puppet rests in a neutral pose.
- Once the bear works, try other characters. Shayda also shows a bunny in a red dress made the same way.
Enjoy the Video Tutorial
Make the whole puppet along with Shayda Campbell, from the first sketch to the final pull:
Source: Shayda Campbell
Frequently Asked Questions
Do I need to be good at drawing to make this puppet?
No. The bear is built from simple shapes, and the cardboard background hides small wobbles. Shayda also mentions in the video description that she offers a printable version of the bear pieces for anyone who prefers to skip the drawing.
What makes the arms and legs move?
The limbs pivot on the paper fasteners. The strings on the back are tied above those pivot points, so pulling the ribbon down lifts the outer ends of the arms and legs at the same time.
More from Shayda Campbell
Discover More Artistic Inspiration